


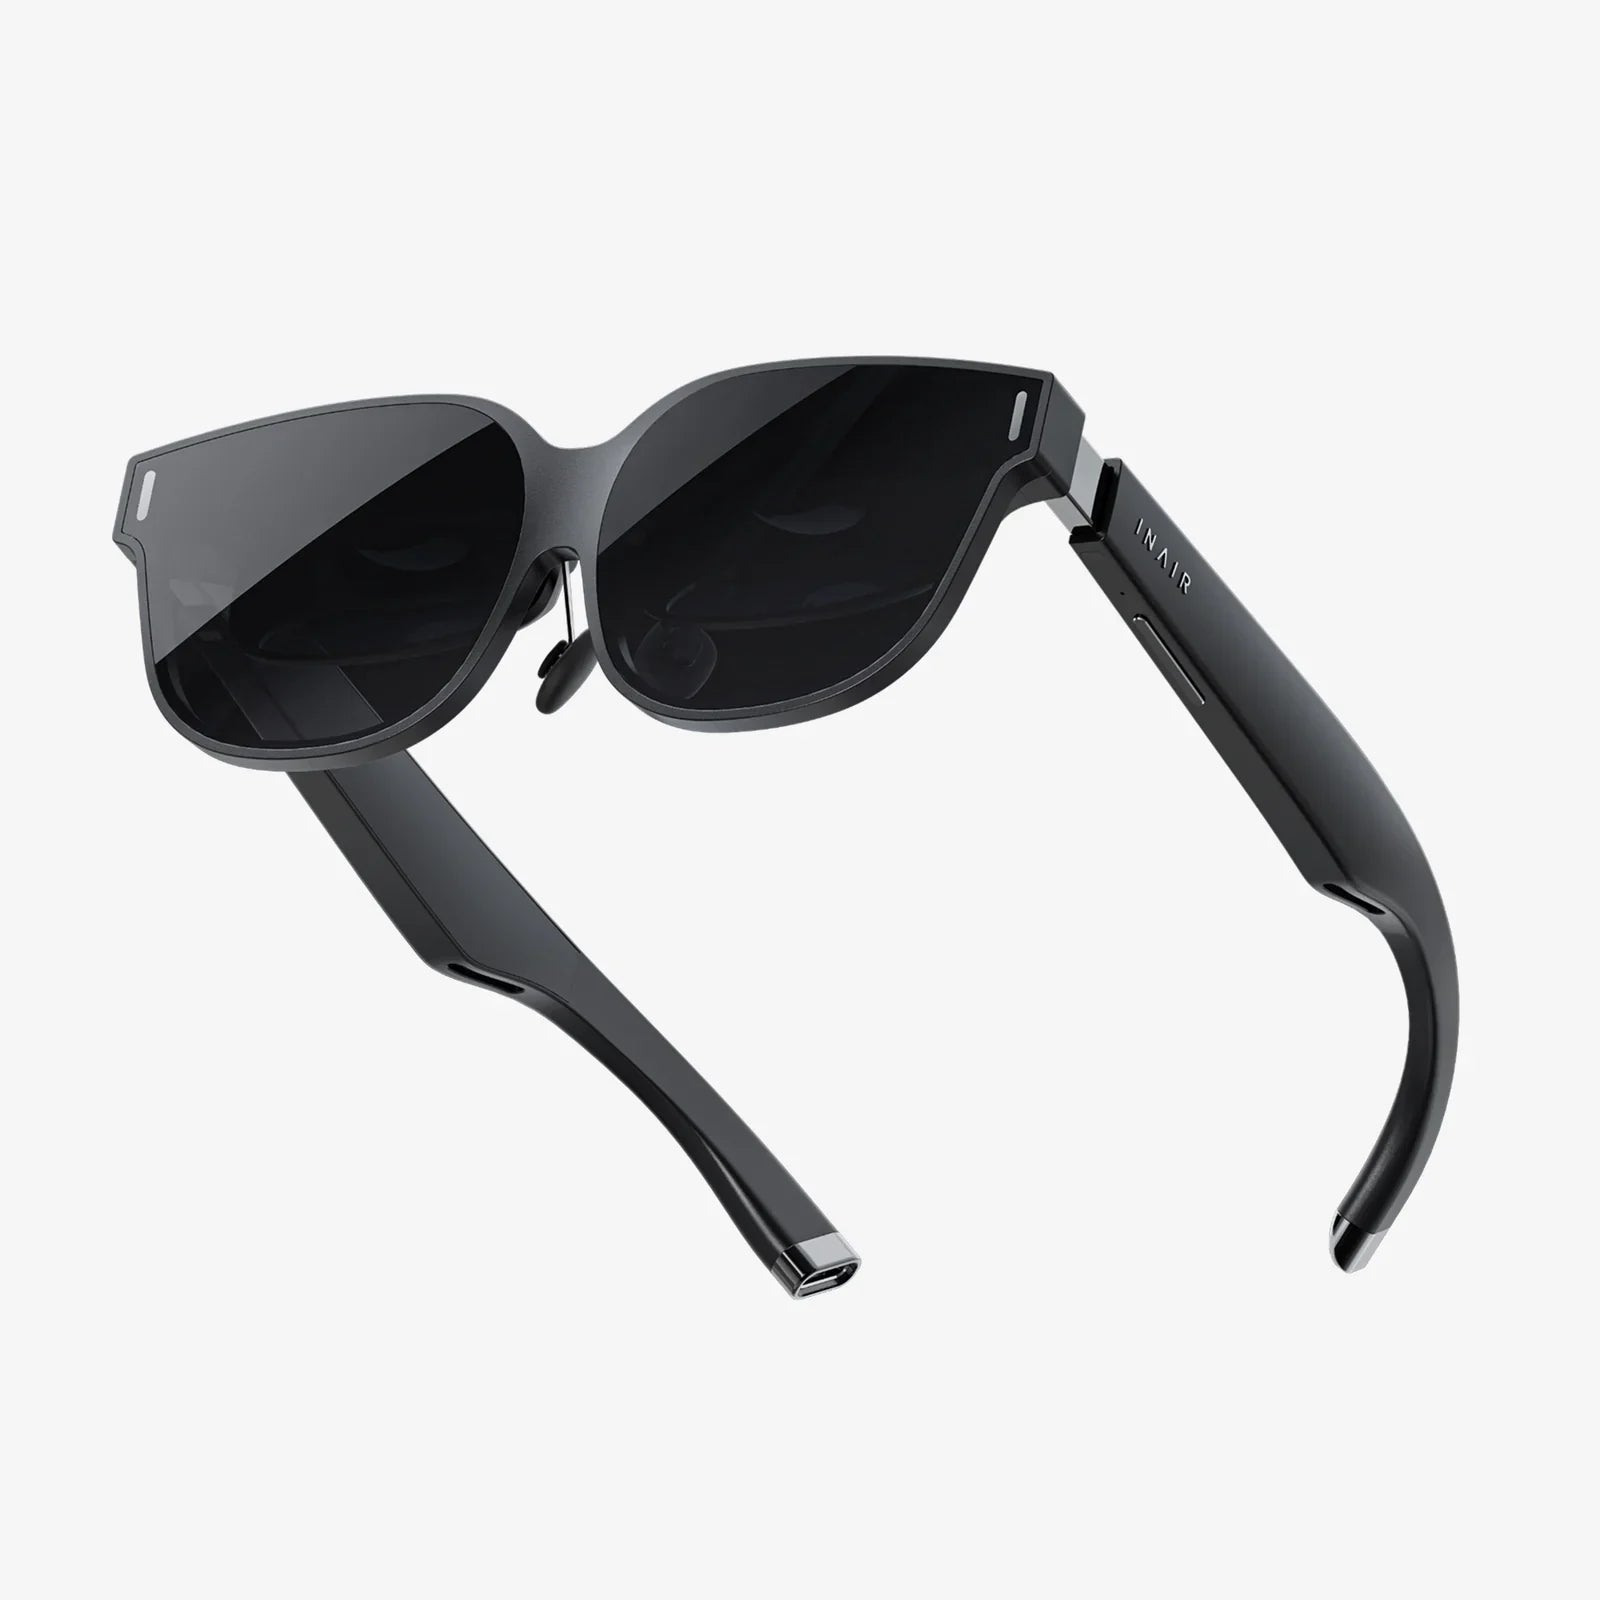
- by wangfred
Comparing AR Display Quality: A Complete Practical Guide for Clearer Mixed Reality
- by wangfred
Comparing AR display quality is the fastest way to separate mind-blowing augmented reality from blurry, disappointing overlays that you will never want to use again. Whether you are choosing a headset for work, gaming, training, or design, the display is where all the magic happens. Get that wrong, and no amount of processing power or clever apps will save the experience. This guide walks you step by step through the visual factors that actually matter, how to test them, and what trade-offs to expect so you can make confident, informed decisions instead of relying on vague marketing claims.
Most people know to look at resolution and brightness, but AR is far more complex than a simple pixel count. Field of view, optical design, color accuracy, contrast, latency, and even how the display handles the real-world background all dramatically change how convincing and comfortable an AR experience feels. By the time you finish this article, you will know how to evaluate these elements like a critical reviewer, not a passive demo user.
On paper, many AR devices look similar: comparable resolutions, similar brightness numbers, and impressive-sounding technical jargon. In practice, two headsets with nearly identical specifications can feel completely different when you put them on. The reason is simple: AR display quality is the result of how all the components work together, not just one headline spec.
For example, a headset might boast high resolution, but if the optics distort the image or the field of view is narrow, the experience can feel like watching the world through a small, fuzzy window. Another device might have modest resolution but excellent lenses, high contrast, and low latency, creating a much more immersive and comfortable experience. Comparing AR display quality means learning to look beyond marketing terms and focus on what your eyes and brain actually perceive.
Before you can compare headsets, it helps to understand the key visual concepts that define AR display quality. These are the building blocks that determine whether digital objects feel sharp, stable, and believable.
Resolution refers to how many pixels the display uses to render an image. In AR, you often see this described as pixels per eye. Pixel density, often expressed as pixels per degree (PPD), is even more important because it tells you how many pixels are packed into each degree of your visual field.
Higher pixel density means smoother edges, more detailed text, and fewer visible pixels or “screen door” effects. However, resolution alone does not guarantee clarity. The optical system can magnify or shrink the image, changing the effective PPD. When comparing AR display quality, consider both the raw resolution and how wide the field of view is, since spreading the same number of pixels across a larger area reduces pixel density.
Field of view describes how much of your surroundings can be filled with digital content at once. It is usually measured in degrees horizontally and vertically. A narrow FOV makes AR content feel like it is trapped in a small rectangle floating in front of you. A wide FOV, by contrast, lets virtual objects occupy more of your natural vision, increasing immersion.
However, wider FOVs are challenging to implement without sacrificing brightness, clarity, or comfort. When comparing AR display quality, you should not just ask, “How wide is the FOV?” but also “How sharp and bright is the image across that FOV?” Some devices look great in the center but blur or dim toward the edges.
AR displays must compete with real-world lighting, which can range from dim indoor environments to bright sunlight. Brightness is usually measured in nits (candelas per square meter). Higher brightness helps digital content remain visible outdoors, but more brightness also means more power consumption and heat.
At the same time, AR displays are typically see-through. The more transparent the optics, the more of the real world you see, but the harder it is to make virtual content stand out. Some devices prioritize strong virtual overlays with lower transparency, while others let more real-world light through, making digital elements appear more subtle. Comparing AR display quality means asking where you expect to use the device most: bright outdoor settings, controlled indoor environments, or a mix of both.
Contrast is the difference between the darkest blacks and the brightest whites the display can produce. High contrast makes images pop and improves readability, especially for text or detailed graphics. Poor contrast leads to washed-out visuals that blend into the background.
In AR, true black is particularly challenging because the display is layered over the real world. Many systems cannot block light entirely, so “black” often appears as slightly tinted transparency. When comparing AR display quality, pay attention to how well dark objects and UI elements stand out against real-world backgrounds, especially in bright environments.
Color quality in AR is about more than just vibrancy. Accurate colors help digital objects look natural and believable, especially when they are meant to blend with real-world items. Poor color reproduction can make virtual objects look cartoonish, dull, or mismatched with their surroundings.
Color gamut describes how many colors a display can reproduce; color accuracy describes how close those colors are to their intended values. When evaluating AR display quality, observe skin tones, natural scenes, and subtle gradients. If everything looks overly neon or strangely muted, that is a sign of weak color performance.
AR devices use various optical systems: waveguides, birdbath optics, holographic combiners, and more. Each approach has trade-offs in clarity, distortion, and weight. Optical clarity refers to how sharp the image appears across the entire field of view. Distortion includes warping, blurring, or rainbow-like fringing around edges.
When comparing AR display quality, look at straight lines, text, and high-contrast edges near the periphery of your view. If lines bend, colors separate, or text becomes unreadable at the edges, the optics may be limiting the effective quality of the display.
The eye box is the three-dimensional area in which your eyes can move while still seeing the image clearly. A small eye box means that slight shifts in the headset or your gaze can cause the image to cut off or blur. Eye relief is the distance from the last lens surface to your eye at which you can see the full image comfortably.
These factors matter greatly for comfort and usability, especially for people who wear glasses or have different facial structures. When comparing AR display quality, a generous, forgiving eye box can make a headset feel much more user-friendly in real-world use, even if its raw specs are similar to a more finicky device.
Latency is the delay between your head or eye movement and the corresponding update of the visuals. High latency makes virtual objects appear to lag behind your motion, causing discomfort, nausea, or a sense that the content is not anchored to the real world.
Visual stability is critical for AR because objects are supposed to stay fixed in the environment. If they jitter, drift, or wobble as you move, the illusion breaks. While latency is often discussed as a system-wide issue, it directly affects perceived display quality: even a sharp image looks bad if it does not stay where it should.
Different AR devices use different display technologies, each with strengths and weaknesses that shape the final image. Understanding these helps you interpret what you see when comparing AR display quality across products.
Micro-OLED and micro-LED displays offer high contrast, deep blacks, and excellent color reproduction. They are compact and can achieve high pixel densities, making them attractive for premium AR systems.
However, they often require complex optical systems to project the image into your eyes, which can introduce distortion or reduce brightness. Micro-LED promises higher brightness and efficiency, which is useful for outdoor AR, but it is still emerging and can be costly to manufacture at scale.
Some AR devices use projection-based systems like liquid crystal on silicon (LCOS). These can be efficient and relatively compact, but they may struggle with contrast and can introduce artifacts such as a visible pixel grid or color breakup.
When comparing AR display quality, projection-based systems may appear slightly less vibrant or crisp than micro-display systems in some scenarios, although careful optical design can mitigate many of these issues.
Waveguide optics guide light from a display source through a transparent medium and into your eyes, allowing for slim, glasses-like form factors. The trade-off is that waveguides can introduce color non-uniformity, reduced brightness, or visible artifacts such as faint patterns or reflections.
Direct-view or “birdbath” optics can offer higher image quality and brightness but often result in bulkier designs. When comparing AR display quality, waveguide-based glasses might look sleeker but may not match the pure visual clarity of larger, more optical-heavy designs.
Specs are useful, but your eyes are the final judge. When you have access to multiple AR devices, use the following practical tests to compare display quality side by side.
Display small text at various sizes and distances. Try reading a detailed document, code, or a dense UI panel. Observe:
Text legibility is one of the fastest ways to expose weaknesses in resolution, optics, or calibration.
Load a scene with high-contrast shapes and straight lines that span the entire field of view. Slowly move your eyes from the center to the edges.
Devices with strong center clarity but weak peripheral performance may still be fine for focused tasks but will feel less immersive for wide-area experiences.
If possible, test the device in different lighting conditions: dim indoor spaces, typical office lighting, and near windows or outdoors.
For applications that involve field work, navigation, or outdoor training, brightness and contrast under real-world conditions are critical.
View virtual objects that are meant to blend with real-world items: for example, a virtual poster on a real wall or a digital model on a physical table.
Strong color performance makes AR feel less like a sticker on reality and more like a natural extension of it.
Wear the device for at least 15–30 minutes if possible. During that time:
A forgiving eye box and comfortable eye relief can matter more in daily use than a small bump in resolution.
Place a virtual object in your environment, then move your head quickly side to side and up and down.
Even if the image looks sharp when you are still, poor latency will make the experience feel unstable and untrustworthy.
Not every AR user cares about the same aspects of display quality. The best way to compare devices is to start from your primary use case and prioritize the metrics that matter most for that scenario.
If you plan to use AR for virtual monitors, document review, data dashboards, or collaboration, focus on:
In this context, a slightly narrower field of view can be acceptable if everything inside that FOV is crystal clear and comfortable to read for hours.
For AR gaming, storytelling, or immersive experiences, prioritize:
Here, an occasional softness in text may be acceptable if the overall experience feels expansive and responsive.
In industrial environments, construction sites, or outdoor field work, display priorities shift again:
In these scenarios, raw resolution may matter less than how reliably the display remains visible and readable under harsh lighting and movement.
When AR is used for design review, architecture, medical visualization, or other precision tasks, the bar for display quality is especially high:
In these contexts, even subtle issues like color shifts at the edges or slight geometric distortion can undermine confidence in the visualization.
When you start comparing devices, it is easy to get misled by a few typical traps. Being aware of them will help you make more accurate judgments.
Many demos are carefully curated to hide weaknesses. Dark scenes hide poor contrast, simple shapes hide resolution limits, and short experiences hide comfort issues. Always try to test with content that resembles your real use case: documents, dashboards, complex 3D models, or bright outdoor overlays, depending on your needs.
A higher resolution spec does not guarantee a better image. Optical quality, field of view, and pixel density per degree all influence perceived sharpness. Two devices with similar resolutions can look very different if one has superior optics and a better-calibrated eye box.
Face shape, eye spacing, and vision correction strongly affect how good an AR display looks. A device that looks stunning on one person can appear misaligned or blurry on another. When comparing AR display quality, make sure you evaluate how well the device can be adjusted to fit different users, especially if it will be shared.
The first five minutes in a headset can feel magical, but subtle display issues often reveal themselves over time. Slight misalignment, minor distortion, or low-level flicker can cause fatigue or headaches after extended use. Whenever possible, include longer sessions in your evaluation, not just quick demos.
While hands-on testing is ideal, you will often have to rely on spec sheets and documentation. Here is how to read them with a critical eye when comparing AR display quality.
If a device lists resolution per eye and field of view, you can estimate pixels per degree by dividing the horizontal pixel count by the horizontal FOV. Higher values generally indicate sharper images, but remember that optical quality can still change the real-world result.
Brightness numbers can be inflated or measured under ideal conditions. Look for whether the device explicitly mentions outdoor usability or provides typical brightness levels in standard environments. Contrast ratios can also be misleading; what matters is how the display performs when layered over real backgrounds, not just in a lab.
References to wide color gamuts sound impressive, but without context they are hard to interpret. When possible, look for independent reviews or measurements that confirm how accurate and consistent the colors appear in practice.
Some devices list refresh rates but not end-to-end latency. A higher refresh rate can help smooth motion, but if the system’s overall latency is high, virtual objects may still appear to lag. When comparing AR display quality, look for both refresh rate and any mention of motion-to-photon latency.
Every AR device is a careful compromise between competing priorities: weight, battery life, brightness, field of view, resolution, and cost. A headset that excels in one area might make sacrifices in another. Instead of searching for a mythical “perfect” display, aim for the best balance for your specific needs.
For example, a lightweight pair of glasses with a modest field of view and moderate brightness might be ideal for office productivity but unsuitable for outdoor industrial work. A heavier headset with a wide FOV and high brightness might be perfect for immersive training but too bulky for all-day wear. Understanding these trade-offs is the key to making smart comparisons.
To make your evaluations more systematic, use a simple checklist whenever you test or research AR devices:
Scoring each category on a simple scale for different devices can give you a clear, comparable snapshot of their strengths and weaknesses.
Comparing AR display quality is ultimately about reclaiming control from marketing buzzwords and trusting your own eyes. When you know what to look for—sharpness, field of view, brightness, contrast, color, optics, stability, and comfort—you can walk into any demo, trade show, or buying decision with confidence. Instead of being dazzled by the first hologram you see, you will be able to spot the subtle differences that separate a short-lived novelty from a tool you can rely on every day. As AR continues to evolve, that critical eye will help you stay ahead of the curve and choose experiences that truly feel like the future, not just a flashy prototype.
Share:
How To Stop AR Screen Drift: Practical Fixes And Pro Tips
How To Watch My Videos In 3D: A Complete Practical Guide