

If you have ever watched an RC helicopter hover rock-steady in the wind, carve precise aerobatics, and land with surgical accuracy, there is a good chance a high-end flybarless radio system was behind the magic. The phrase mikado vbar control touch has become a kind of shorthand among serious pilots for a modern, integrated way to fly that blends advanced electronics with an interface even beginners can learn. Understanding why this system is so widely respected can help you fly more confidently, tune more intelligently, and get more enjoyment from every pack you put through your machine.
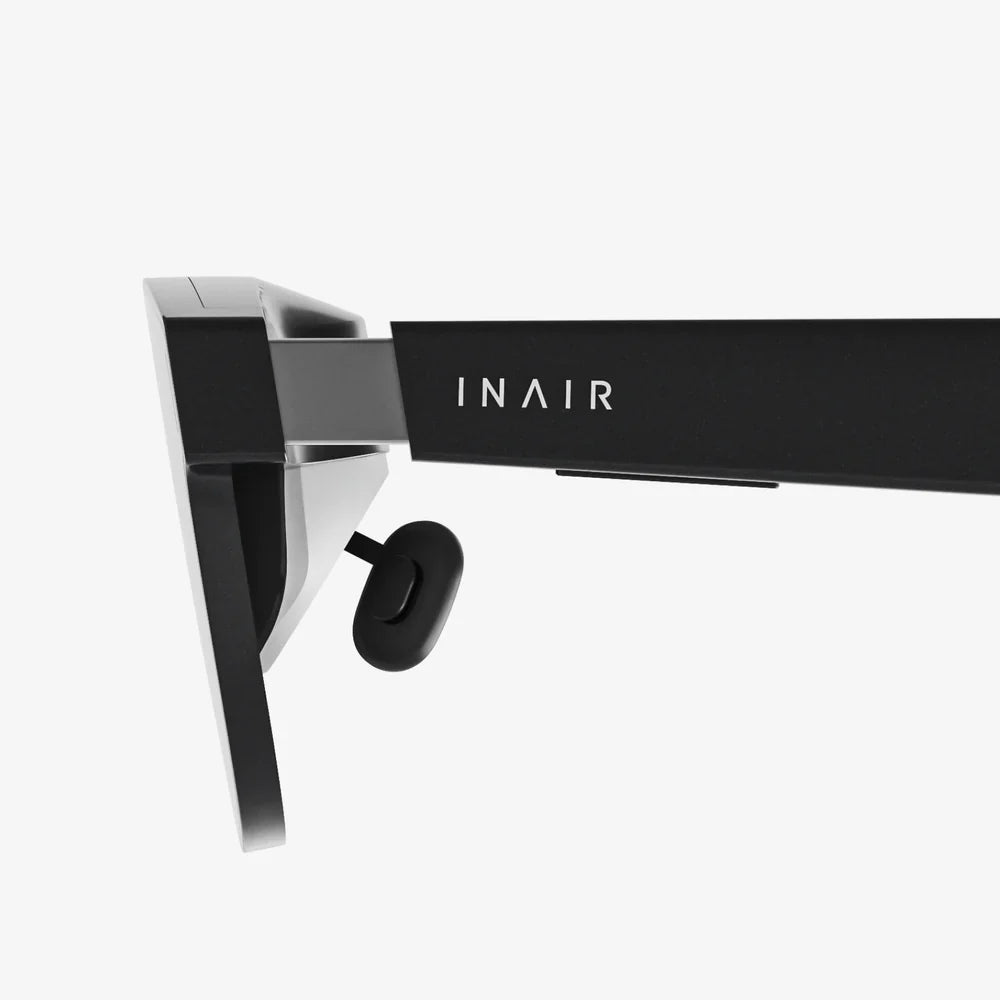
Unlike traditional radios that rely heavily on cryptic menus and complicated programming, mikado vbar control touch revolves around a touch-driven workflow, deep telemetry integration, and a design philosophy that prioritizes direct communication between pilot, radio, and flybarless unit. Whether you are just stepping into collective pitch helicopters or already flying advanced 3D, mastering this ecosystem can dramatically change how you set up, tune, and maintain your models.
Why mikado vbar control touch Stands Out in the RC Helicopter World
The RC helicopter hobby has moved far beyond mechanical mixing and flybars. Modern flybarless systems handle stabilization, mixing, and flight modes in software, but they also demand a radio that can keep up. The mikado vbar control touch stands out because it is built from the ground up around flybarless control, not as an afterthought.
Several key design goals make it different from conventional transmitters:
- Deep integration with flybarless units: Parameters like swashplate leveling, governor settings, and agility are adjusted right from the transmitter.
- Touch-based interface: Menus and settings are accessed with taps and swipes instead of nested button presses.
- Telemetry-first design: Real-time data such as head speed, battery voltage, current draw, and temperatures are presented clearly during flight.
- Model-specific logic: The system is optimized around helicopters and flybarless airplanes, reducing clutter and confusion.
For many pilots, this means less time deciphering manuals and more time actually flying and refining the model in the air.
Core Features and Capabilities of mikado vbar control touch
To understand how to get the most from mikado vbar control touch, it helps to break down its main capabilities and how they affect everyday flying.
Touchscreen Interface and User Experience
The touchscreen is the centerpiece of the user experience. Instead of scrolling through long lists with a wheel or button, pilots can:
- Tap icons to access flight parameters, model settings, and telemetry screens.
- Swipe between pages for quick access to common functions like timers, logs, and live data.
- Use clearly labeled menus that follow a logical flow: model creation, setup, tuning, and flight.
This interface significantly lowers the barrier to entry. New pilots can follow on-screen wizards, while experienced pilots can jump directly into advanced menus without digging through layers of generic radio functions.
Integrated Flybarless Programming
One of the biggest advantages of mikado vbar control touch is that you do not need a separate computer, programming box, or mobile app to configure the flybarless unit. Instead, all the critical parameters are accessible directly from the radio:
- Swashplate setup: Servo centering, direction, and geometry can be dialed in with on-screen prompts.
- Sensor orientation: The system guides you through choosing and confirming the correct mounting orientation.
- Flight style and agility: You can adjust how nimble or stable the helicopter feels, often in real time.
- Governor and throttle control: Head speed, collective add, and other governor parameters can be tuned on the field.
This integration simplifies the workflow: when you change something, the radio and flybarless unit update in sync, reducing the risk of mismatched settings or forgotten changes.
Telemetry and Real-Time Feedback
Telemetry is more than just a convenience; it is a safety and performance tool. With mikado vbar control touch, telemetry can include:
- Battery voltage and capacity usage
- Motor and ESC temperature
- Head speed (RPM) and governor performance
- Signal quality and link statistics
- Log data for post-flight analysis
On the field, this means you can see when your pack is nearing its safe limit, whether your motor is running too hot, or if your governor is maintaining the desired head speed. Over time, this feedback helps you choose better gearing, optimize pitch curves, and avoid over-stressing components.
Flight Modes and Bank Switching
Modern helicopter flying relies heavily on flight modes, sometimes called banks. With mikado vbar control touch, you can configure multiple banks, each with its own:
- Gyro gain and agility settings
- Expo and dual rate values
- Governor head speeds
- Tail behavior and stop characteristics
Typical setups might include:
- Bank 1: Gentle, stable hovering and basic maneuvers.
- Bank 2: Sport flying with increased agility and higher head speed.
- Bank 3: Aggressive 3D with maximum cyclic rates and crisp tail stops.
Switching between banks in flight lets you adapt instantly to conditions or your comfort level while keeping all the settings organized and consistent.
Initial Setup: Getting mikado vbar control touch Ready to Fly
Setting up mikado vbar control touch for the first time may seem intimidating, but the process is systematic. Following a logical sequence will help avoid common pitfalls and ensure a safe maiden flight.
1. Creating a New Model
Start by creating a new model in the radio. The interface typically guides you through choosing the type of helicopter, head configuration, and tail layout. During this step, pay attention to:
- Model naming: Use clear names that match your airframe and size.
- Model type: Confirm that you have selected the correct configuration (e.g., single rotor, electric power).
- Channel mapping: Ensure that throttle, collective, cyclic, and tail channels are assigned correctly.
Once the model is created, you will have a clean slate to build from, with default settings appropriate for a typical helicopter.
2. Binding and Receiver Setup
Next, bind the radio to the receiver or integrated flybarless unit. Although the exact steps depend on your hardware, the general process includes:
- Powering the helicopter with the motor disabled or disconnected.
- Placing the radio and receiver into bind mode, usually via a menu and a button sequence.
- Confirming a successful bind on the touchscreen.
After binding, verify that the radio can see telemetry data if available, and that the link quality is solid. This is also a good time to check failsafe behavior to ensure that the model shuts down safely if the signal is lost.
3. Mechanical Setup and Swash Leveling
Mechanical setup is crucial for a stable, predictable helicopter. With mikado vbar control touch, the radio walks you through steps such as:
- Setting all trims and subtrims to neutral.
- Centering servos and installing servo arms at 90 degrees.
- Leveling the swashplate using the setup wizard.
- Verifying correct collective and cyclic directions.
Many pilots use a swash leveling tool and pitch gauge at this stage. The goal is to achieve equal pitch range, a level swash at mid-stick, and correct linkage geometry before any advanced tuning.
4. Sensor Orientation and Direction Checks
The flybarless sensor must know how the helicopter is oriented in space. The setup wizard typically asks you to confirm how the unit is mounted (flat, on its side, etc.) and then guides you through movement tests:
- Tilting the heli forward and backward to check elevator correction.
- Rolling left and right to confirm aileron correction.
- Yawing the tail to verify tail gyro direction.
If any movement is reversed, the wizard helps you correct it. Skipping this step or getting it wrong can lead to uncontrollable behavior, so take your time and double-check.
5. Throttle, Governor, and Safety Setup
With the mechanics and sensor orientation done, it is time to configure the throttle and governor. Using the mikado vbar control touch interface, you will typically:
- Calibrate the throttle range if necessary.
- Set desired head speeds for each bank (e.g., 1,800 / 2,000 / 2,200 RPM).
- Configure throttle hold and motor cut switches.
- Verify that the motor will not spool up when it should be off.
Before the first spool-up, perform a full pre-flight check: confirm control directions, failsafe behavior, and that throttle hold is functioning reliably.
Tuning and Optimization Using mikado vbar control touch
Once the helicopter is flying, the real power of mikado vbar control touch comes into play. Fine-tuning can transform a merely flyable machine into a precise, confidence-inspiring aircraft.
Adjusting Cyclic and Tail Feel
Cyclic and tail behavior define how the helicopter responds to your inputs. Through the radio, you can adjust:
- Agility: Higher values make the helicopter respond faster to stick movements.
- Expo: Softens the center of the stick for smoother hovering and gentle inputs.
- Dual rates: Limit maximum throw for more relaxed flying.
- Tail gain and stop behavior: Control how firmly the tail holds and how it stops from fast pirouettes.
A practical approach is to start with conservative values, then gradually increase agility and reduce expo until the helicopter feels precise but not twitchy. Tail tuning often involves increasing gain until you see signs of wag, then backing off slightly.
Using Telemetry to Refine Head Speed and Power
Telemetry helps you match performance to your flying style and environment. By monitoring:
- Head speed during climbs, descents, and maneuvers.
- Current draw during aggressive 3D or long climbs.
- Battery voltage and used capacity at landing.
you can make data-driven decisions. For example:
- If head speed sags during hard maneuvers, consider a different gear ratio or a slightly lower target RPM.
- If packs are coming down very warm and nearly empty, reduce flight time or head speed.
- If telemetry shows plenty of power in reserve, you can safely explore higher agility or more demanding maneuvers.
The combination of real-time data and on-field tuning from the touchscreen makes it practical to refine the setup in small steps over several flights.
Bank-Based Tuning Strategies
Bank switching is more than just different head speeds. With mikado vbar control touch, each bank can have its own personality. A useful strategy is:
- Bank 1 – Training / Precision: Lower agility, higher expo, moderate head speed, softer tail stops.
- Bank 2 – Everyday Sport: Medium agility, balanced expo, higher head speed, firm tail with strong hold.
- Bank 3 – Performance / 3D: High agility, reduced expo, maximum head speed, very crisp tail response.
This structure lets you progress gradually. You can practice new maneuvers in a more forgiving bank, then switch to an aggressive bank once you are comfortable, all without reprogramming the helicopter.
Safety, Reliability, and Maintenance with mikado vbar control touch
RC helicopters are powerful and potentially dangerous machines. The advanced features of mikado vbar control touch can significantly improve safety and reliability when used thoughtfully.
Failsafes and Signal Integrity
Proper failsafe setup ensures that if something goes wrong with the radio link, the helicopter will not continue flying uncontrolled. Use the radio menus to:
- Set throttle to a safe value (usually motor off) on signal loss.
- Neutralize cyclic and tail controls.
- Verify failsafe behavior on the bench by turning off the radio and observing the model’s response.
Signal quality telemetry can alert you to range or interference issues. If you see unusually low signal values or frequent warnings, inspect antenna placement, wiring, and local conditions before flying further out.
Using Logs and Telemetry for Preventive Maintenance
Over time, the system’s logs and telemetry data become a valuable health record for your helicopter. Watch for trends such as:
- Rising motor or ESC temperatures over successive flights.
- Increasing current draw for the same flying style.
- Unexpected voltage drops or reduced usable capacity from packs.
These patterns may indicate worn bearings, tired batteries, or mechanical drag. Addressing issues early can prevent in-flight failures and expensive crashes.
Checklists and Pre-Flight Routines
A structured pre-flight routine is one of the simplest ways to reduce risk. With mikado vbar control touch, you can quickly confirm:
- Correct model selected and verified on the screen.
- Battery voltage and expected flight time.
- Gyro initialization completed (no movement during boot).
- Correct control directions and full range of motion.
- Throttle hold engaged before connecting the main pack.
Many pilots also adopt a post-flight routine: checking logs, reviewing battery usage, and visually inspecting the helicopter for loose screws or damaged components.
Advanced Techniques for Experienced Pilots
For pilots who already have the basics mastered, mikado vbar control touch offers room to grow into more sophisticated techniques and setups.
Fine-Tuning for Specific Flying Styles
Different flying disciplines benefit from different tuning priorities:
- Precision and F3C-style flying: Focus on smooth, predictable cyclic with moderate agility and high stability. Use telemetry to maintain perfectly consistent head speed.
- Hard 3D and smack flying: Emphasize fast cyclic response, high tail authority, and a governor tuned for rapid load changes. Monitor current draw to avoid overstressing components.
- Big air aerobatics: Balance agility with stability at high speed, and ensure the governor maintains head speed in long, high-power maneuvers.
The touchscreen interface makes it practical to create separate banks tailored to each style and switch between them depending on the day’s goals.
Experimenting with Rescue and Stability Features
Many modern flybarless systems support rescue or stabilization modes that can level the helicopter or apply positive collective in an emergency. When paired with mikado vbar control touch, these features can be configured and tested carefully:
- Assign rescue to a dedicated switch that is easy to reach but hard to bump accidentally.
- Test rescue at a safe altitude and distance, confirming orientation and climb behavior.
- Adjust rescue parameters for your typical flying height and style.
While no electronic aid replaces solid orientation skills, these features can provide an extra margin of safety during training or when flying very demanding maneuvers.
Customizing Telemetry Screens and Alerts
Advanced users often customize telemetry layouts to show exactly what they care about during flight. With mikado vbar control touch, you can typically:
- Choose which values appear on the main flight screen.
- Set thresholds for audio or visual warnings (e.g., low voltage, high temperature).
- Organize multiple pages for different phases of flight or different models.
For example, one screen might focus on battery and current for electric helicopters, while another emphasizes temperatures and RPM for models that push hardware closer to its limits.
Common Pitfalls and How to Avoid Them
Even with a sophisticated and user-friendly system like mikado vbar control touch, certain mistakes appear frequently, especially among newer pilots. Being aware of them can save you from frustrating or costly experiences.
Rushing Through the Setup Wizard
The setup wizard exists for a reason. Skipping steps or guessing at answers can result in reversed controls, incorrect sensor orientation, or unsuitable default values. Take the time to:
- Read each on-screen instruction carefully.
- Double-check control directions after each major change.
- Use tools like swash levelers and pitch gauges rather than eyeballing.
A few extra minutes on the bench can prevent hours of troubleshooting at the field.
Ignoring Telemetry Warnings
Telemetry alerts are often the first sign that something is wrong: a battery nearing its safe limit, a motor running hotter than usual, or a signal quality issue. Do not dismiss these as mere annoyances. Instead:
- Land promptly when critical warnings occur.
- Investigate the cause before the next flight.
- Adjust thresholds if they are too conservative or too aggressive.
Over time, you will learn which alerts are most important for your flying style and environment, and you can tune them accordingly.
Over-Tuning for Aggression Before Mastering Basics
It is tempting to crank up agility and head speed to match what you see in online videos. However, without solid fundamentals, an overly aggressive setup can lead to loss of control and crashes. A smarter approach is to:
- Start with moderate settings that feel comfortable.
- Increase agility and reduce expo gradually as your skills improve.
- Use separate banks so you can step back to a calmer setup if needed.
This progression lets you grow into the helicopter’s capabilities instead of fighting them.
How mikado vbar control touch Changes the Overall Flying Experience
When all of these elements come together, mikado vbar control touch does more than just control a helicopter; it reshapes the entire experience of building, tuning, and flying. The touchscreen makes configuration approachable, the integrated flybarless programming eliminates guesswork, and telemetry ties your instincts to hard data.
For newcomers, this means a gentler learning curve and fewer hidden traps. For experienced pilots, it means faster iteration, deeper insight into how the helicopter behaves, and the ability to push performance without flying blind. The radio becomes less of a barrier and more of a transparent link between your intentions and the machine’s response.
If you are serious about getting the most from your RC helicopters, learning to harness everything mikado vbar control touch offers can be one of the most rewarding upgrades you make. From the first spool-up on a freshly built model to the thousandth flight on a well-tuned workhorse, this system invites you to refine, experiment, and ultimately fly with a level of confidence and precision that keeps you coming back to the flight line again and again.
共有:
msd soft touch rev control Tuning Secrets for Safer High RPM Power
How to Use Touch Control on Earbuds Like a Pro