

Imagine slipping on a lightweight headset and instantly seeing your living room transformed into a command center, a classroom, or a design studio. That is the promise of an ar glasses kit: a compact gateway into mixed reality that you can assemble, customize, and grow with as the technology evolves. Whether you are a curious beginner, a developer, or a professional looking to enhance your workflow, understanding these kits now will put you ahead of the curve as augmented reality becomes a daily habit instead of a novelty.
Far from being just futuristic toys, modern AR kits are rapidly turning into serious tools for education, engineering, medicine, retail, and remote collaboration. Yet for many people, the idea of buying or building an ar glasses kit still feels confusing. What exactly is inside? How difficult is it to set up? What can you realistically do with it at home or at work? This guide breaks everything down in clear, practical terms so you can make smart decisions and avoid expensive mistakes.
What Is an ar glasses kit?
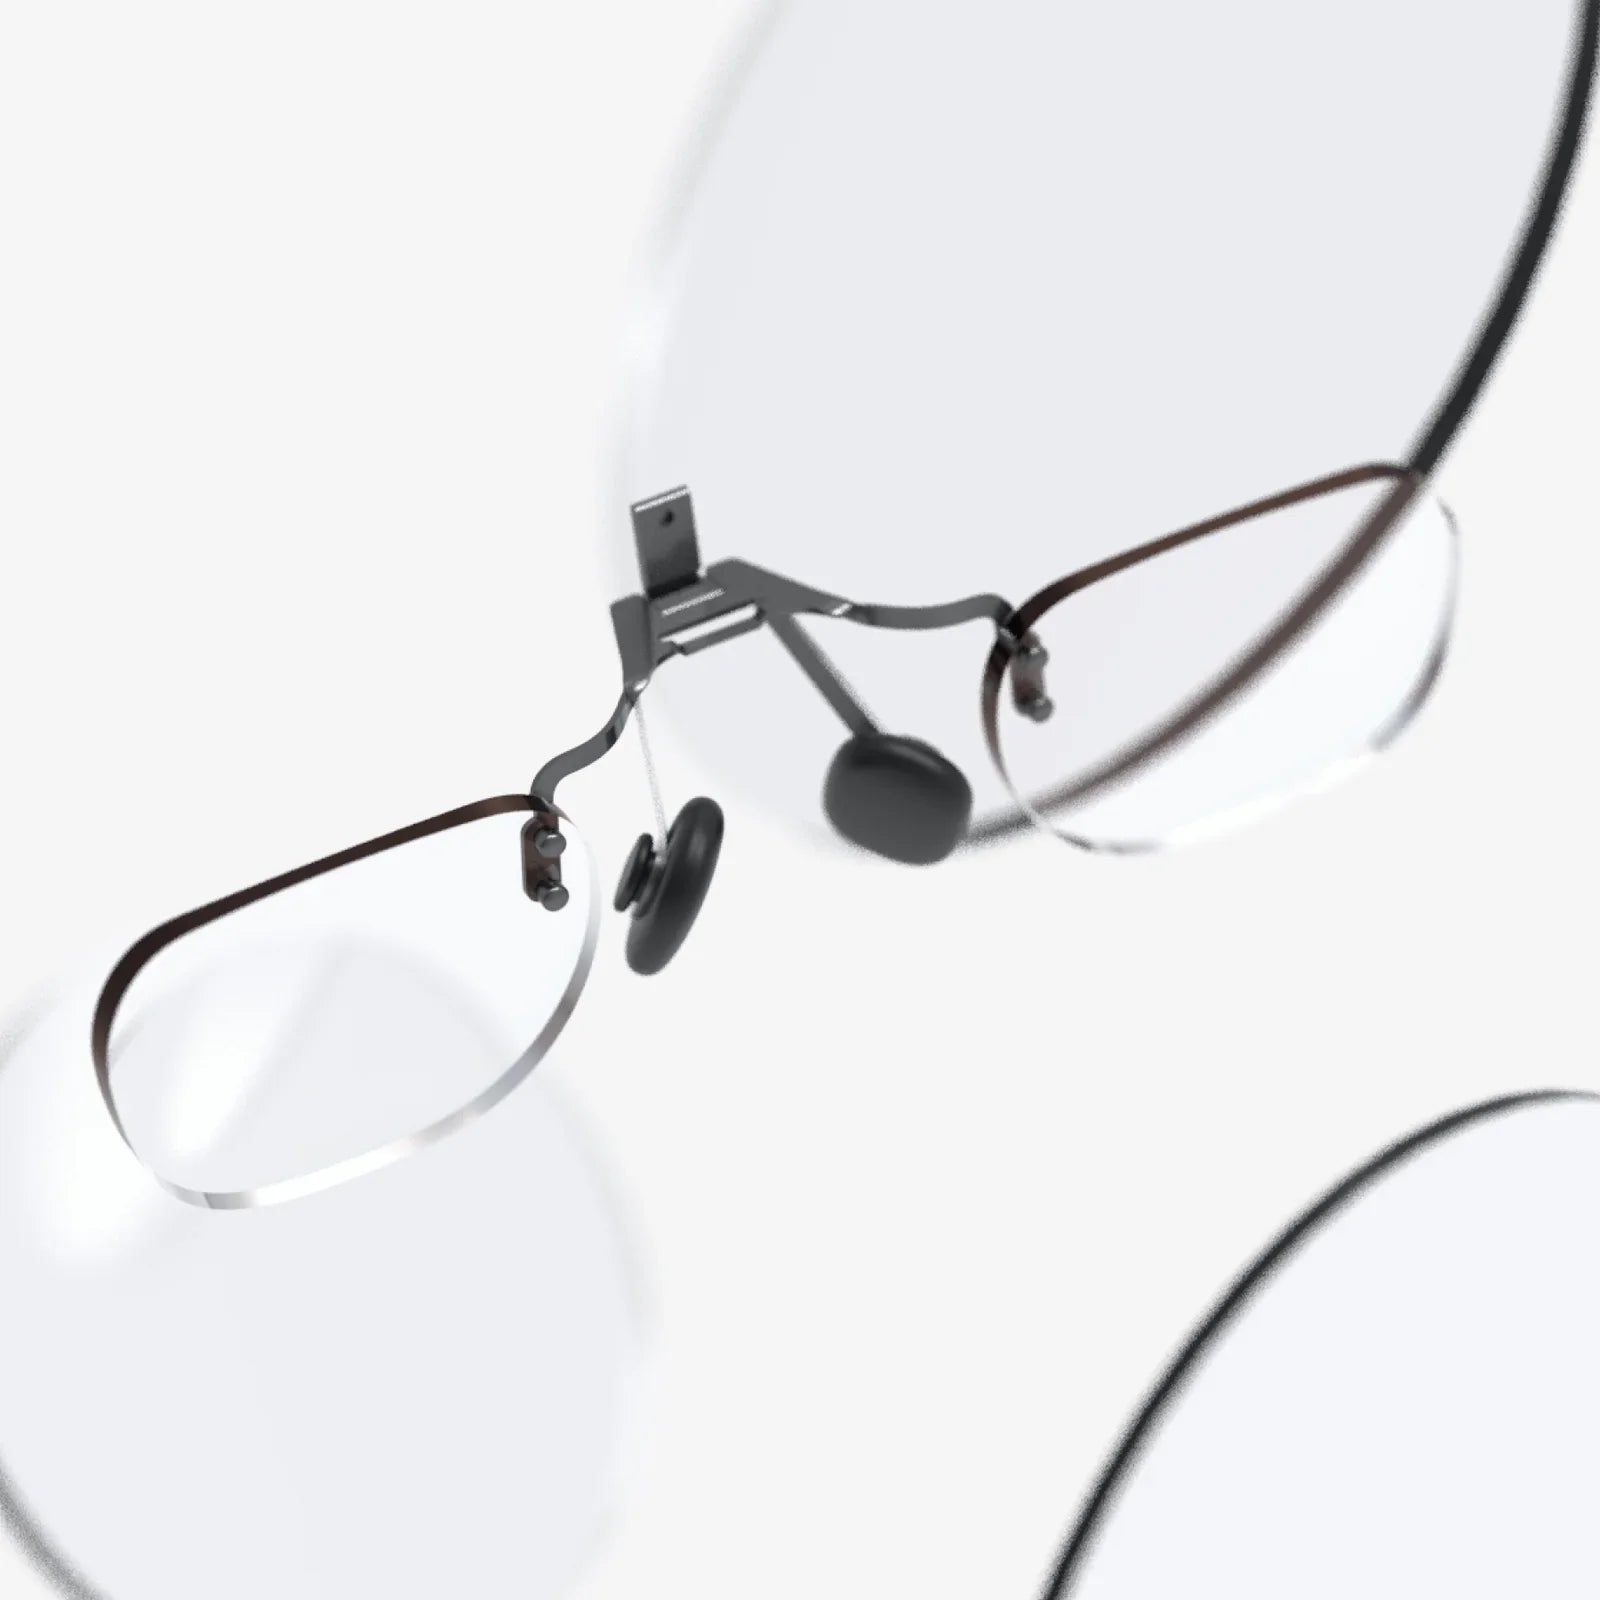
An ar glasses kit is a bundle of hardware, software, and accessories that lets you experience augmented reality through wearable glasses or a head-mounted display. Instead of showing you a fully virtual world, AR overlays digital information on top of your real surroundings, blending the physical and digital into a single view.
Depending on the kit, you might receive:
- AR glasses or a head-mounted frame
- Lens modules or waveguides for projecting images
- Sensors such as cameras, depth sensors, and IMUs
- A processing unit (built-in, tethered to a phone, or connected to a PC)
- Controllers, hand-tracking modules, or input devices
- Software development tools and demo applications
- Cables, straps, and protective cases
Some kits are designed for plug-and-play entertainment, while others focus on development and experimentation, giving you access to low-level controls and SDKs. The right choice depends on whether you want to simply use AR apps or actively create and customize them.
How ar glasses kit Technology Works
To understand what you are buying, it helps to know the basic technology inside an ar glasses kit. While implementations differ, most kits share several core components:
1. Optical Display System
The optical system is what actually places digital images in your field of view. Common approaches include:
- Waveguides: Transparent plates that guide light from tiny projectors into your eyes while letting you see the real world.
- Prism or combiner optics: Semi-transparent mirrors that reflect virtual images while transmitting real-world light.
- Projection on transparent lenses: Micro-projectors that cast images onto specially coated lenses.
Key specifications you will often see are:
- Field of view (FOV): The angle of the virtual area you can see; larger FOV feels more immersive.
- Resolution: The clarity of the virtual content; higher resolution means sharper text and graphics.
- Brightness and contrast: Important for visibility in various lighting conditions.
2. Sensors and Environmental Awareness
To align digital objects with the real world, an ar glasses kit relies on multiple sensors:
- IMU (Inertial Measurement Unit): Gyroscopes and accelerometers track head orientation and motion.
- RGB cameras: Capture the environment for tracking, recognition, and sometimes pass-through video.
- Depth sensors or stereo cameras: Help map surfaces and distances, enabling accurate placement of 3D objects.
- Eye-tracking sensors (in some kits): Detect where you are looking to improve interaction and reduce processing load.
These sensors work together to perform SLAM (Simultaneous Localization and Mapping), which is how the device knows where it is in space and how the environment is shaped.
3. Processing and Connectivity
AR experiences require substantial computing power. Kits typically use one of three approaches:
- Onboard processing: A built-in processor handles everything, making the glasses self-contained.
- Tethered to a smartphone: The phone acts as the brain, sending data and visuals to the glasses.
- Connected to a PC: A powerful computer renders complex scenes, ideal for development and high-end use.
Connectivity options may include USB-C, Wi-Fi, Bluetooth, or dedicated proprietary links. Latency and bandwidth directly affect how smooth and responsive the AR experience feels.
4. Input and Interaction
Interacting with AR content is just as important as seeing it. An ar glasses kit might support:
- Hand tracking: Cameras recognize your hands, letting you pinch, grab, and swipe in mid-air.
- Controllers: Handheld devices with buttons, triggers, and motion sensors for precise input.
- Voice commands: Microphones and speech recognition for hands-free control.
- Eye-based selection: Looking at an object and confirming with a gesture or voice.
The more natural the interaction, the easier it is to forget you are using a device at all.
Types of ar glasses kit and Who They Are For
Not all AR kits are designed with the same user in mind. Before choosing one, understand which category fits your needs.
1. Consumer-Friendly Starter Kits
These are aimed at newcomers who want to experience AR without complex setup. Typical features include:
- Simplified installation and onboarding
- Pre-loaded demos and games
- Mobile app integration
- Lightweight hardware with basic tracking
They are ideal if you want to explore AR entertainment, casual learning, or simple productivity tools without writing code.
2. Developer and Prototyping Kits
Developer-oriented ar glasses kit bundles focus on flexibility and access to low-level features. You can expect:
- SDKs and APIs for multiple platforms
- Sample projects and source code
- Detailed documentation and debugging tools
- Advanced tracking and sensor data access
These kits are perfect for software developers, researchers, and startups creating custom AR applications or experimenting with new interaction models.
3. Enterprise and Industry Kits
Some kits are tailored for specific industries such as manufacturing, healthcare, logistics, or field service. They often emphasize:
- Rugged design for demanding environments
- Integration with existing enterprise systems
- Remote assistance and collaboration tools
- Security and device management features
If you are evaluating AR for your business, these kits can provide more reliable support, documentation, and long-term update plans.
4. DIY and Maker Kits
For hobbyists who enjoy building and modifying hardware, maker-focused ar glasses kit offerings supply:
- Modular components like displays, sensors, and frames
- Open-source software and hardware designs
- Community forums and shared projects
They are ideal if you want to learn how AR works at the hardware level, experiment with custom designs, or integrate the glasses into robotics, drones, or other projects.
Key Features to Consider When Choosing an ar glasses kit
Since AR technology is still evolving, it is easy to get lost in marketing terms. Focus on these practical criteria when comparing kits:
1. Comfort and Ergonomics
Even the most advanced AR system is useless if you cannot wear it for more than a few minutes. Look at:
- Weight: Lighter is generally better, especially for longer sessions.
- Balance: Weight should be evenly distributed to avoid pressure points.
- Adjustability: Straps, nose pads, and lens distance adjustments matter.
- Compatibility with prescription glasses: Some kits support inserts or have enough room for spectacles.
2. Visual Quality
Visual comfort affects both enjoyment and productivity. Pay attention to:
- Field of view: A wider FOV feels more natural and less like looking through a small window.
- Resolution: Higher resolution helps with reading text and detailed work.
- Color accuracy: Important for design, visualization, and realistic overlays.
- Lens clarity and distortion: Poor optics can cause eye strain or motion sickness.
3. Tracking Performance
Good tracking makes virtual objects feel stable and anchored to the real world. Evaluate:
- Positional tracking: Does the kit track both rotation and translation accurately?
- Latency: Lower latency leads to a more responsive, comfortable experience.
- Robustness: How well does tracking hold up in low light or cluttered environments?
4. Battery Life and Power Options
Battery life can range from under an hour to several hours depending on usage and design. Consider:
- Typical runtime for your main use case (meetings, training sessions, development)
- Support for external battery packs or hot-swapping
- Charging time and connector type
5. Software Ecosystem
The best hardware is limited by weak software. Look at:
- Available apps and content libraries
- Support for popular game engines and development platforms
- Frequency of software updates and improvements
- Community activity, tutorials, and sample projects
6. Privacy and Security
Because AR devices often use cameras and microphones, privacy matters. Check:
- How sensor data is stored and transmitted
- Options to disable or cover cameras when not needed
- Enterprise management features if used in a business setting
Common Use Cases for an ar glasses kit
The real power of an ar glasses kit becomes obvious when you see how many different scenarios it can enhance. Here are some of the most compelling applications:
1. Education and Training
AR can turn abstract concepts into tangible experiences. With a well-configured kit, you can:
- Explore interactive 3D models of molecules, historical sites, or mechanical systems.
- Follow step-by-step guided procedures overlaid on real equipment.
- Practice complex tasks in a safe, simulated environment.
Teachers and trainers can use AR to improve engagement and retention, while learners benefit from hands-on, visual explanations.
2. Design, Engineering, and Architecture
Designers and engineers can use an ar glasses kit to visualize prototypes at scale in real spaces:
- Place virtual furniture in a room to test aesthetics and fit.
- Inspect virtual machinery or vehicles from every angle.
- Collaborate remotely on 3D models with colleagues across the world.
Seeing a design in context reduces misunderstandings and speeds up iteration cycles.
3. Remote Assistance and Collaboration
AR glasses can stream what you see to a remote expert, who can then overlay annotations and guidance in real time. This is useful for:
- Field service technicians needing expert support.
- Medical professionals consulting with specialists.
- Distributed teams working on physical installations.
An ar glasses kit with robust connectivity can dramatically reduce travel costs and response times.
4. Healthcare and Therapy
In healthcare environments, AR can assist with:
- Visualizing anatomical structures during training or planning.
- Guiding procedures with overlaid instructions.
- Supporting physical therapy through interactive exercises.
While clinical deployment requires rigorous validation, kits are increasingly used for education and simulation.
5. Retail and Customer Experience
Retailers experiment with AR to give customers immersive experiences:
- Trying virtual products in real spaces before buying.
- Accessing contextual information about items on shelves.
- Participating in interactive in-store events.
An ar glasses kit can be a powerful tool for prototyping and testing such experiences before rolling them out widely.
6. Entertainment and Gaming
AR gaming blends digital characters and challenges with your physical surroundings. With the right kit, you can:
- Battle virtual opponents in your living room.
- Play cooperative games that use your actual environment as the level.
- Experience interactive storytelling where scenes unfold around you.
Because AR respects your real space, it can feel more accessible than fully immersive VR, especially for shorter sessions.
Step-by-Step: Setting Up Your ar glasses kit
While each kit has its own instructions, most setups follow a similar pattern. Here is a general roadmap to get you up and running:
Step 1: Unbox and Inspect
Carefully unpack all components and verify that everything listed in the manual is present. Check for:
- Glasses or headset frame
- Cables and power adapters
- Controllers or input devices
- Documentation and quick-start guides
- Protective case or cleaning cloths
Inspect the lenses and sensors for dust or smudges and clean them gently if needed.
Step 2: Charge and Update
Before your first session, fully charge the device or any external battery packs. Then:
- Connect the kit to its companion app, PC software, or configuration tool.
- Check for firmware and software updates.
- Install recommended drivers and SDKs if you plan to develop apps.
Updating early helps avoid bugs that were fixed after manufacturing.
Step 3: Fit and Comfort Adjustments
Put on the glasses and adjust:
- Straps or arms for a snug but not tight fit.
- Nose pads so weight is evenly distributed.
- Lens distance or IPD (interpupillary distance) if configurable.
Spend a few minutes walking around to ensure the device feels stable and does not create pressure points.
Step 4: Environment Preparation
Choose a safe, open area for your first AR sessions:
- Remove tripping hazards like loose cables or clutter.
- Ensure adequate lighting so cameras can track surfaces.
- Avoid mirrors and reflective surfaces if they confuse tracking.
Some kits require you to scan the room to build a spatial map. Follow on-screen instructions carefully.
Step 5: Run Demo Experiences
Most ar glasses kit bundles include demo apps to showcase capabilities. Use them to:
- Test tracking stability and visual clarity.
- Practice basic gestures and interactions.
- Get a feel for how long you are comfortable wearing the device.
Take note of any discomfort or performance issues so you can adjust settings later.
Step 6: Customize Settings
Explore the settings menu to optimize the experience:
- Adjust brightness and contrast to suit your environment.
- Enable or disable hand tracking, voice input, or other features.
- Set up Wi-Fi, Bluetooth, or pairing with your phone or PC.
If you are a developer, configure your development environment, including SDKs, emulators, and debugging tools.
Getting Started with Development on an ar glasses kit
If you want to build your own AR applications, an ar glasses kit can be an excellent platform. Here is how to begin:
1. Choose Your Development Stack
Most kits support at least one major game engine or AR framework. Consider:
- Which languages you are comfortable with (for example, C#, C++, or scripting languages).
- Whether you need cross-platform support for phones, tablets, and other headsets.
- Available templates and sample projects.
2. Study the SDK and Documentation
Before writing code, spend time with the official documentation:
- Understand how to access sensor data and spatial mapping.
- Learn best practices for performance and battery life.
- Review guidelines for user interface and interaction design in AR.
3. Start with Simple Prototypes
Build small, focused prototypes rather than a complex application right away. For example:
- A floating panel that follows your gaze.
- A virtual object anchored to a real-world surface.
- A simple hand gesture that triggers a visual effect.
These small experiments teach you how the device behaves in real environments.
4. Test with Real Users
AR is highly sensitive to comfort and context. Share early builds with colleagues or friends and observe:
- Whether they understand how to interact without explanation.
- How they move around and whether the app encourages safe behavior.
- Any signs of eye strain, motion sickness, or confusion.
Iterate based on feedback and refine both visuals and interactions.
Challenges and Limitations of Today’s ar glasses kit Options
Despite rapid progress, AR technology still faces hurdles. Being aware of them helps you set realistic expectations.
1. Limited Field of View
Many kits provide a smaller AR window than you might expect, especially compared to your natural vision. This can make large virtual objects feel cut off or require more head movement.
2. Battery and Heat
High-performance processing in a small form factor generates heat and drains batteries quickly. You may need to plan for:
- Shorter sessions for demanding applications.
- Cooling breaks during extended use.
- External power solutions for professional scenarios.
3. Social and Aesthetic Factors
Even as designs improve, wearing AR glasses in public can still feel awkward. Some people worry about being recorded or distracted. Clear communication and visible indicators (such as lights showing when cameras are active) can help build trust.
4. Software Maturity
App ecosystems for AR are younger than those for smartphones. While you will find impressive demos, the selection of polished, everyday apps may be limited depending on the platform. This is slowly changing as more developers adopt AR.
Practical Tips for Getting the Most from Your ar glasses kit
To make your investment worthwhile, follow these practical guidelines:
1. Pace Yourself
Start with short sessions and gradually increase duration as your eyes and brain adapt. Pay attention to signs of fatigue and take breaks.
2. Maintain Your Hardware
Keep lenses clean with appropriate cloths, store the kit in its case when not in use, and avoid exposing it to extreme temperatures or moisture. Regular maintenance extends lifespan and preserves visual quality.
3. Curate Your Content
Instead of installing everything at once, pick a few high-quality apps or experiences that match your goals. This makes it easier to evaluate the kit’s value and reduces clutter in your interface.
4. Stay Involved in the Community
Join forums, developer groups, and online communities focused on your specific ar glasses kit. You will discover:
- Troubleshooting tips and performance tweaks.
- Open-source projects and sample code.
- Upcoming features and insider insights.
5. Plan for Upgrades
AR is evolving quickly. When choosing a kit, consider how easy it will be to transition to newer hardware later. Look for:
- Compatibility with standard development tools.
- Clear roadmaps from the manufacturer.
- Modular components that can be reused.
Why Now Is a Smart Time to Explore an ar glasses kit
For years, AR was mostly a buzzword, but the ecosystem has reached a point where serious experimentation is possible at home or in the office. Hardware is more compact, sensors are more accurate, and software frameworks are more accessible than ever. At the same time, the field is not yet saturated, which means enthusiasts, developers, and early-adopting businesses can still stand out by building expertise now.
An ar glasses kit is more than a gadget; it is a toolkit for exploring how digital information should live in our physical world. Whether you want to supercharge your productivity, prototype new experiences, or simply play in a new medium, the right kit can open doors to skills and opportunities that will only grow more valuable as AR moves from early adopters to everyday users. If you have been waiting for the moment when augmented reality becomes both powerful and approachable, that moment is here—and your first kit could be the key that unlocks it.
Share:
cosumer ar glasses: The Next Screen That Changes Everything
cosumer ar glasses: The Next Screen That Changes Everything