
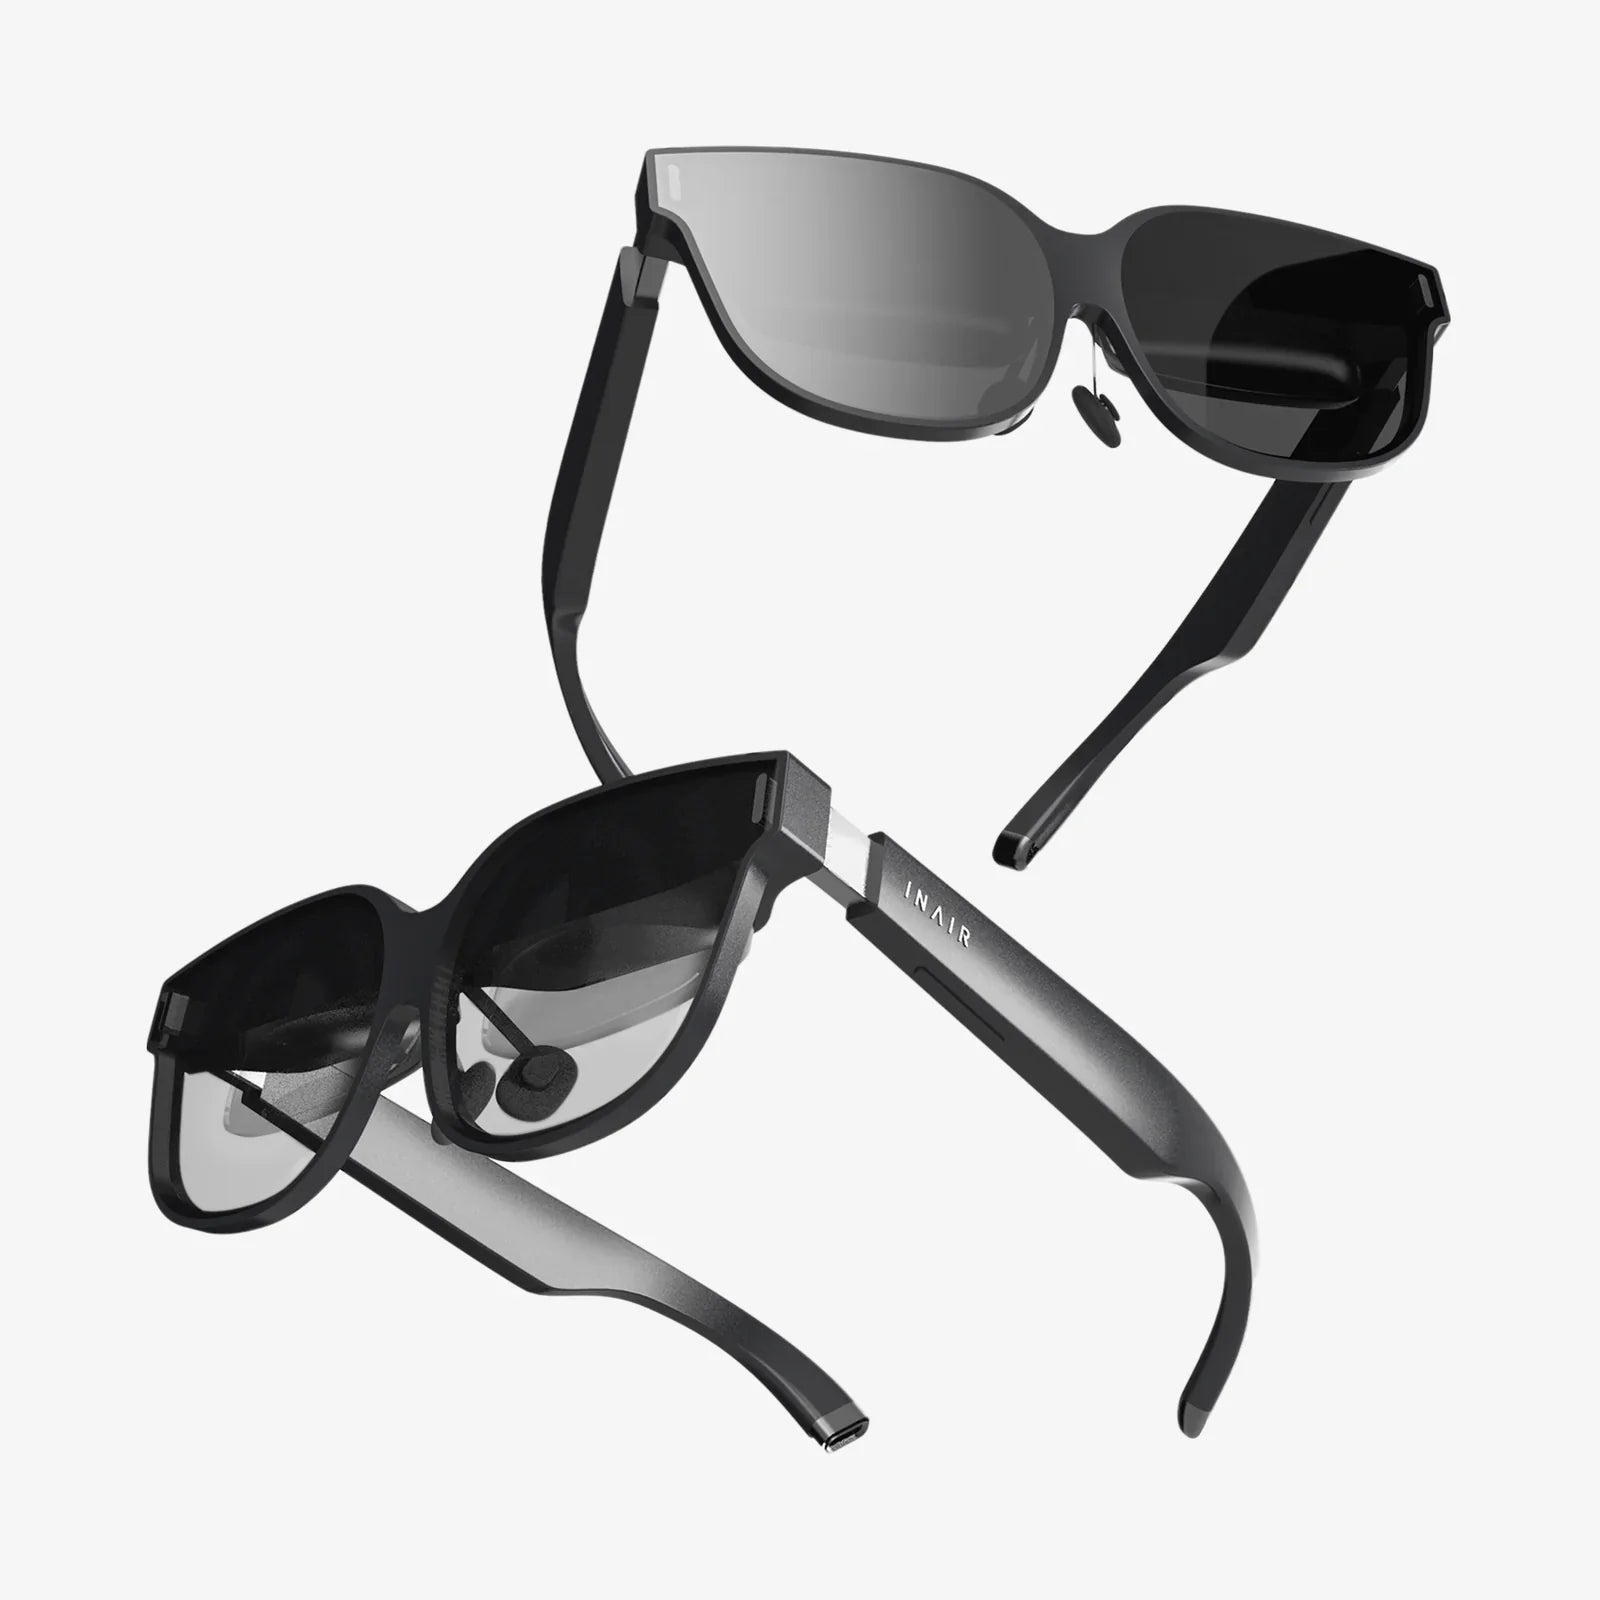
You've just unboxed the future, a sleek pair of smart glasses that promises to overlay digital information onto your physical world. The potential is staggering—from receiving navigation cues right in your line of sight to capturing photos and videos with a simple voice command. But before you can step into this augmented reality, there's a crucial first step: the setup. A proper configuration is the difference between a frustrating gadget and a seamless extension of your digital life. This definitive guide will walk you through every single step, ensuring your journey into wearable tech is as smooth and rewarding as possible.
Pre-Setup Preparation: Laying the Groundwork
Resist the urge to immediately power on your new device. A small amount of preparation will prevent countless headaches later. Start by carefully unpacking everything. Lay out all the components on a clean, soft surface. Typically, you will find the glasses themselves, a charging case or cable, and various documentation. Do not discard any of these items, especially the quick start guide, as it often contains model-specific information like the location of buttons and ports.
Next, identify the charging method. Most modern smart glasses use either a proprietary magnetic charging cable or a dedicated charging case. Connect the device to its power source and allow it to charge fully. This initial charge is vital, as it ensures the device won't power down during the critical firmware update and pairing processes, which could potentially brick the device. While it charges, this is the perfect time to prepare your smartphone.
The Central Hub: Downloading the Companion Application
Smart glasses are not standalone devices; they are powerful peripherals that rely on a connection to your smartphone. This connection is managed through a dedicated companion application. Using your phone's official app store—be it for iOS or Android—search for the application developed by the manufacturer of your glasses. It's essential to download the correct, official app to avoid security risks and ensure full functionality. If a specific app name is not listed in your quick start guide, a simple search for the manufacturer's name and "smart glasses" should yield the correct result.
Once downloaded, open the application. You will likely be prompted to create an account or sign in. This account is how your preferences, settings, and sometimes even your data are synced across devices. Use a strong, unique password. Before proceeding, ensure your phone's operating system is up to date and that you have enabled the essential permissions the app will request: Bluetooth, Location (for navigation features), Microphone, and Notifications. Denying these will severely hamper the device's capabilities.
The First Connection: Powering On and Pairing
With your glasses fully charged and the app installed, you're ready for the moment of truth. Locate the power button on your glasses. This is often integrated into the frame, sometimes as a multifunction button. Press and hold it until you see an indicator light, feel a haptic vibration, or see a display illuminate within the lenses.
Now, within the companion application, initiate the pairing process. This is usually a prominent button on the app's initial setup screen labeled "Pair New Device" or "Connect." Your phone will now scan for available Bluetooth devices. Your glasses should appear in the list, often with a model number. Select them. You will almost certainly be presented with a pairing code on both your phone's screen and within the glasses' display. Confirm that these codes match and approve the connection. This establishes a secure Bluetooth link, the primary conduit for all data between your phone and glasses.
Dialing It In: The Crucial Fit and Display Calibration
This is arguably the most important step for user experience. If the display isn't aligned correctly for your eyes, the technology becomes useless. If your glasses have interchangeable nose pads or adjustable arms, experiment with the different sizes to find the most secure and comfortable fit. The goal is a stable platform that doesn't slide down your nose.
Next, focus on the display itself. Many apps include a calibration screen. This typically involves looking at a target or a block of text and adjusting the position of the glasses on your face until the image is perfectly clear and sharp. You may need to nudge the arms up or down on your ears or adjust how the frame sits on the bridge of your nose. Do not rush this step. Take the time to move the display element around, ensuring it sits in a natural part of your peripheral vision without obstructing your view. A well-calibrated display feels intuitive; a poorly calibrated one is a distracting, blurry nuisance.
Configuring Your Digital Experience: Settings and Preferences
The pairing is complete, but the setup is not. Now, you must teach the glasses how you want to use them. Dive into the settings menu of the companion app. Here, you will find a wealth of options to customize your experience.
- Notifications: This is critical. You do not want every single alert from every app bombarding your visual field. Be selective. Choose only the most essential apps—such as messaging, navigation, and phone calls—to relay notifications to your glasses. Your productivity and focus will thank you.
- Voice Assistant: Link your preferred voice assistant (e.g., the device's native one, or a mainstream alternative). This integration allows you to control music, ask questions, set reminders, and initiate commands without touching your phone.
- Gesture and Touch Controls: Most glasses have touch-sensitive arms or frames. The app will allow you to customize what different gestures do. For example, a single tap might play/pause music, a swipe forward might skip a track, and a swipe back might take a photo. Assign commands that feel intuitive to you.
- Camera and Privacy Settings: Configure your video and photo resolution based on your storage and quality needs. More importantly, set up the visual or audible indicators that let others know when the camera is active, a key feature for responsible use in public spaces.
- Display Brightness and Auto-Dim: Set the default brightness and enable auto-dim features that adjust the display intensity based on ambient light, saving battery life and improving readability in different environments.
Advanced Configuration and Ecosystem Integration
For the power user, the setup extends beyond the native app. Explore if your glasses support integration with other smart home ecosystems or productivity platforms. You might be able to set up custom workflows where looking at a specific smart light in your home and giving a voice command changes its color.
Furthermore, investigate the available third-party apps. Some manufacturers have SDKs for developers, meaning there might be niche applications for navigation, language translation, or specialized work tasks that can be downloaded and installed through the companion app, further expanding your device's utility.
Troubleshooting Common Setup Hiccups
Even with the best guides, technology can be fickle. Here are solutions to common setup problems:
- Failing to Pair: Ensure Bluetooth is enabled on your phone. Restart both your phone and the smart glasses. Delete the glasses from your phone's Bluetooth list and try the pairing process again from within the companion app.
- Interrupted Firmware Update: If the update fails, ensure the glasses are charged above 50%. Connect to a strong, stable Wi-Fi network and restart the update process from the app's settings menu.
- Bluetooth Connection Drops: Keep your phone within a reasonable range (typically 30 feet without obstructions). Some connection instability is normal in crowded RF environments like airports or coffee shops.
- Unresponsive Touch Controls: Check the companion app's settings to ensure the gestures are configured correctly. Ensure the frame is clean and dry.
Ethical and Social Considerations
Your setup is complete from a technical standpoint, but your responsibility is just beginning. As a user of a device with a camera and microphone that is always ostensibly at the ready, you must be hyper-aware of your surroundings. Understand the laws in your region regarding recording audio and video. Be respectful of others' privacy. Avoid using your glasses in sensitive locations like locker rooms, private offices, or theaters. The discreet nature of the technology demands a heightened level of personal ethics and transparency from its users.
The world is about to look very different. With your smart glasses now perfectly configured, calibrated, and personalized, you are equipped to navigate it with an unprecedented layer of information and capability. The initial time investment in a meticulous setup pays infinite dividends in daily use, transforming a complex piece of technology into an intuitive and empowering tool. Go forth and explore your newly augmented reality, but always remember the power and responsibility that rests on the bridge of your nose.
Share:
Android XR Smart Glasses Cost: A Deep Dive into the Price of Immersive Computing
Are There Any Smart Glasses That Support Prescription Lenses? A Complete Guide to Clear Vision and Augmented Reality