

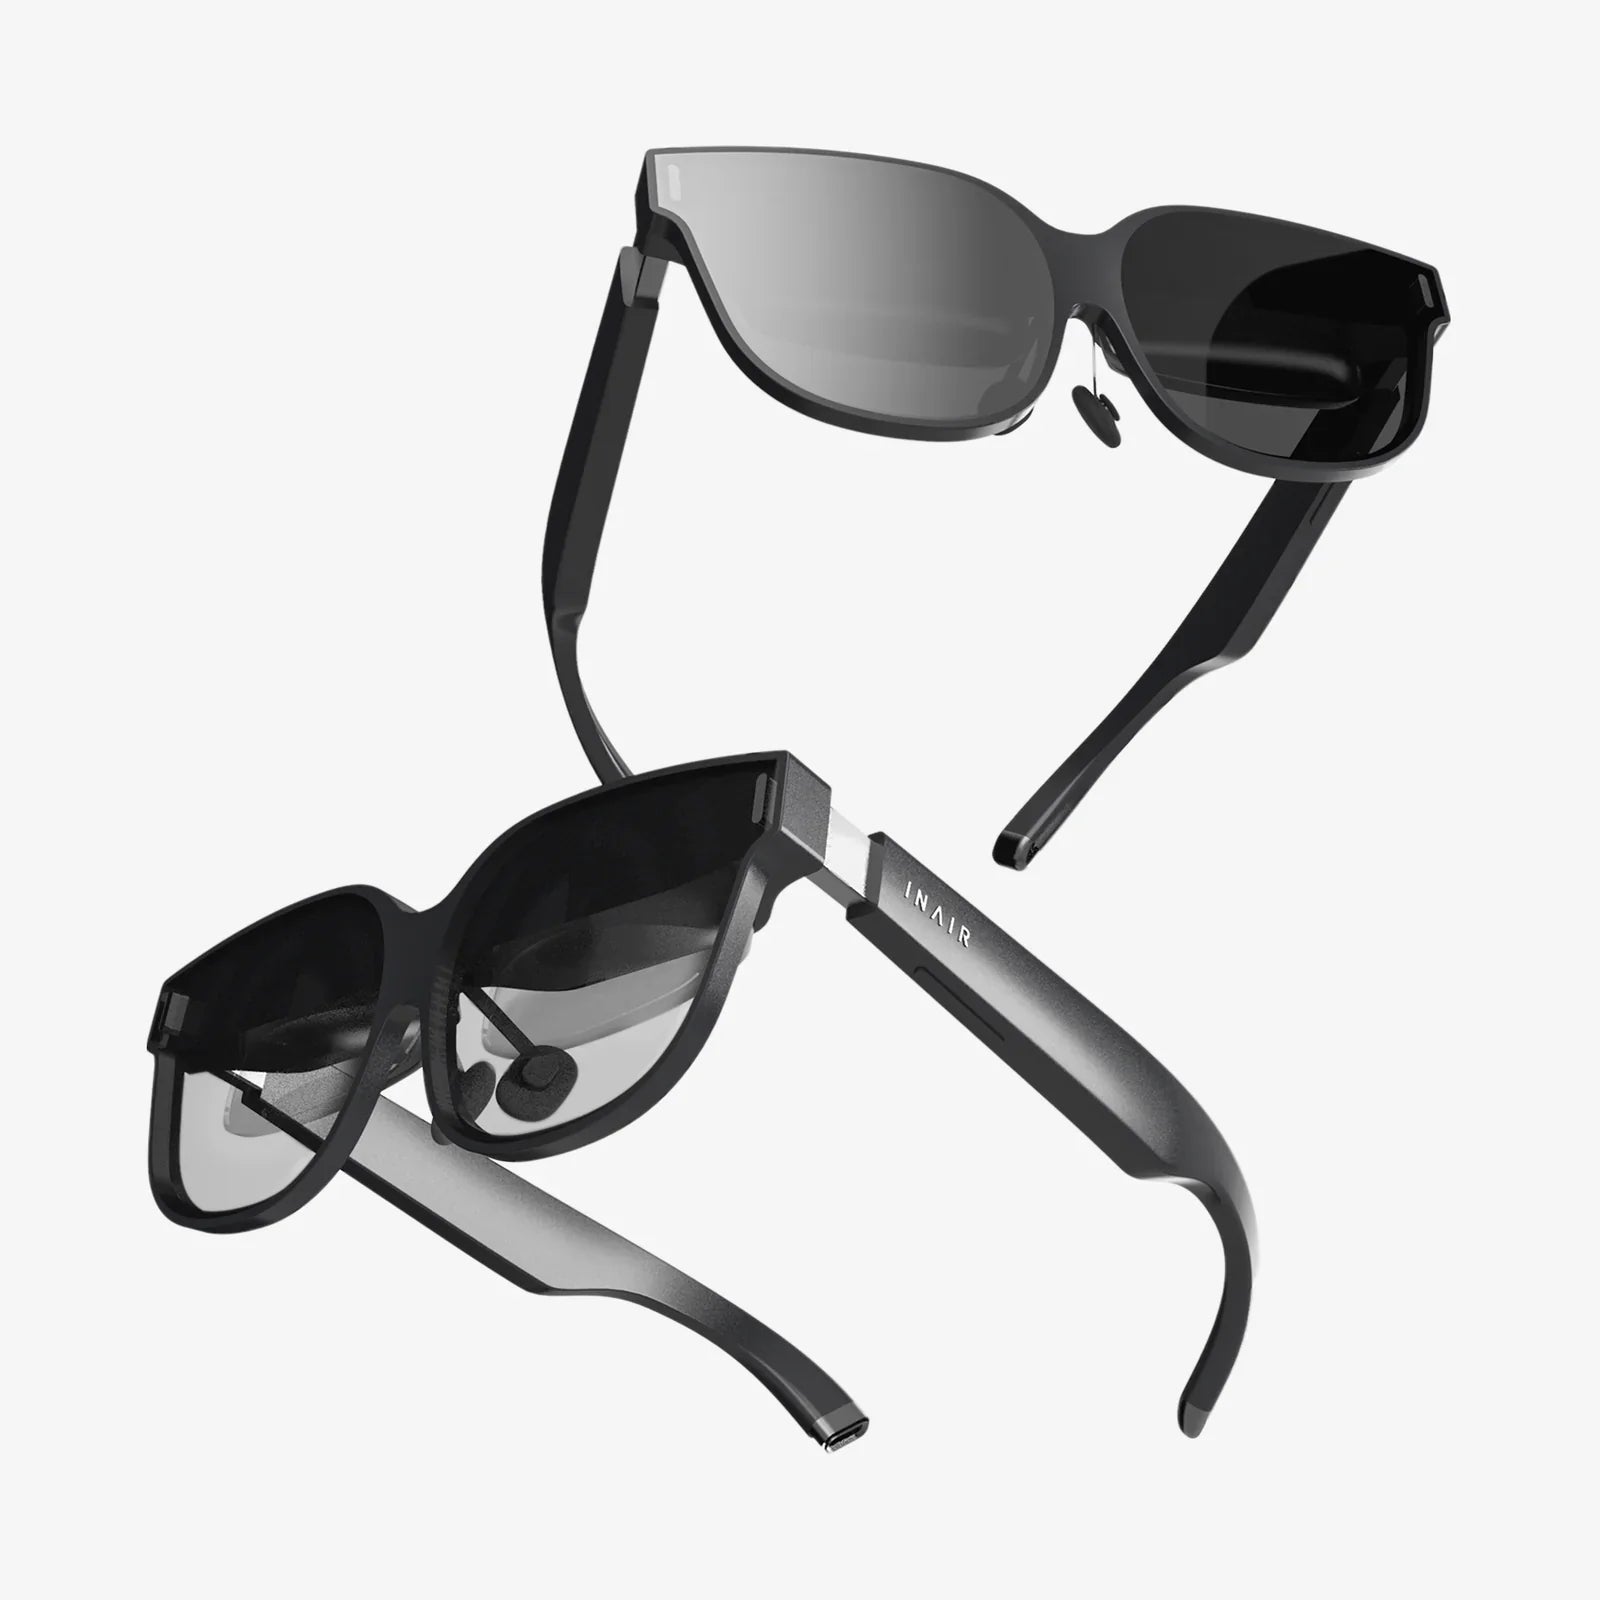
You've just unboxed the future, a sleek portal to infinite digital worlds. The anticipation is electric. But before you can scale mountains, explore the human bloodstream, or battle intergalactic foes, you need to know one crucial thing: how to start a VR headset. This isn't just about pressing a power button; it's about unlocking a universe of potential. This definitive guide will walk you through every single step, transforming that complex-looking device into your personal gateway to adventure, ensuring your first foray into virtual reality is nothing short of spectacular.
Laying the Groundwork: Pre-Flight Checks
Resist the urge to immediately strap the device to your face. A successful launch into VR begins long before you power on the headset. Think of this phase as preparing for a major expedition; proper preparation prevents a world of frustration.
Unboxing and Inventory
Carefully unpack all the components from the box and lay them out on a clean, soft surface. Typical contents will include:
- The VR headset itself
- One or two motion controllers
- Charging cables and a power adapter
- Optional: External sensors or base stations
- Optional: Additional face gaskets or interface pads
- Documentation and safety manuals
Critical Step: Do not discard any packaging until you are completely set up. It's also highly advisable to read the safety manuals and quick-start guides provided. They contain model-specific information that is invaluable.
The Arena: Preparing Your Play Space
Virtual reality requires physical space. This is the single most overlooked aspect of setup.
- Stationary vs. Room-Scale: Most systems offer two modes. A stationary experience allows you to stand or sit in one spot, while room-scale lets you walk around. Decide which you intend to use.
- Clear the Area: For room-scale, you need a clear, unobstructed rectangle of space. The minimum is often 6.5 x 5 feet (2m x 1.5m), but more is always better. Remove coffee tables, chairs, rugs that might slip, and any low-hanging light fixtures or ceiling fans.
- Mind the Walls: Be aware of your walls, desks, and monitors. VR is immersive, and it's surprisingly easy to forget your real-world surroundings.
- Lighting and Reflections: Some headsets use external cameras for tracking. These can be confused by intense direct sunlight, infrared light sources, or highly reflective surfaces like mirrors and glass-covered pictures. Aim for consistent, indirect lighting.
System Requirements and Software Installation
If your headset requires a connection to a powerful computing device, this step is non-negotiable.
- PC/Console Check: Ensure your computer or game console meets the minimum, and ideally the recommended, specifications for VR. This is crucial for a smooth, nausea-free experience.
- Download the Platform: Nearly all PC-connected and standalone headsets require a dedicated software platform to act as a hub. Download and install this application on your computer before you connect the headset. Create an account if necessary.
- Update Everything: Once the software is installed, let it check for updates. This ensures you have the latest drivers and features before you begin.
- Charge Your Gear: Plug in your controllers and headset (if it has an internal battery) to charge fully. There's nothing worse than the controllers dying mid-setup.
The Core Setup Process: A Step-by-Step Walkthrough
With your space prepared and software installed, it's time to bring your VR system to life. The exact steps can vary, but the general flow remains consistent across most major platforms.
Step 1: Connecting the Hardware
This is where you physically connect your headset to its power source and, if required, to your computer or console.
- Standalone Headsets: Simply ensure the internal battery is charged. You may need to connect it to power during the initial setup if the charge is low.
- PC-Connected Headsets: Locate the appropriate cable (often a single thick cable that combines power, USB, and video). Connect it firmly to the headset and then to the correct ports on your computer. Some modern headsets use a single USB-C connector, while others may require plugging into a dedicated power adapter and specific video ports on your graphics card.
- External Sensors: If your system uses external sensors or base stations for tracking, position them in the opposite corners of your play space, angled downward towards the center. They need to be plugged into power outlets and should have a clear, unobstructed view of the entire area.
Step 2: Powering On and Pairing Controllers
Now, put on the headset. You might not see anything yet, or you might see a startup logo.
- Locate the power button on the headset (usually on the underside or the side) and press it. You should hear a sound or see a light turn on.
- Next, turn on your motion controllers. There's usually a button to press and hold. The software platform on your computer should automatically detect them and guide you through a pairing process, which often involves clicking a button on-screen when prompted.
Step 3: The In-Headset Guided Setup
This is the magic moment. The headset's display will likely come alive, launching you into a first-time setup wizard. This is an immersive experience in itself.
- Language and Wi-Fi: You will be prompted to select your language and connect to your Wi-Fi network. A strong, stable connection is vital for downloading apps and updates.
-
Guardian/Chaperone System Setup: This is the most important safety feature. The system will ask you to define your play area.
- For Stationary: You'll simply point a controller at the floor to calibrate your standing height and confirm a small circle around you.
- For Room-Scale: You will be asked to trace the boundary of your cleared-out play space by pointing a controller at the floor and clicking a button as you walk around the perimeter. This creates a virtual wall grid that will appear whenever you get too close to the edge, preventing you from walking into a real wall.
- IPD Adjustment: The headset will guide you to adjust the Interpupillary Distance—the physical distance between the lenses. There's usually a small dial on the bottom of the headset. Adjust this while looking at a test image until the picture is as sharp and clear as possible. This step is critical for visual comfort and reducing eye strain.
- Firmware Updates: The system will almost certainly check for and install any final firmware updates for the headset and controllers. Be patient and let it complete.
Fine-Tuning for Comfort and Clarity
A poorly fitted headset is uncomfortable and can blur your experience. Taking two minutes to adjust it properly makes a world of difference.
- The Straps: Loosen all straps, place the headset on your face, and then secure the top strap first so the weight is supported by the crown of your head, not your cheeks. Then, tighten the side straps until the headset is snug but not painfully tight.
- The Sweet Spot: Micro-adjust the angle and position of the headset on your face. Look for the "sweet spot" where the image is uniformly sharp from center to edge. Text should be easy to read.
- Comfort Accessories: If the headset came with different facial interfaces (e.g., a "glasses spacer"), try them to see what provides the best fit and comfort, especially if you wear glasses.
Your First Steps in Virtual Reality
The setup is complete! You are now standing in a virtual "home" environment or a platform menu. This is your new dashboard.
- Orientation: Take a moment to look around. Use your head to look up, down, and behind you. The world should track with your movement perfectly.
- Controller Tutorial: Most platforms have a mandatory or highly recommended interactive tutorial. DO NOT SKIP THIS. It will teach you how to use the controllers, navigate menus, grab objects, and interact with the virtual world. It's fun and essential.
- Exploring the Store: Navigate to the application store within your VR platform. Here you can browse and download experiences. Many platforms offer several free games and experiences perfect for beginners.
Troubleshooting Common Startup Hiccups
Even with perfect preparation, things can sometimes go awry.
- No Display/Image: Check all physical cable connections at both the headset and computer ends. Ensure your computer is outputting to the correct display.
- Tracking Issues (Jittery World): Check your lighting conditions. Close blinds to block sunlight. Cover or remove mirrors. Ensure the headset's external cameras or sensors are clean and unobstructed.
- Controllers Won't Pair: Put the controllers into pairing mode again (check the manual for the specific button combo) and use the software's device settings menu to search for them manually.
- Audio Not Working: VR audio often routes through the headset by default. Check your computer's sound settings and the audio settings within the VR platform app to ensure the correct output device is selected.
VR Etiquette and Best Practices
Starting a VR headset isn't just technical; it's also about mindset.
- Take Breaks: Start with short sessions of 15-30 minutes. Even if you feel fine, your brain and senses are working overtime. Gradually increase your play time as you get your "VR legs."
- Listen to Your Body: If you feel any discomfort, dizziness, or nausea (simulator sickness), stop immediately. Don't "power through" it. This often subsides with repeated, short exposures.
- Be Aware: Always be mindful of your Guardian boundary. It's there for a reason. Keep pets and young children out of your play space while you are immersed.
- Cleanliness: The headset is a personal device. Use the provided microfiber cloth to clean the lenses (never use chemicals or rough cloths). Regularly wipe down the facial interface and controllers with an alcohol-free wipe to keep it hygienic, especially if sharing with others.
The moment the headset clicks into place and the real world fades away is pure magic. You are no longer a spectator; you are an active citizen of the digital frontier. You now possess the knowledge to not just start a VR headset, but to master its initiation, troubleshoot its quirks, and step forward with confidence. A universe of breathtaking experiences, from serene artistic creations to heart-pounding adventures, is now waiting for you. Your journey begins with a single press of a button—what will you explore first?
Share:
How to Turn On VR Headset: Your Complete Setup and Troubleshooting Guide
Extended Reality XR Hardware Market Trends: A Deep Dive into the Future of Immersion