


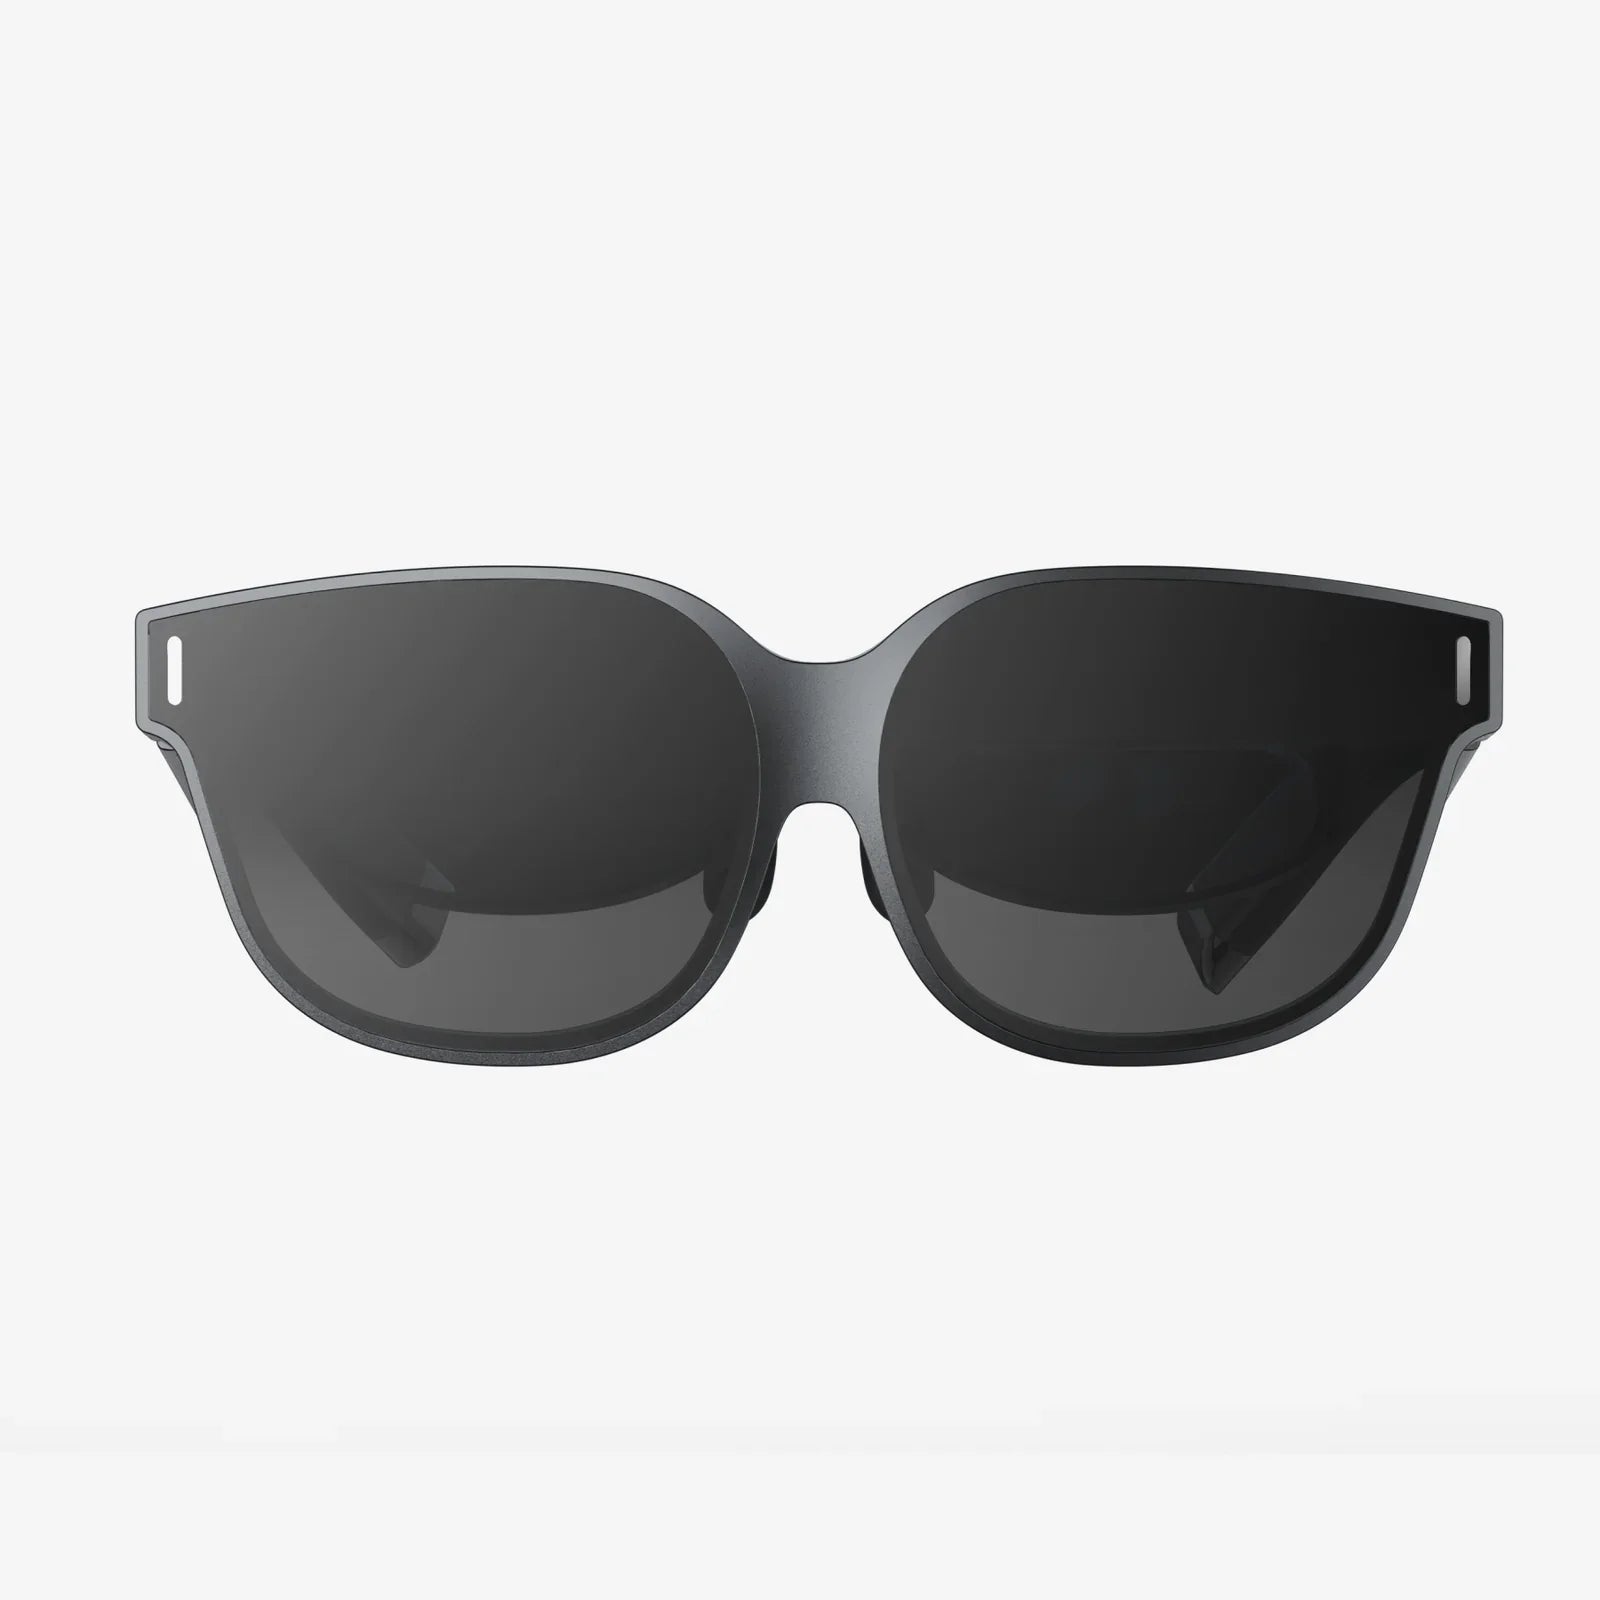
You've dreamed of stepping into other worlds, of experiencing the impossible, of feeling truly present in a digital landscape. That dream is now a tangible reality, but the path from unboxing a headset to achieving a truly seamless and breathtaking virtual experience is paved with crucial decisions. This isn't just about purchasing a single piece of hardware; it's about crafting an ecosystem. This ultimate guide is your blueprint for building the best VR set up, a system designed for maximum immersion, unparalleled comfort, and endless exploration.
Laying the Foundation: Choosing Your Hardware Path
The first and most significant decision in your journey is selecting the type of virtual reality system that aligns with your lifestyle, budget, and performance expectations. The landscape is broadly divided into two distinct categories, each with its own philosophy and requirements.
The All-in-One (Standalone) Experience
Standalone headsets represent the most accessible gateway into virtual reality. These devices have all the necessary computing power, sensors, and batteries built directly into the headset itself. There are no wires tethering you to a separate machine, offering unparalleled freedom of movement.
Pros: The primary advantage is convenience and ease of use. Setup is incredibly simple—often just powering on the device and pairing controllers. The wireless nature means you can use it in any room with sufficient space, making it ideal for shared living areas or taking your system to a friend's house. They are generally more affordable upfront, as there's no need for a powerful computer.
Cons: This convenience comes with trade-offs. The graphical fidelity and processing power are necessarily limited by the mobile-grade chipsets and thermal constraints of a self-contained device. While visuals are impressive and constantly improving, they cannot match the raw rendering power of a high-end computer. Battery life is also a limiting factor, with most sessions capped at two to three hours.
Ideal For: Newcomers to VR, families, those with limited space, gamers who value convenience and wireless freedom, and users who want a device for fitness and social applications.
The Tethered (PC-Powered) Powerhouse
For those seeking the absolute pinnacle of visual fidelity, performance, and library depth, a tethered setup is the answer. These headsets act as sophisticated displays and sensors, but all the processing is handled by a powerful desktop computer to which they are connected via a high-speed cable.
Pros: The benefits are sheer performance and visual splendor. A capable computer can render vastly more complex scenes, with higher resolutions, faster frame rates, and advanced graphical effects like realistic lighting, shadows, and textures. This results in the most immersive and visually stunning experiences available. The library of content is also much larger, encompassing countless titles on various digital distribution platforms.
Cons: The obvious drawback is the cable. It can be a constant reminder of the physical world, potentially causing immersion-breaking tangles and limiting unrestricted 360-degree movement. The cost is significantly higher, as it requires both a premium headset and a high-specification computer. The setup process is also more complex.
Ideal For: Enthusiasts, hardcore gamers, simulation fans (flight, racing), professionals using VR for design or architecture, and anyone who will not compromise on visual quality.
The Heart of the System: Your PC Specifications (For Tethered Setups)
If you choose the tethered path, your computer is the engine of your VR experience. Skimping here will lead to a choppy, uncomfortable, and visually lackluster adventure. Meeting the minimum specifications is just the starting point; aiming for recommended or higher specs is crucial for the best VR set up.
- Graphics Processing Unit (GPU): This is the single most important component. It is responsible for rendering the two high-resolution images (one for each eye) at a very high and stable frame rate (typically 90Hz or more). A powerful modern GPU ensures smooth gameplay, reduces motion sickness, and allows you to maximize graphical settings.
- Central Processing Unit (CPU): While the GPU does the heavy lifting for graphics, the CPU manages the game's logic, physics, audio, and input/output operations. A modern, multi-core processor prevents bottlenecks and ensures the world responds to your actions without delay.
- Random Access Memory (RAM): VR applications and the vast worlds they create are memory-hungry. Having ample fast RAM is essential for smooth performance and quick loading times.
- Connections: Ensure your computer has the correct ports available. Most modern headsets use a DisplayPort or a high-speed HDMI connection, and several require multiple USB ports for data and tracking.
Crafting Your Physical Play Space
Your virtual playground is defined by your real-world environment. A well-prepared space is fundamental to both immersion and safety.
Defining Your Boundaries: Stationary vs. Room-Scale
Most systems allow you to choose between two modes:
Stationary (Seated or Standing): Perfect for experiences like racing simulators, flight simulators, or seated games. You define a small, stationary guardian boundary. This is the minimum requirement and works well in cramped spaces.
Room-Scale: This is the gold standard for immersion. It allows you to physically walk around, crouch, and interact within your virtual environment. To set this up, you need a clear, open area. The recommended size is at least 6.5 by 5 feet (2 by 1.5 meters), but more is always better. During setup, you trace your play area's boundaries into the system, which then displays a virtual wall (Guardian, Chaperone, etc.) when you get too close, preventing you from punching a wall or tripping over furniture.
Environment Preparation
- Clear the Area: This cannot be overstated. Remove all potential trip hazards like coffee tables, loose rugs, chairs, and toys. Look up—check for low-hanging light fixtures or ceiling fans.
- Protect Your Tech: Cover or remove mirrors and large television screens, as they can interfere with the tracking systems of some headsets.
- Lighting: Different systems have different requirements. Inside-out tracking headsets (common on standalone devices) work best in a well-lit room with distinct visual features for the cameras to track. Too much direct sunlight, however, can damage the internal lenses. External sensor-based systems (like some PC headsets) often prefer more controlled, indirect lighting to avoid interference.
- Flooring: A soft rug can serve as a great physical indicator that you are in the center of your play space. It's also more comfortable for sessions where you might need to kneel or lie down.
The Pursuit of Perfect Comfort
Even the most powerful system is useless if it's uncomfortable to wear. Discomfort is the fastest killer of immersion. Achieving comfort is a multi-faceted endeavor.
Headset Ergonomics and Fit
A proper fit is not about cranking the side straps as tight as possible. The goal is to distribute the weight evenly across your head and face.
- The Top Strap: This is the key to comfort. Loosen the side straps, adjust the top strap so the rear cradle cups the base of your skull, and then tighten the side straps just enough to prevent slippage. The weight should be borne by the top strap and the forehead, not your cheeks.
- IPD Adjustment: The Interpupillary Distance (IPD) is the distance between the centers of your pupils. Many headsets offer a physical or software slider to adjust the lens spacing to match your IPD. Getting this right is critical for visual clarity and preventing eye strain and headaches.
- Facial Interface: The foam padding that rests on your face. If the standard foam causes heat or irritation, consider upgrading to a aftermarket interface made from materials like silicone or pleather, which are easier to clean and often more comfortable for long sessions.
Managing the Cable (For Tethered Setups)
The dreaded "umbilical cord" is the bane of tethered VR. Fortunately, there are solutions:
- Overhead Pulley Systems: This is one of the most popular and effective solutions. A series of retractable pulleys mounted to your ceiling suspend the cable, keeping it off the floor and reducing the feeling of tugging. It allows for near-natural rotation and movement.
- Cable Awareness: Develop a habit of subtly feeling the cable with your foot or using in-game rotation options instead of physically turning your body hundreds of times.
Fine-Tuning for Peak Performance and Immersion
With the hardware in place and the space prepared, the final step is software optimization.
Software and Settings Optimization
Dive into the settings menus of both your VR platform and your individual games.
- Super sampling / Resolution Scaling: This is the most impactful graphics setting. It renders the image at a higher resolution than the headset's native display and then downscales it. The result is a dramatically sharper image with reduced "screen door effect." Crank this up as high as your GPU can handle without dropping frames.
- Refresh Rate: If your headset supports multiple refresh rates (e.g., 90Hz, 120Hz, 144Hz), a higher rate provides a smoother, more lifelike image and can further reduce motion sickness. This requires more GPU power.
- SteamVR and Oculus Debug Tool: For advanced users on PC, these tools offer deep-level control over performance, foveated rendering, and other hidden settings to squeeze out every drop of performance and quality.
Essential Accessories for the Finishing Touches
While not strictly necessary, the right accessories can elevate a great setup to a legendary one.
- Premium Audio: Built-in headphones are often mediocre. A good pair of over-ear headphones or dedicated off-ear headphones designed for your specific headset can massively improve spatial audio, which is crucial for knowing where sounds are coming from in 3D space.
- Controller Grips and Straps: These simple silicone sleeves improve grip and include knuckle-style straps that secure the controller to your hand. This allows you to open your hand completely for throwing gestures without fear of launching your controller across the room.
- Controller Battery Packs: For standalone systems, controller battery life can be surprisingly short. Rechargeable battery packs ensure you're never caught out mid-game.
- Lens Protectors: If you wear glasses, investing in a pair of cheap prescription lens inserts is a game-changer. They protect the headset's lenses from scratches and provide a clearer, more comfortable view than wearing glasses inside the headset.
Maintaining Your Virtual Sanctuary
Your perfect setup requires a small amount of upkeep. Keep the lenses clean with a microfiber cloth—never use harsh chemicals. Wipe down the facial interface and controllers with antibacterial wipes regularly, especially after intense fitness sessions. For tethered setups, periodically check your cable for twists and kinks to prolong its life.
The journey to the best VR set up is a personal one. It's a blend of technical precision and environmental tailoring, all focused on one goal: making the technology disappear. When the headset feels weightless, the world inside is crystal clear and buttery smooth, and you can move without a single thought to the real world, you have achieved it. You are no longer a user operating a device; you are an explorer, a pilot, a hero, living an adventure. Your portal to countless realities is ready; all that's left is to step through.
Share:
Be AI: The Philosophical and Practical Imperative for the Modern Human
Be AI: The Philosophical and Practical Imperative for the Modern Human