

Imagine looking at the world and seeing a digital layer seamlessly integrated with your reality—a navigational arrow painted onto the sidewalk, a virtual screen pinned to your wall, or the name of a constellation hovering in the night sky. This is the promise of Augmented Reality (AR), a technology once confined to research labs and science fiction. But what if you didn't have to wait for a major corporation to deliver this future? What if you could grasp it with your own two hands, solder, and code? The ambition to build my own AR glasses is a formidable challenge, a deep dive into the intersection of optics, electronics, and software. It’s a project that promises not just a custom device, but a profound understanding of the next frontier of human-computer interaction. This journey is for the bold, the curious, and the relentless tinkerer ready to construct their own window into the digital world.
The Foundation: Understanding the Core Components
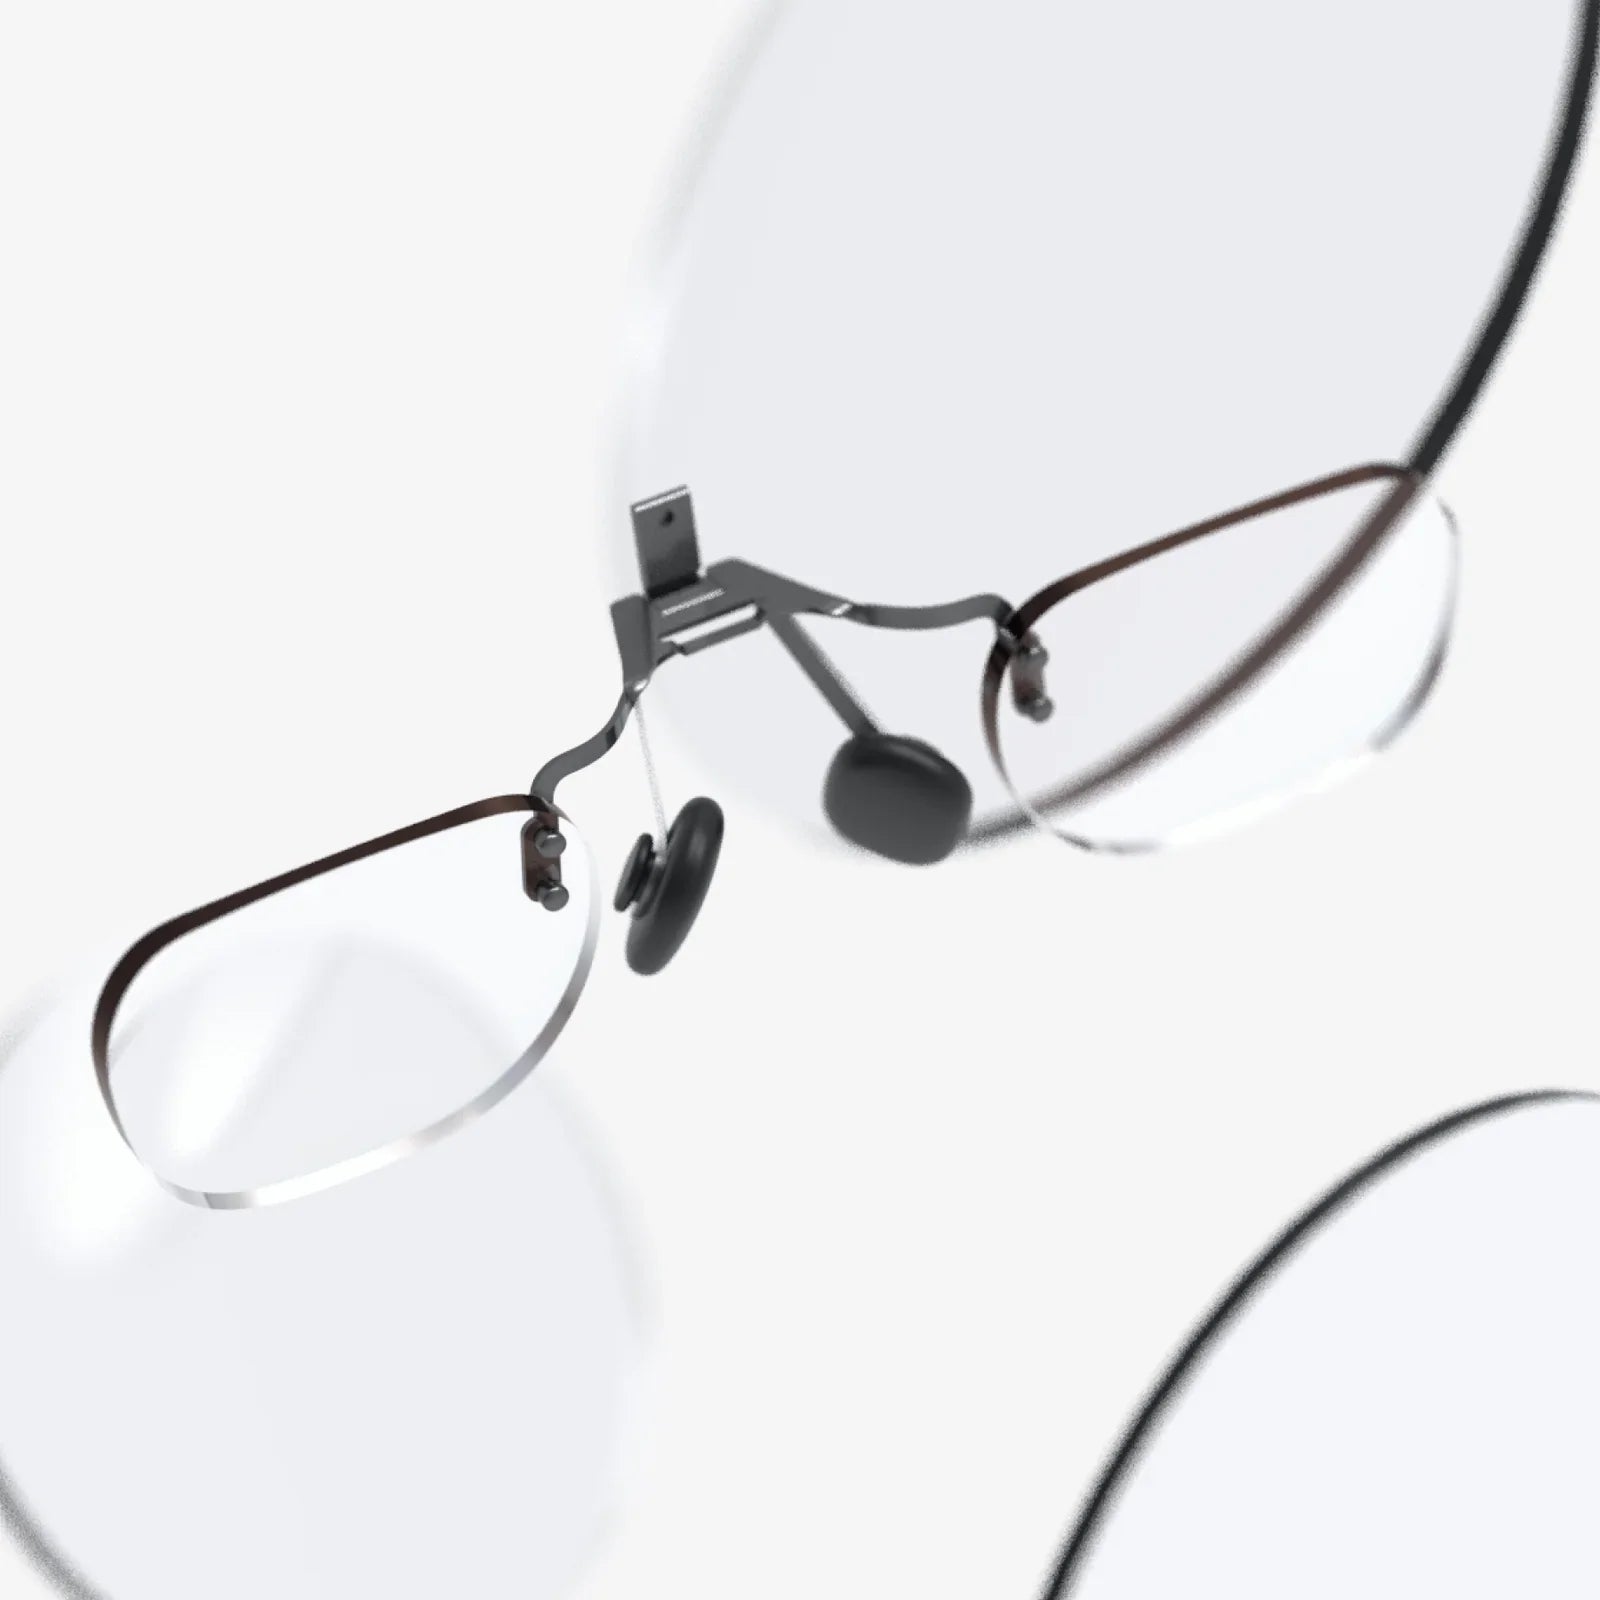
Before a single component is ordered, it's crucial to understand the intricate symphony of parts that must work in harmony to create a functional AR experience. Building your own system is an exercise in systems engineering, where every choice has a cascading effect on performance, comfort, and capability.
The Optical Engine: Your Digital Retina
This is the heart of the AR glasses, the mechanism that generates the image and projects it into your eye. There are several approaches, each with its own trade-offs between field of view (FOV), resolution, brightness, and, most importantly, size.
- Birdbath Optics: A popular method for DIY and commercial prototypes. It uses a beamsplitter (a semi-transparent mirror) to reflect the image from a micro-display into your eye while allowing real-world light to pass through. It offers a good balance of image quality and a relatively straightforward physical design.
- Waveguides: The technology used in many high-end commercial devices. Waveguides use diffraction gratings to "pipe" light from a projector on the temple into the lens in front of your eye. They are incredibly thin and can offer a large eyebox (the area where the image is visible), but they are extremely complex and expensive to manufacture, making them prohibitive for most DIY projects.
- Reflective Waveguides (Light Guides): A simpler cousin to diffractive waveguides, these use traditional mirrors and prisms to bend light. They are more accessible for prototyping than diffractive options but are typically bulkier.
- Holographic Optical Elements (HOEs): These use photosensitive materials to record and reconstruct optical wavefronts. They can be very efficient and compact but require specialized knowledge and equipment to create.
For the solo builder, birdbath optics often represent the most viable starting point due to the availability of components and a more manageable design complexity.
The Micro-Display: The Image Source
This tiny screen is what generates the image that will be projected. Your choice here is critical and will be dictated by your optical design.
- LCoS (Liquid Crystal on Silicon): Offers high resolution and excellent color reproduction. They are reflective displays, meaning they need a light source to function, which adds to the component count but allows for very compact designs.
- OLEDoS (OLED on Silicon): Similar to LCoS but with self-emissive pixels (like a smartphone OLED screen). This eliminates the need for a separate backlight, leading to higher contrast ratios and potentially lower power consumption, but they can be more expensive.
- DLP (Digital Light Processing): Uses a microscopic array of mirrors to create an image. Known for high brightness and fast response times, making them good for combating motion blur. The optical path for DLP can be more complex.
- Micro-OLED: A newer technology offering stunning pixel density and contrast in a very small package. While becoming more accessible, they can still be a challenge to source for individuals.
The Processing Unit: The Brain
AR is computationally intensive. It requires rendering graphics, understanding the environment through sensors, and tracking the user's head and eyes—all in real-time. You have two primary options:
- Tethered Processing: The glasses themselves contain minimal electronics—just the displays, sensors, and a controller. The heavy lifting is done by an external computer, like a laptop or even a powerful smartphone, connected via a cable. This drastically simplifies the design of the glasses, reducing weight, heat, and power constraints. It's the most practical approach for a first prototype.
- Standalone Processing: This embeds a full computing system (like a System-on-a-Chip or SoC) directly into the glasses frame. This is the holy grail for untethered freedom but introduces immense challenges in thermal management, battery life, and miniaturization. It's a significant step up in difficulty.
Sensors and Tracking: Making Sense of the World
For AR to be compelling, the digital content must stay locked in place in the real world. This requires a suite of sensors:
- IMU (Inertial Measurement Unit): A combination of accelerometers and gyroscopes that provides high-frequency data on the head's rotation and movement. It's essential for low-latency tracking but can drift over time.
- Cameras: One or more cameras are used for computer vision tasks. Monocular RGB cameras can be used for simple positional tracking or QR code recognition. Stereo cameras or depth sensors (like time-of-flight sensors) are needed for creating a 3D map of the environment, enabling occlusion (where virtual objects hide behind real ones) and more robust placement.
- Eye-Tracking Cameras: While advanced, eye-tracking enables foveated rendering (rendering high detail only where you are looking to save processing power) and more intuitive interaction.
The Build Process: From Concept to Prototype
With a theoretical understanding in place, the real work begins. This phase is iterative, messy, and incredibly rewarding.
Step 1: Define Your "Why" and Scope
Are you building a simple display for notifications and a static screen? Or a full-fledged spatial computing device with environmental understanding? Your goals will dictate your budget, timeline, and complexity. Start simple. A monocular display (for one eye) that shows basic information is a fantastic and achievable first project.
Step 2: Sourcing Components and Prototyping the Optics
Websites that cater to electronics hobbyists are your best friend. You can often find evaluation kits for micro-displays and their corresponding drivers. For optics, you may need to source individual lenses, beamsplitters, and mounts. The first optical assembly will almost certainly be bulky—think of it as a "bench prototype" where you align components on an optical breadboard to validate the concept and calculate the correct focal lengths before designing a wearable enclosure.
Step 3: The Electronics Hurdle
This involves creating or acquiring the PCBs (Printed Circuit Boards) that will power the display, read data from the sensors, and communicate with the host computer. For many, the easiest path is to use development boards like an Arduino or, more powerfully, an ESP32 or a Raspberry Pi for simpler standalone tasks. For a tethered setup, you might design a board that takes power and data over USB-C and drives the display accordingly. Knowledge of I2C, SPI, and MIPI DSI communication protocols is invaluable here.
Step 4: Software and Tracking
The software stack is a mountain in itself. For a tethered setup, you will likely develop an application on a desktop platform. Game engines have become the de facto standard for AR development:
- Unity: With its extensive asset store and AR Foundation package, Unity provides a powerful and accessible toolkit for building AR experiences. It can handle sensor data, world tracking, and 3D rendering in a unified environment.
- Unreal Engine: Offers stunning visual fidelity and powerful tools but can have a steeper learning curve. Its performance demands might also be higher.
You will need to write code to interface with your specific sensors, calibrate the display, and implement the tracking algorithms. Using open-source computer vision libraries like OpenCV can help with tasks like camera calibration and image processing.
Step 5: Mechanical Design and Enclosure
Turning your bench of components into something wearable is the final, immense challenge. 3D printing is the DIY builder's ultimate tool here. Using CAD software, you can design a frame that holds your optical stack perfectly aligned in front of your eye, houses the PCBs and batteries, and is somehow comfortable to wear. Iteration is key; you will print, test, adjust, and print again countless times. Considerations for weight distribution, heat dissipation, and cable routing are paramount.
The Inevitable Challenges and Limitations
Embarking on this project requires a sober understanding of the hurdles. The field of view on a DIY build will likely be small compared to commercial products—20 to 30 degrees is a common achievement. Resolution and brightness may be lacking. The device will likely be bulky and the battery life short. You will wrestle with calibration, latency, and software bugs. This is not a path to a consumer-ready product but a profound learning experience that will give you an unparalleled appreciation for the engineering behind this transformative technology.
The Future is Yours to Build
The journey to build my own AR glasses is more than a technical checklist; it's a passport to the forefront of personal technology. Each soldered connection and every line of code is a step toward a personalized interface between you and the digital universe. While the road is fraught with challenges, the destination—a pair of glasses crafted by your own vision and effort, through which you see a uniquely augmented world—is a reward beyond compare. The tools and knowledge are now accessible enough for a determined individual to begin. The future of how we perceive and interact with information isn't just something you can buy; it's something you can create, refine, and wear, seeing not just a augmented world, but the tangible result of your own curiosity and perseverance.
Your unique vision for how digital and physical realities should merge is the most critical component missing from off-the-shelf devices—this is your chance to solder it into existence and truly see the world through a lens of your own making.
Share:
6G AR Glasses The Next Frontier in Human-Computer Interaction
6G AR Glasses The Next Frontier in Human-Computer Interaction