Imagine a world where digital information seamlessly blends with your physical reality, where navigation arrows are painted onto the street before you, and virtual screens hover in your living room, visible only to you. This is the promise of Augmented Reality (AR), a technology once confined to research labs and big-budget enterprises. But what if you could build your very own portal into this mixed-reality world? What if the power to create and customize this experience was in your hands, on your workbench? The journey of building DIY AR smart glasses is not just a technical project; it's a foray into the future of personal computing, an adventure that blends electronics, software, and visionary ambition. This guide is your first step into that world, a deep dive into the how, why, and what-if of crafting your own augmented vision.
The Allure of the Build: Why DIY Your AR Glasses?
Before we delve into resistors and code, it's crucial to understand the compelling reasons behind undertaking such a complex project. Off-the-shelf consumer AR wearables are becoming more advanced, so why build your own?
Unmatched Customization: Commercial products are designed for the masses. A DIY project is designed for you. You dictate the field of view, the choice of display technology, the form factor, and the specific software features. Want a display that only shows your heartbeat during a workout? Or one that overlays historical facts about buildings you look at? You are the architect of your experience.
Educational Deep Dive: This is perhaps the most significant benefit. The process of building AR glasses from the ground up will teach you about optics, microcontrollers, sensor fusion, Bluetooth communication, battery management, and 3D printing. It's a holistic engineering education in a single, ambitious project.
Cost Considerations: While high-end DIY builds can be expensive, they often come in at a fraction of the cost of flagship commercial devices, especially if you already possess some tools and components. You also avoid paying for branding, marketing, and proprietary software locks.
The Pioneer Spirit: There's an undeniable thrill in using a tool you built yourself. It connects you to the early days of personal computing, where hobbyists in garages were building the machines that would change the world. Building your AR glasses is a statement—you are not just a consumer of the future; you are an active participant in its creation.
Deconstructing Reality: Core Components of AR Glasses
Every pair of AR smart glasses, from a multi-thousand-dollar enterprise model to a homemade prototype, consists of several key subsystems that work in concert. Understanding these is the first step to building your own.
The Optical System: Projecting the Digital
This is the heart of the device—how digital images are projected into your eye. There are several common approaches for DIY enthusiasts:
-
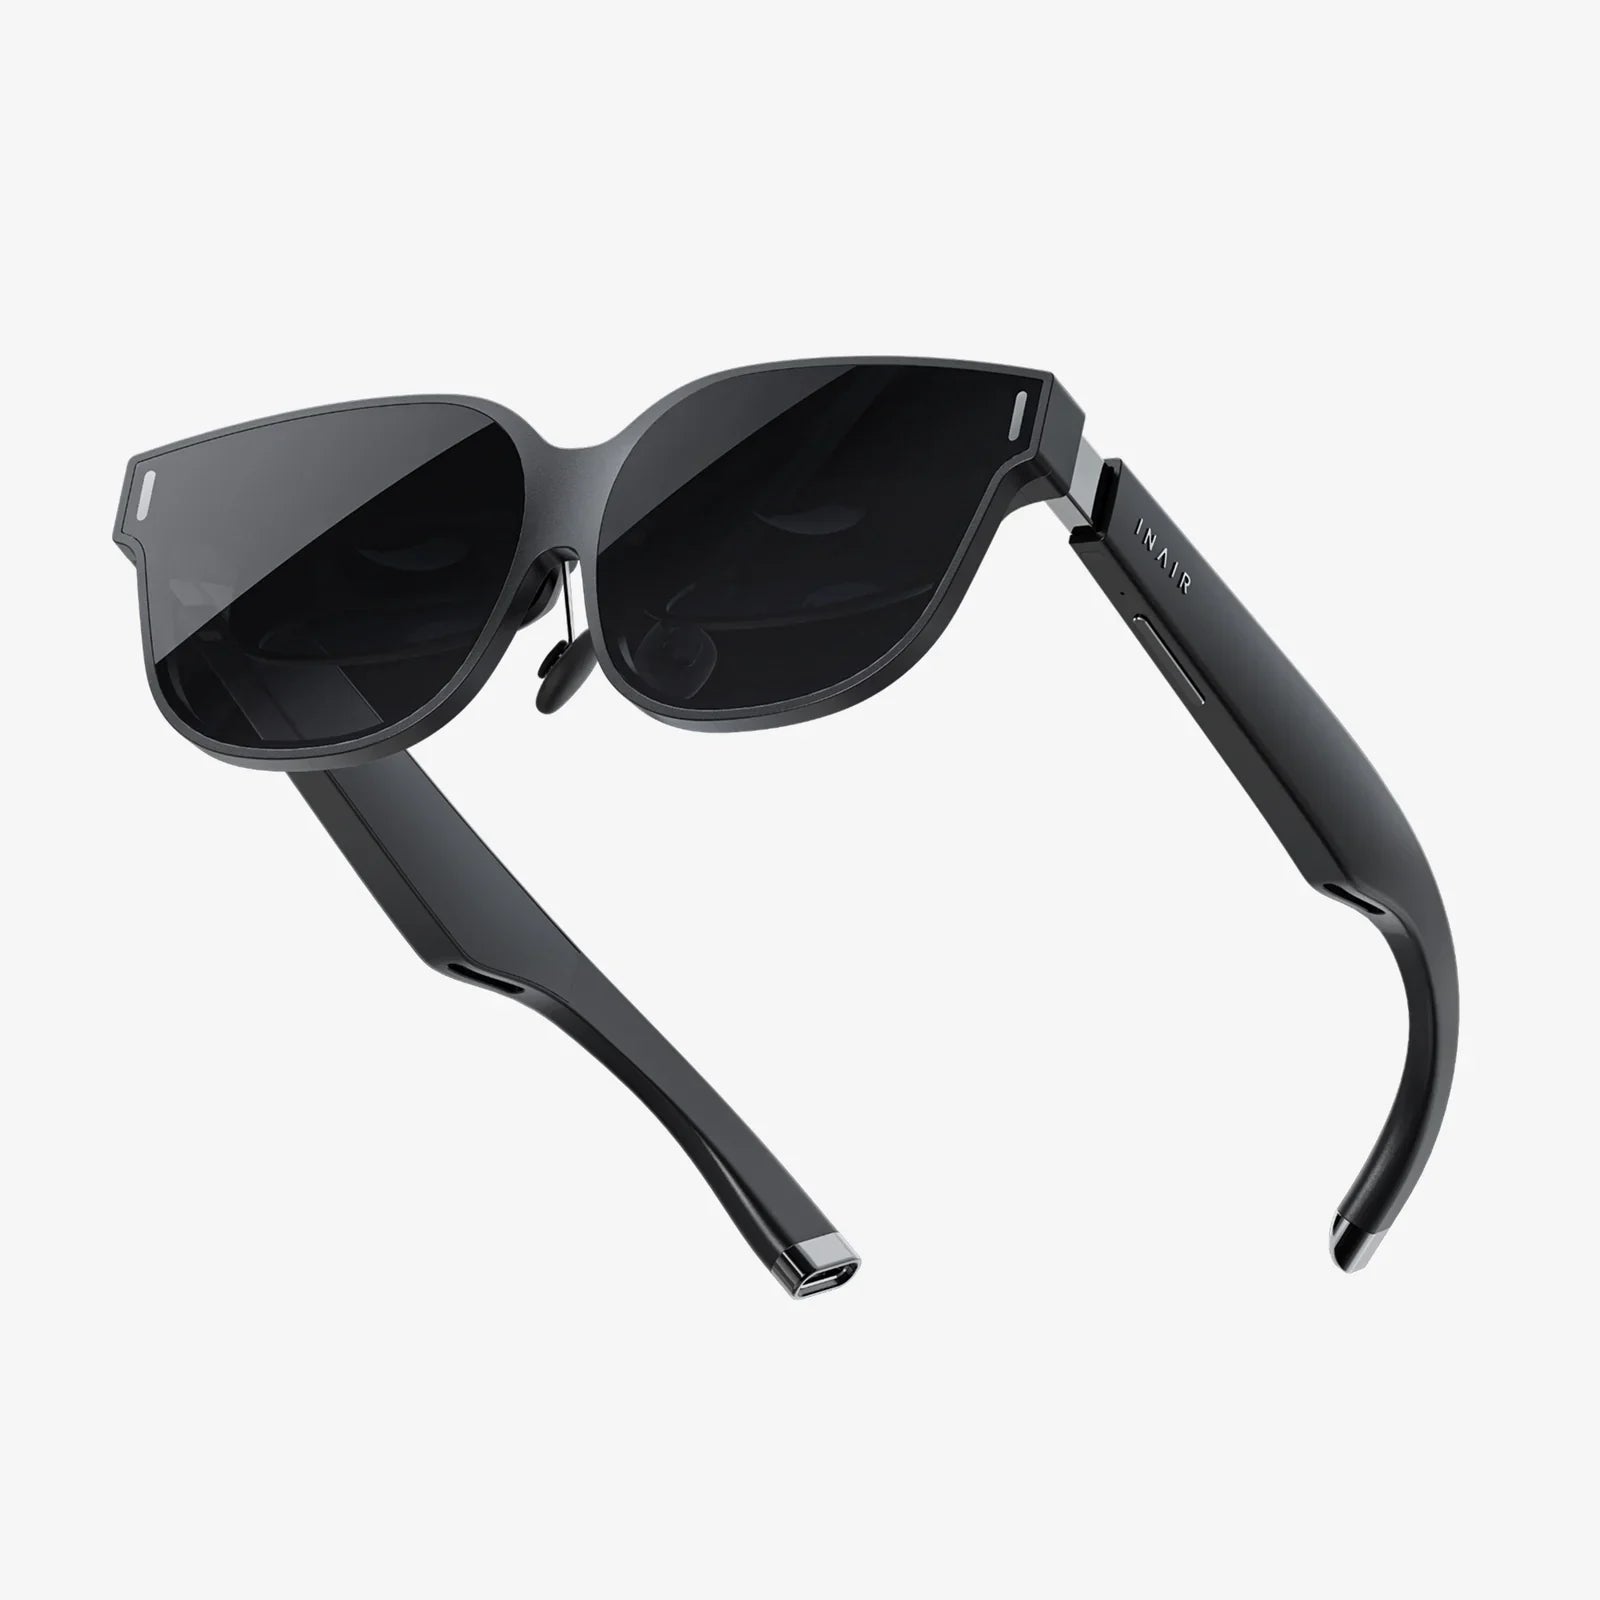
See-Through Displays: Small micro-displays (like OLED or LCD screens tiny enough to fit on a frame) project an image onto a beamsplitter or a waveguide. This semi-transparent mirror reflects the image into your eye while allowing ambient light to pass through, creating the AR overlay effect. This is the method used in most commercial devices but can be challenging to source and align for DIY.
-
Reflective Waveguides: These are plastic or glass optical elements etched with nanostructures that bend light from a projector on the temple of the glasses into your eye. They are compact and offer a sleek form factor but are extremely difficult to fabricate outside of a professional setting.
-
The "Pepper's Ghost" Method: A more accessible DIY technique uses a semi-transmissive film (like a beamsplitter reflector) placed at a 45-degree angle in front of the eye. A small display, such as a smartphone screen or a micro-display, is positioned above or to the side. The display's image reflects off the film and into the eye, overlaying it onto the real world. It's less sleek but far easier to prototype.
The Computational Brain: Processing Power
Something needs to generate the graphics, process sensor data, and run the software. Your options range from lightweight to powerful:
-
Microcontrollers (MCUs): Devices like the ESP32 or Raspberry Pi Pico are low-power and great for simple, predefined graphics and sensor logging. However, they lack the grunt for complex 3D rendering.
-
Single-Board Computers (SBCs): The Raspberry Pi (especially the Pi 4 or Pi Zero 2 W) is the darling of DIY tech. It runs a full Linux OS, can handle more complex graphics via frameworks like OpenGL ES, and has built-in Wi-Fi and Bluetooth. It's the most popular choice for balanced performance and accessibility.
-
Smartphone Tethering: For maximum power and a slim form factor on your face, you can design the glasses to be a dumb display and sensor hub, wirelessly connecting to an app on your smartphone that does all the heavy computational lifting.
The Sensory Suite: Understanding the World
For the digital world to interact with the physical one, the glasses need to perceive their environment.
-
Inertial Measurement Unit (IMU): A combination of an accelerometer and gyroscope (and often a magnetometer) is essential for head-tracking. It tells the system how your head is moving and where it's pointing.
-
Camera: A small camera module enables computer vision tasks. This can be used for more advanced positional tracking (inside-out tracking), object recognition, gesture control, or even capturing photos and video.
-
Microphone and Speaker: For voice commands and audio feedback, completing the immersive experience.
Power and Connectivity: The Lifelines
No device is an island. You'll need a compact yet high-capacity lithium polymer (LiPo) battery and a charging circuit. For connectivity, Bluetooth is essential for connecting to input devices like a keyboard or phone, and Wi-Fi allows the glasses to access online data and services.
The Maker's Arsenal: Essential Tools and Skills
You can't build a house without a hammer, and you can't build AR glasses without a basic maker toolkit.
-
Soldering Iron: For assembling circuits on perfboard or custom-designed PCBs.
-
3D Printer: Arguably the most important tool. It allows you to rapidly prototype and iterate on the complex, custom-shaped enclosures and mounts for the optics and electronics. PLA or PETG filament is commonly used.
-
Basic Hand Tools: Wire cutters, strippers, screwdrivers, and a multimeter for testing circuits.
-
Software Skills: Familiarity with a 3D modeling program like Fusion 360 or Tinkercad for designing parts, and a code editor for programming the logic in Python, C++, or a similar language.
Blueprint for Reality: A Step-by-Step Assembly Guide
This is a generalized roadmap. Your specific journey will depend on your chosen components and design.
Step 1: Design and Prototype the Optical Engine
Start with the core problem: getting an image into your eye. Don't solder a single wire until you have a working optical proof-of-concept.
- Choose your display: A 0.5-1.0 inch micro-display module or even a high-PPI smartphone screen extractor board.
- Choose your combiner: A piece of acrylic beamsplitter film or a custom-cut glass beamsplitter.
- Physically mount the display and combiner on a makeshift frame (cardboard and hot glue are perfect here).
- Experiment with angles and distances until you achieve a clear, in-focus image that overlays well with your view of the real world. This iterative process is critical.
Step 2: Select and Program the Brain
While prototyping the optics, get your computing platform set up.
- Flash your chosen SBC or MCU with its operating system.
- Write a basic program to display a test pattern or simple graphic on your chosen display module. This verifies your entire graphics pipeline from code to light.
- Interface your IMU and write code to read the accelerometer and gyroscope data. Print these values to a console to ensure they're working correctly.
Step 3: Integrate and Enclose
This is where the project comes together—and where 3D printing becomes indispensable.
- Based on your optical prototype, meticulously 3D model an enclosure for the display and combiner. This will become one lens assembly.
- Model enclosures for the computer brain, battery, and all other components. Design these to mount neatly onto a glasses frame—either a modified existing frame or a completely custom 3D-printed one.
- Print, test, and fit. This will take multiple iterations. Components must be secure, wires must have channels to run through, and the overall device must be balanced and comfortable to wear.
- Solder all components onto a perfboard or design a custom PCB for a cleaner build.
- Carefully assemble everything, connecting displays and sensors to the main board.
Step 4: Software and The Final Mile
The hardware is just a shell without software.
- Develop a simple user interface. This could be a HUD showing time and weather data pulled from the internet.
- Implement basic AR: Use the IMU data to lock the position of a virtual object in 3D space so it appears to sit on your desk.
- Add features one by one: voice control, gesture recognition via the camera, notification mirroring from your phone.
- Refine, refine, refine. Software development for AR is a continuous process of improvement.
Navigating the Maze: Common Challenges and Pitfalls
Be prepared to face and overcome these common hurdles:
-
Optical Alignment: A misalignment of a millimeter can throw the entire image off. Patience is key.
-
Field of View (FOV): DIY builds often suffer from a narrow FOV compared to commercial products. This is a fundamental trade-off with accessible optics.
-
Brightness and Contrast: The displayed image must be bright enough to be visible in daylight. This requires a powerful micro-display and efficient optics.
-
Weight and Comfort: It's easy to create a heavy, nose-pinching monster. Prioritize weight distribution and use lightweight materials like nylon for final prints.
-
Battery Life: Power-hungry displays and computers can drain a small battery quickly. Implement software sleep modes and optimize power usage.
The Horizon of DIY AR: What Does the Future Hold?
The landscape of DIY AR is evolving rapidly. We are seeing more powerful and efficient micro-displays hit the market. Open-source projects dedicated to AR glasses are gaining traction, providing software frameworks and hardware designs for the community to build upon. As waveguide manufacturing techniques become more accessible and cost-effective, the barrier to creating sleek, professional-looking glasses will continue to drop. The line between DIY and commercial may blur, with communities collaboratively designing and improving open-source AR platforms that rival closed ecosystems.
The act of building your own augmented reality is more than a weekend project; it's a statement of intent. It's a hands-on education in the technology that will define the next era of human-computer interaction. It’s a challenging, frustrating, and ultimately immensely rewarding endeavor that leaves you with something unique: a personalized window into a blended world, crafted by your own curiosity and skill. The components are available, the community is growing, and the knowledge is at your fingertips. The real question isn't whether you can build them, but what you will see when you do.


Share:
Adjustable Anti Slip Nose Pads The Unsung Hero of Eyewear Comfort and Security
Virtual Reality Coming Soon: The Next Digital Revolution is at Our Doorstep