

Imagine stepping into another world, where the boundaries of reality blur and the only limit is your imagination. This is the promise of virtual reality, a promise that hinges entirely on one critical factor: a good VR setup. It’s the difference between a breathtaking, seamless journey and a nauseating, glitchy disappointment. Building the right system isn't just about buying expensive gear; it's about creating a harmonious ecosystem of hardware, software, and environment that works in perfect unison to transport you. Whether you're a seasoned explorer of digital realms or a curious newcomer, this definitive guide will demystify the process and empower you to construct the ultimate portal to virtual worlds.
The Foundational Pillars: Understanding the Core Components
Every great virtual reality experience is built upon a foundation of key hardware components. Understanding the role and options for each is the first step toward a good VR setup.
The Head-Mounted Display (HMD)
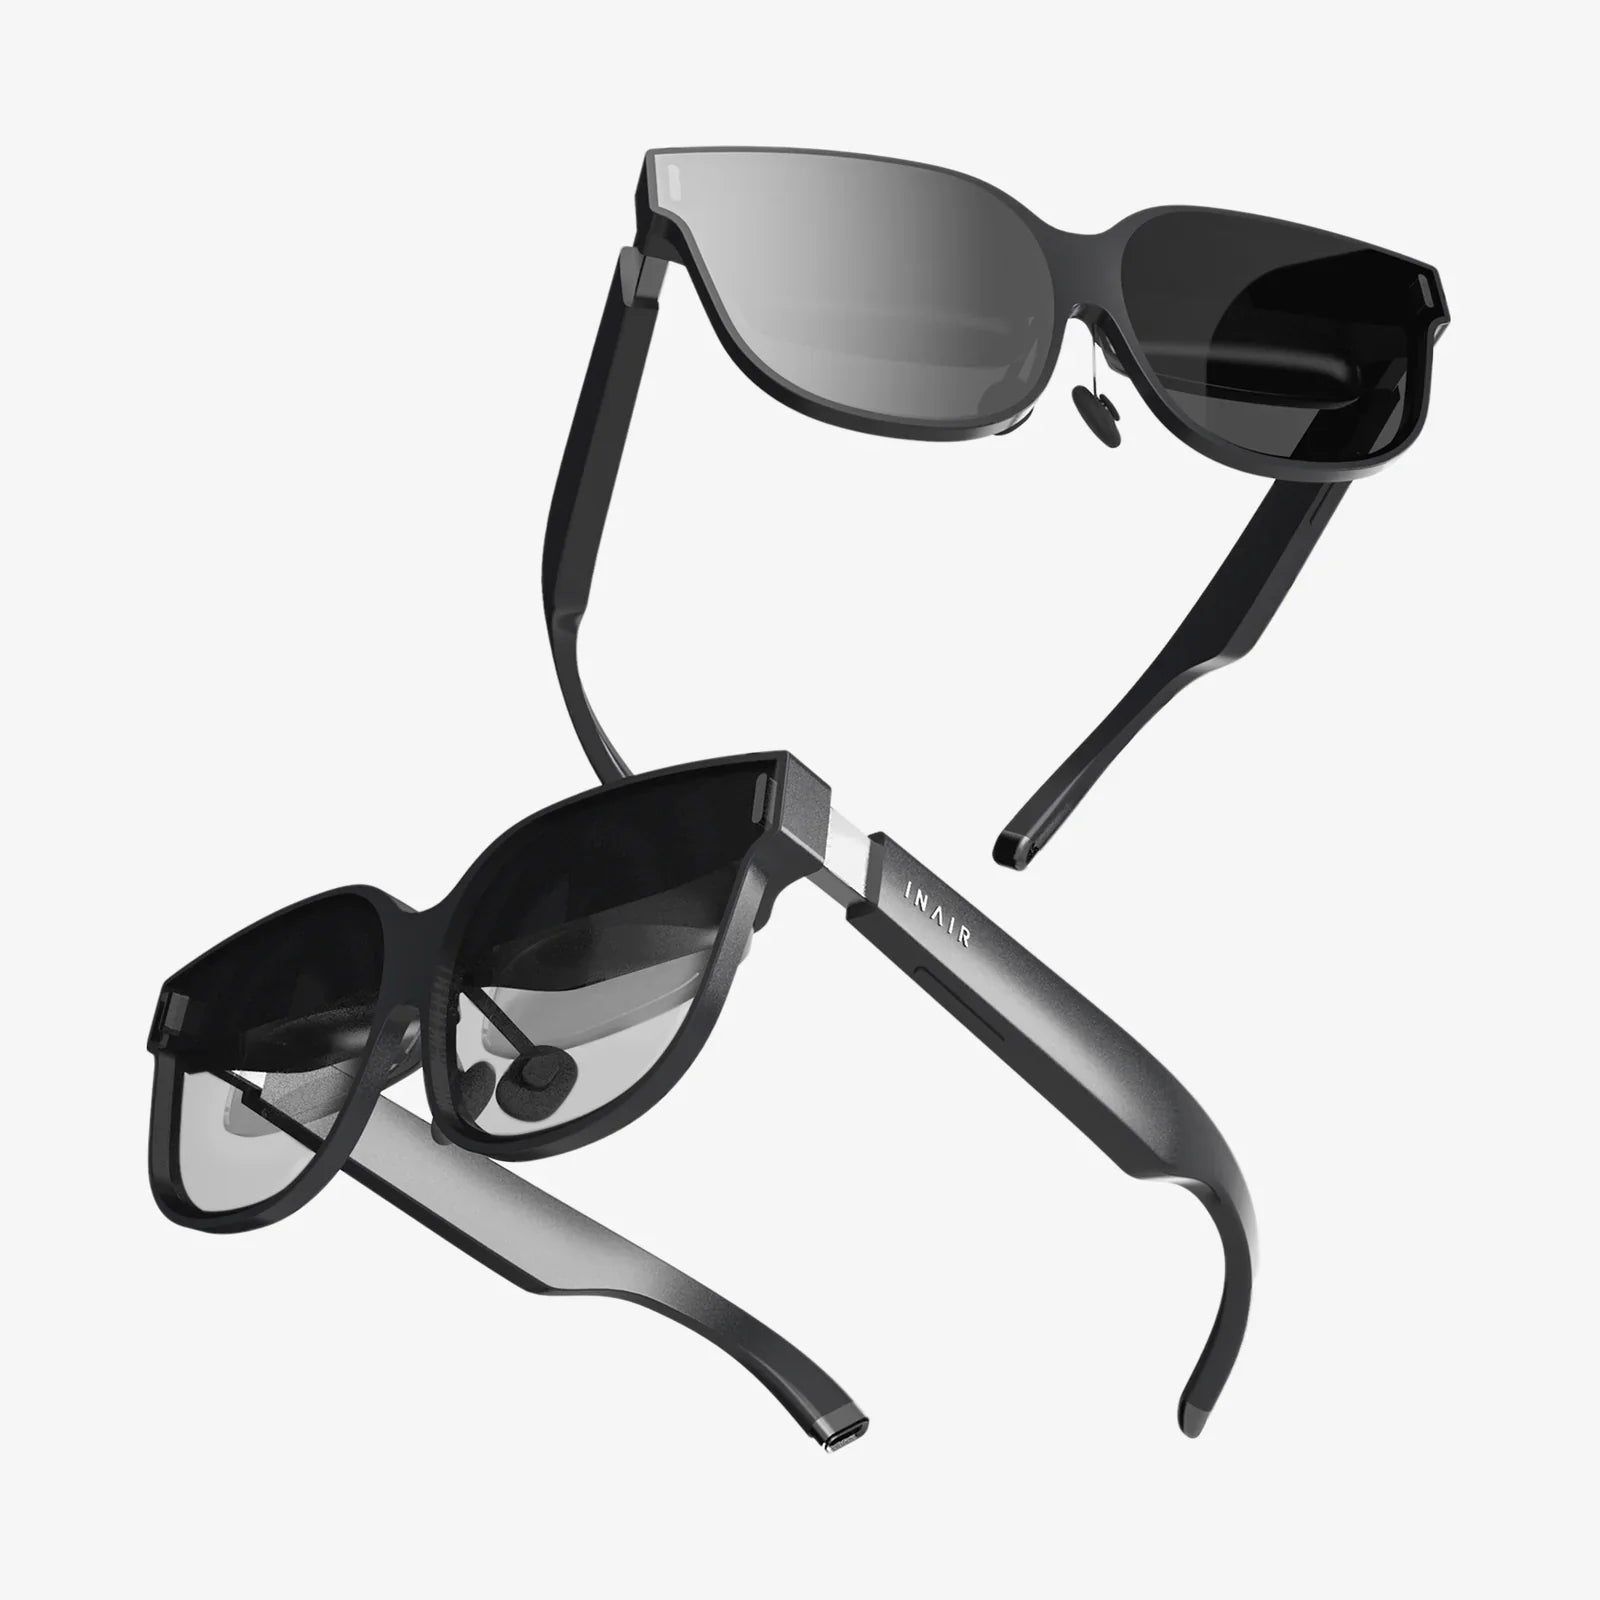
The HMD is your window into the virtual world, the single most important piece of your setup. Its quality directly dictates the visual fidelity and comfort of your experience. When evaluating an HMD, several technical specifications demand your attention. Resolution and pixel density are paramount; a higher resolution means a sharper image with less visible "screen door effect," where you can see the gaps between pixels. For a truly immersive experience, look for displays that offer a combined resolution of at least 2K per eye.
Next, consider the refresh rate, measured in Hertz (Hz). A higher refresh rate (90Hz and above) results in smoother motion, which is crucial for preventing simulation sickness and making the virtual environment feel responsive and real. Field of View (FoV) determines how much of the virtual world you can see without turning your head; a wider FoV enhances the feeling of presence. Finally, don't overlook tracking technology. Inside-out tracking, where cameras on the headset itself map the environment, offers ease of setup and portability. Outside-in tracking, which uses external sensors or base stations, often provides superior accuracy and range, especially for full-body tracking, but requires more dedicated space and setup time.
The Computing Powerhouse: PC vs. Standalone
The heart of your VR system is the computer that powers it. Here, you face a fundamental choice: a PC-powered tethered setup or a standalone all-in-one system.
A tethered setup connects the HMD to a powerful desktop computer. This path unlocks the highest possible graphical fidelity, with incredibly detailed textures, complex lighting, and vast, sprawling virtual worlds. It is the domain of hardcore gamers and professionals who demand the absolute best performance. However, it comes with significant requirements. You'll need a robust Graphics Processing Unit (GPU), often considered the most critical component for VR. A capable GPU ensures high frame rates are maintained, preventing the stuttering that can break immersion and cause discomfort. A strong Central Processing Unit (CPU) is also essential for handling the complex physics and AI calculations in modern VR applications. Furthermore, ample and fast RAM ensures smooth multitasking and data access.
In contrast, standalone systems have the computer built directly into the headset. They offer unparalleled convenience and freedom from wires, making them incredibly accessible for newcomers and ideal for social and fitness applications where movement is key. While their graphical output has improved dramatically, it still cannot match the raw power of a high-end gaming PC. Your choice here will define the scope and quality of your VR experiences.
Controllers and Input: Your Hands in the Virtual World
VR controllers are your primary means of interaction. A good VR setup features controllers that feel like a natural extension of your hands. Modern motion controllers are ergonomic marvels, featuring intuitive button layouts, precise haptic feedback (vibration), and accurate positional tracking that translates your real-world movements into the virtual space. Some systems even offer advanced features like finger tracking, which can detect individual finger movements for incredibly nuanced and expressive interactions, from giving a thumbs-up to delicately manipulating a virtual object.
Crafting Your Virtual Playspace: Environment and Ergonomics
Hardware is only part of the equation. The physical space you play in and how you interface with the technology are equally critical for comfort, safety, and immersion.
Designing a Safe and Effective Playspace
Before you even put on the headset, you must prepare your environment. All reputable VR systems include a guardian system or chaperone boundary—a virtual wall that appears when you get too close to the real-world limits of your playspace. Defining this boundary accurately is the single most important safety step. There are two main types of playspaces: Seated/Stationary and Room-Scale.
A seated experience is perfect for simulation games (racing, flying) or desktop productivity in VR. It requires minimal space. Room-scale VR is where the magic truly happens, allowing you to physically walk around, duck, and dodge within the virtual world. For a comfortable room-scale experience, you need a clear, open area. Remove all potential hazards like coffee tables, chairs, or rugs that could trip you. Ensure the floor is clear and consider using a dedicated VR mat with a different texture; this provides a tactile center point, allowing you to reorient yourself without breaking immersion by peeking out of the headset.
The Critical Importance of Ergonomics
Comfort is king in VR. An uncomfortable headset will pull you out of the experience faster than any graphical glitch. A good VR setup is a comfortable one. Start with the head strap. A well-designed strap distributes the headset's weight evenly across your head, not just on your face. Look for systems with rigid, halo-style straps or elite straps with a rear counterweight for superior balance.
Adjusting the IPD (Interpupillary Distance) is a non-negotiable step for visual clarity and comfort. IPD is the distance between the centers of your pupils. Physically or digitally adjusting the headset's lenses to match your specific IPD ensures the image is as sharp as possible and helps reduce eye strain. Never skip this calibration. Furthermore, if you wear glasses, investigate options like prescription lens inserts for your specific HMD model. These snap onto the headset's lenses, providing perfect vision without the discomfort and risk of scratching that comes with wearing glasses inside the headset.
Software and Optimization: Fine-Tuning the Experience
With the hardware in place and the room prepared, the next step is to configure the software that brings it all to life.
Drivers, Platforms, and Calibration
Ensure your computer's GPU drivers are always up-to-date, as new updates frequently include performance optimizations for the latest VR titles. You will also need to install the relevant VR platform software, which acts as the hub for your device, managing games, friends, and settings. Take the time to go through all the calibration processes this software offers. Re-run the room setup if you move furniture or base stations. Precise software calibration is the glue that holds your good VR setup together.
In-Game Settings and Performance Metrics
Even with powerful hardware, you may need to tweak in-game settings to achieve a perfect, stutter-free experience. The key metric to monitor is framerate. Your goal is a consistent framerate that matches your headset's native refresh rate (e.g., 90fps for a 90Hz display). Dropping below this can trigger reprojection or ASW (Asynchronous Spacewarp) techniques—software tricks that generate artificial frames to smooth out the experience. While helpful, they can introduce visual artifacts. It's always preferable to adjust graphical settings like shadows, anti-aliasing, and texture detail to maintain a native high framerate.
Essential Software and Must-Have Apps
Beyond games, several applications can enhance your setup. OVR Advanced Settings is a powerful utility for SteamVR that gives you deep control over your playspace, allowing you to adjust its floor height, rotate its orientation, and create advanced chaperone profiles on the fly. For those interested in social VR or content creation, look into full-body tracking kits, which use additional sensors to bring your entire body into the virtual world, elevating social presence and gameplay to a new level.
Advanced Considerations: Elevating Your Setup
Once the basics are mastered, you can explore enhancements that push your immersion to the absolute limit.
Managing the Tether and Enhancing Hygiene
For PCVR users, the cable is often the biggest immersion-breaker. Solutions exist to manage this. A simple pulley system mounted to your ceiling can suspend the cable, keeping it off the floor and reducing the chance of tangling or tripping. This small investment dramatically improves freedom of movement. For a truly wireless experience, some headsets support optional wireless adapters that transmit data via a dedicated Wi-Fi 6/6E connection, offering incredible freedom at the cost of a slight latency increase and the need to manage another battery.
Hygiene is another advanced consideration, especially for shared or multi-user setups. Invest in replaceable facial interfaces made from materials like silicone or pleather. These are easier to clean with disinfectant wipes than the standard cloth-based foam and prevent the buildup of sweat and bacteria.
Audio: The Unsung Hero of Immersion
While most headsets have integrated audio, it's often a compromise. For a truly breathtaking auditory experience, consider using a dedicated pair of open-back headphones. They provide a wider soundstage and more precise spatial audio, allowing you to hear exactly where an enemy is creeping up behind you or exactly where a bird is chirping in a virtual forest. High-quality audio is arguably just as important as high-resolution visuals for selling the illusion of reality.
Troubleshooting Common Hurdles
No technical pursuit is without its challenges. A good VR setup is also a resilient one.
Common issues include tracking glitches, often caused by reflective surfaces (mirrors, windows, glossy TVs) or insufficient lighting for inside-out systems. Cover reflective surfaces and ensure your room is well-lit with diffuse light. Performance problems can often be traced to background applications hogging system resources. Before entering VR, close unnecessary programs. For Wi-Fi-based wireless VR, ensure your router is in the same room as your playspace, has a direct line of sight, and is on a clear, uncongested channel, free from interference from other devices.
Simulation sickness is a physiological hurdle for some users. The key to overcoming it is gradual exposure. Start with comfortable, stationary experiences and slowly work your way up to more intense games. Always stop at the first sign of discomfort—never try to "power through" it. A cool environment, a fan blowing on you, and ginger candies can also help mitigate symptoms.
The journey to a good VR setup is a personal one, a balance of budget, space, and ambition. It’s not about chasing the most expensive specs sheet, but about carefully selecting and tuning each component to work in harmony. From the crystal-clear lenses pressed against your eyes to the haptic feedback buzzing in your palms, every detail contributes to the ultimate goal: the sublime moment when the real world fades away, and you are truly somewhere else. That moment of pure, unbroken presence is the reward for your effort, a testament to a system built not just with technology, but with care and understanding. Your perfect virtual gateway awaits—it's time to step through.
Share:
Phone in VR: The Pocket-Sized Portal to Immersive Realities
Phone in VR: The Pocket-Sized Portal to Immersive Realities