


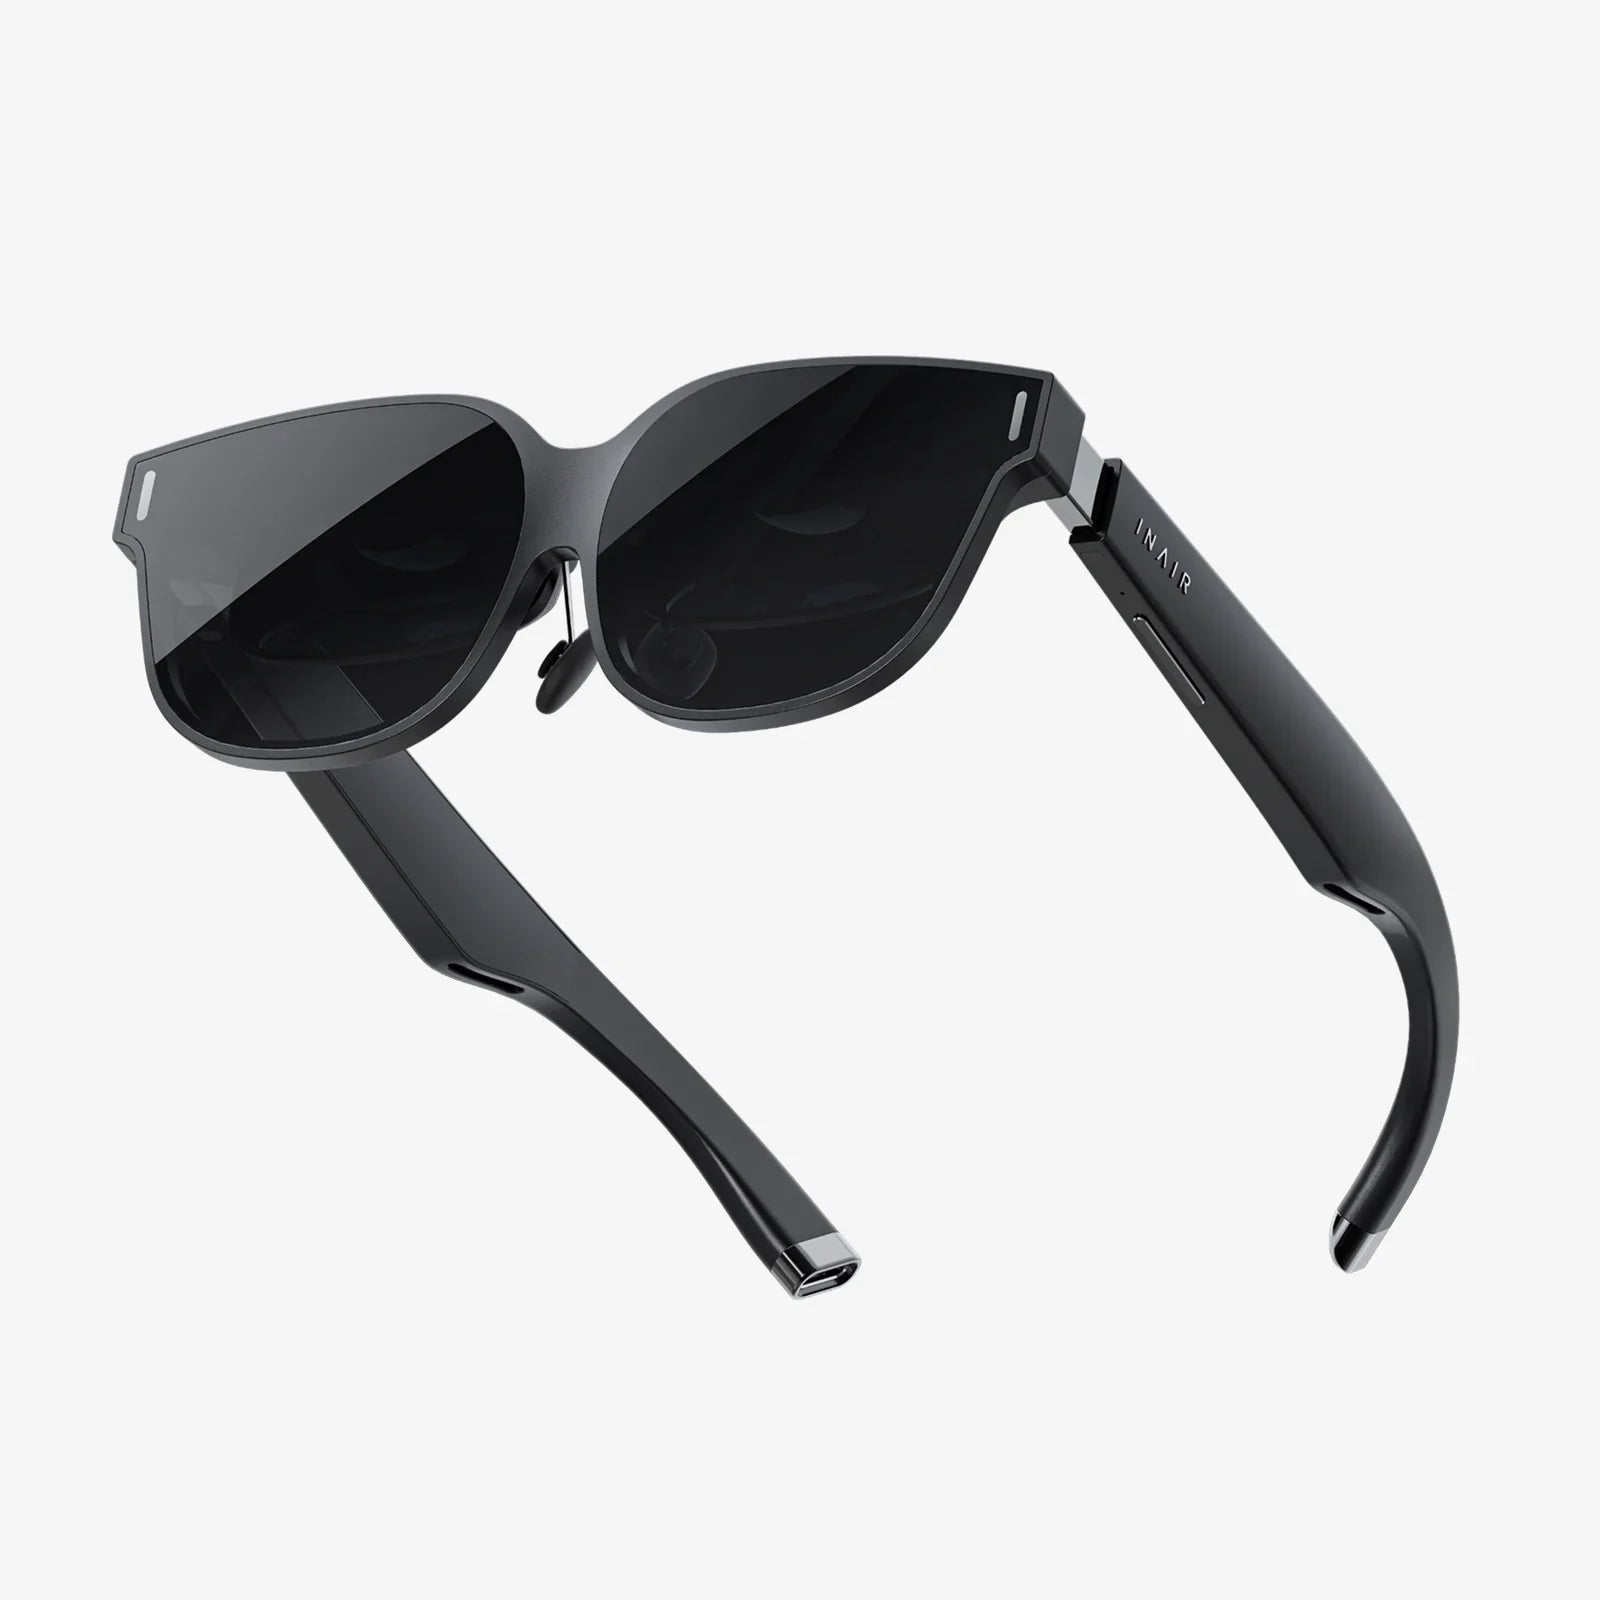
So, you’ve just unboxed a shiny new pair of VR goggles, and now they’re sitting in your hands, promising adventures in other worlds, heart-pounding games, and experiences you’ve only ever dreamed of. But the initial excitement might be quickly followed by a pressing question: how do I use my VR goggles? Don't let that futuristic piece of technology intimidate you. This definitive guide is designed to transform you from a curious newcomer into a confident virtual reality virtuoso, ready to explore, create, and play without limits.
First Steps: Unboxing and Initial Setup
The journey into virtual reality begins the moment you open the box. While the specific contents will vary, most VR systems share common components.
What's in the Box?
Carefully unpack your headset and lay out all the components. You will typically find:
- The VR Headset (Goggles): The main event, containing the high-resolution screens and lenses.
- Controllers: One or two handheld devices that act as your virtual hands.
- Power Adapter & Cables: For charging and, in some cases, connecting to a powerful computer.
- Optional Base Stations/Sensors: Some systems use external sensors placed around your room for precise tracking.
- Documentation: Quick-start guides and safety manuals.
Before you plug anything in, take a crucial step: charge your controllers and headset fully. There's nothing more frustrating than your adventure being cut short by a dead battery.
Defining Your Play Space
Virtual reality is a physical medium. You'll be moving around, so safety is paramount. The first thing you must do is define your play area.
- Seated vs. Standing vs. Room-Scale: Most systems offer these modes. Seated is for simulators or media viewing. Standing allows you to turn and move your arms but not walk around. Room-Scale is the gold standard, requiring a clear area (often a minimum of 6.5ft x 5ft) to walk within.
- Clearing the Area: This cannot be overstated. Remove any tripping hazards, pets, low-hanging light fixtures, and fragile items. A wobbly coffee table is the nemesis of an immersed VR user.
- Setting Up Guardians: This is the most important software step. All modern VR systems feature a "Guardian,” “Boundary,” or “Chaperone” system. When you set this up, you literally trace the safe boundaries of your play area with your controller. The system will then display a virtual wall (usually a glowing grid) whenever you get too close to the edge, preventing you from punching your TV or walking into a wall. Never disable this feature.
The Software Side: Getting Connected
With your physical space ready, it's time to power on and dive into the digital setup.
Platform Accounts and Pairing
Most headsets require you to create an account with their associated platform (e.g., Meta Quest, SteamVR, PlayStation Network). You'll often do this via a companion smartphone app or on the headset itself. This account is your gateway to purchasing games, connecting with friends, and storing your progress. Follow the on-screen instructions to connect your headset to your Wi-Fi network and pair your controllers. This process is typically very intuitive.
The Home Environment: Your Virtual Hub
Once setup is complete, you'll be transported to your "Home" environment. This is your virtual operating system—a customizable space from which you launch games, adjust settings, and invite friends. Spend some time here familiarizing yourself with the menu system. Learn how to open your library, access the store, and check your battery levels.
Mastering the Controls and Interface
VR controllers are not like traditional gamepads. They are designed to be an extension of your hands.
Understanding Your Virtual Hands
Controllers generally have a similar set of inputs:
- Analog Sticks/Touchpads: For movement and menu navigation.
- Trigger Buttons: Typically used for grabbing objects or precise actions like shooting.
- Grip Buttons: Often located on the side of the controller, used for a more general "grab" motion to pick up items.
- Face Buttons (A, B, X, Y): For secondary actions and menu functions.
- Menu/System Buttons: To bring up in-game menus or the universal system menu.
Every game has a slightly different control scheme. Most offer a tutorial level—always play the tutorial. It will teach you the specific ways that game uses your controllers.
Movement: Teleportation vs. Smooth Locomotion
This is a key concept for new users. Moving your real, physical body is natural, but moving your virtual body can cause discomfort for some (known as VR motion sickness). Developers offer two primary solutions:
- Teleportation: You point to where you want to go and instantly blink there. This is the most comfortable option for beginners as it eliminates the conflicting sensory signals that cause nausea.
- Smooth Locomotion: You use the analog stick to move forward, back, and strafe, just like in a traditional first-person game. This is more immersive for experienced users but can be disorienting at first.
Pro Tip: Start with teleportation. As you get your "VR legs," you can experiment with smooth locomotion in short sessions. A cool fan blowing on you and having a ginger candy handy can help mitigate any discomfort as you acclimatize.
Finding and Enjoying Content
Your headset is set up, your space is clear, and you know how to move. Now for the fun part: what to actually do.
Exploring the Store
The built-in store is your one-stop shop. You can browse by category:
- Games: From intense shooters and intricate puzzles to relaxing puzzle games and social hangouts.
- Experiences: Short, often narrative-driven content that lets you explore a story or a place.
- Media Apps: Download apps to watch 2D, 3D, and 360-degree videos on a giant virtual screen or in incredible immersive environments.
- Social & Fitness:
The true magic of VR often lies in connection and activity. Dedicated fitness apps can turn your play space into a virtual gym, tracking your movements and calories burned. Social platforms allow you to meet people from around the world in virtual spaces, play games together, attend live events, or just chat as avatars. It’s a powerful new way to socialize.
Free Demos and Experiences
Before you spend any money, explore the plethora of free content. Most platforms offer free demos for popular games. There are also incredible free experiences that can transport you to the top of Mount Everest, the depths of the ocean, or the surface of Mars. This is the perfect way to sample different types of VR and see what you enjoy most.
Advanced Tips for a Flawless Experience
Once you're comfortable with the basics, these pro tips will elevate your VR sessions.
Optimizing Visual Clarity
If things look blurry, it might not be the headset. The number one cause of blurriness is an incorrectly set Interpupillary Distance (IPD). This is the distance between your pupils. Most headsets have a physical or software slider to adjust the lens spacing to match your specific IPD. When it's set correctly, the image will snap into sharp focus. Also, ensure the headset is sitting on your face correctly—the straps should cradle the back of your head, and the visuals should be clear when you look in any direction.
Managing Cables (For Tethered Headsets)
If your headset connects to a PC, a dangling cable can break immersion and be a tripping hazard. Invest in a simple pulley system that suspends the cable from your ceiling. It’s a cheap and transformative upgrade that keeps the cable safely overhead and out of your mind.
Staying Clean and Hygienic
VR is an active hobby, and your headset will accumulate sweat and skin oils. After each use, gently wipe the facial interface (the foam or plastic that touches your face) with a dry, soft microfiber cloth. For a deeper clean, use a lens-safe disinfectant wipe on the interface (never on the lenses themselves). Always keep the lenses away from direct sunlight, as it can act like a magnifying glass and permanently burn the screens.
Troubleshooting Common Issues
Even the best tech can have hiccups. Here’s how to solve common problems.
- Tracking Loss: If your controllers or world view starts jittering or floating away, check your lighting. VR tracks best in a well-lit, but not overly bright, room. Avoid direct sunlight and mirrors, which can confuse the sensors.
- Low Performance/Stuttering: For PCVR users, this usually means your computer is struggling. Close background applications on your PC and ensure you meet the game's minimum system requirements.
- Discomfort/Headaches: This can be caused by an improperly fitted headset, an incorrect IPD setting, or the beginnings of motion sickness. Take a break immediately. VR is best enjoyed in shorter, regular sessions rather than marathon runs when you're starting out.
The world inside your headset is limited only by the content you can find and your own imagination. You’ve now moved past the initial hurdle of setup and are equipped with the knowledge to navigate virtual stores, conquer complex control schemes, and optimize your experience like a seasoned explorer. That initial question of ‘how to use my VR goggles’ has been replaced with the excitement of ‘what incredible thing will I do next?’ Your next adventure, your next workout, your next social gathering on the edge of a virtual volcano, is all waiting for you. All you have to do is put the headset on and reach out.
Share:
AP AR: The Digital Bridge Between Promise and Payment
Digital Products Meaning: Understanding the Core of Our Modern Economy