


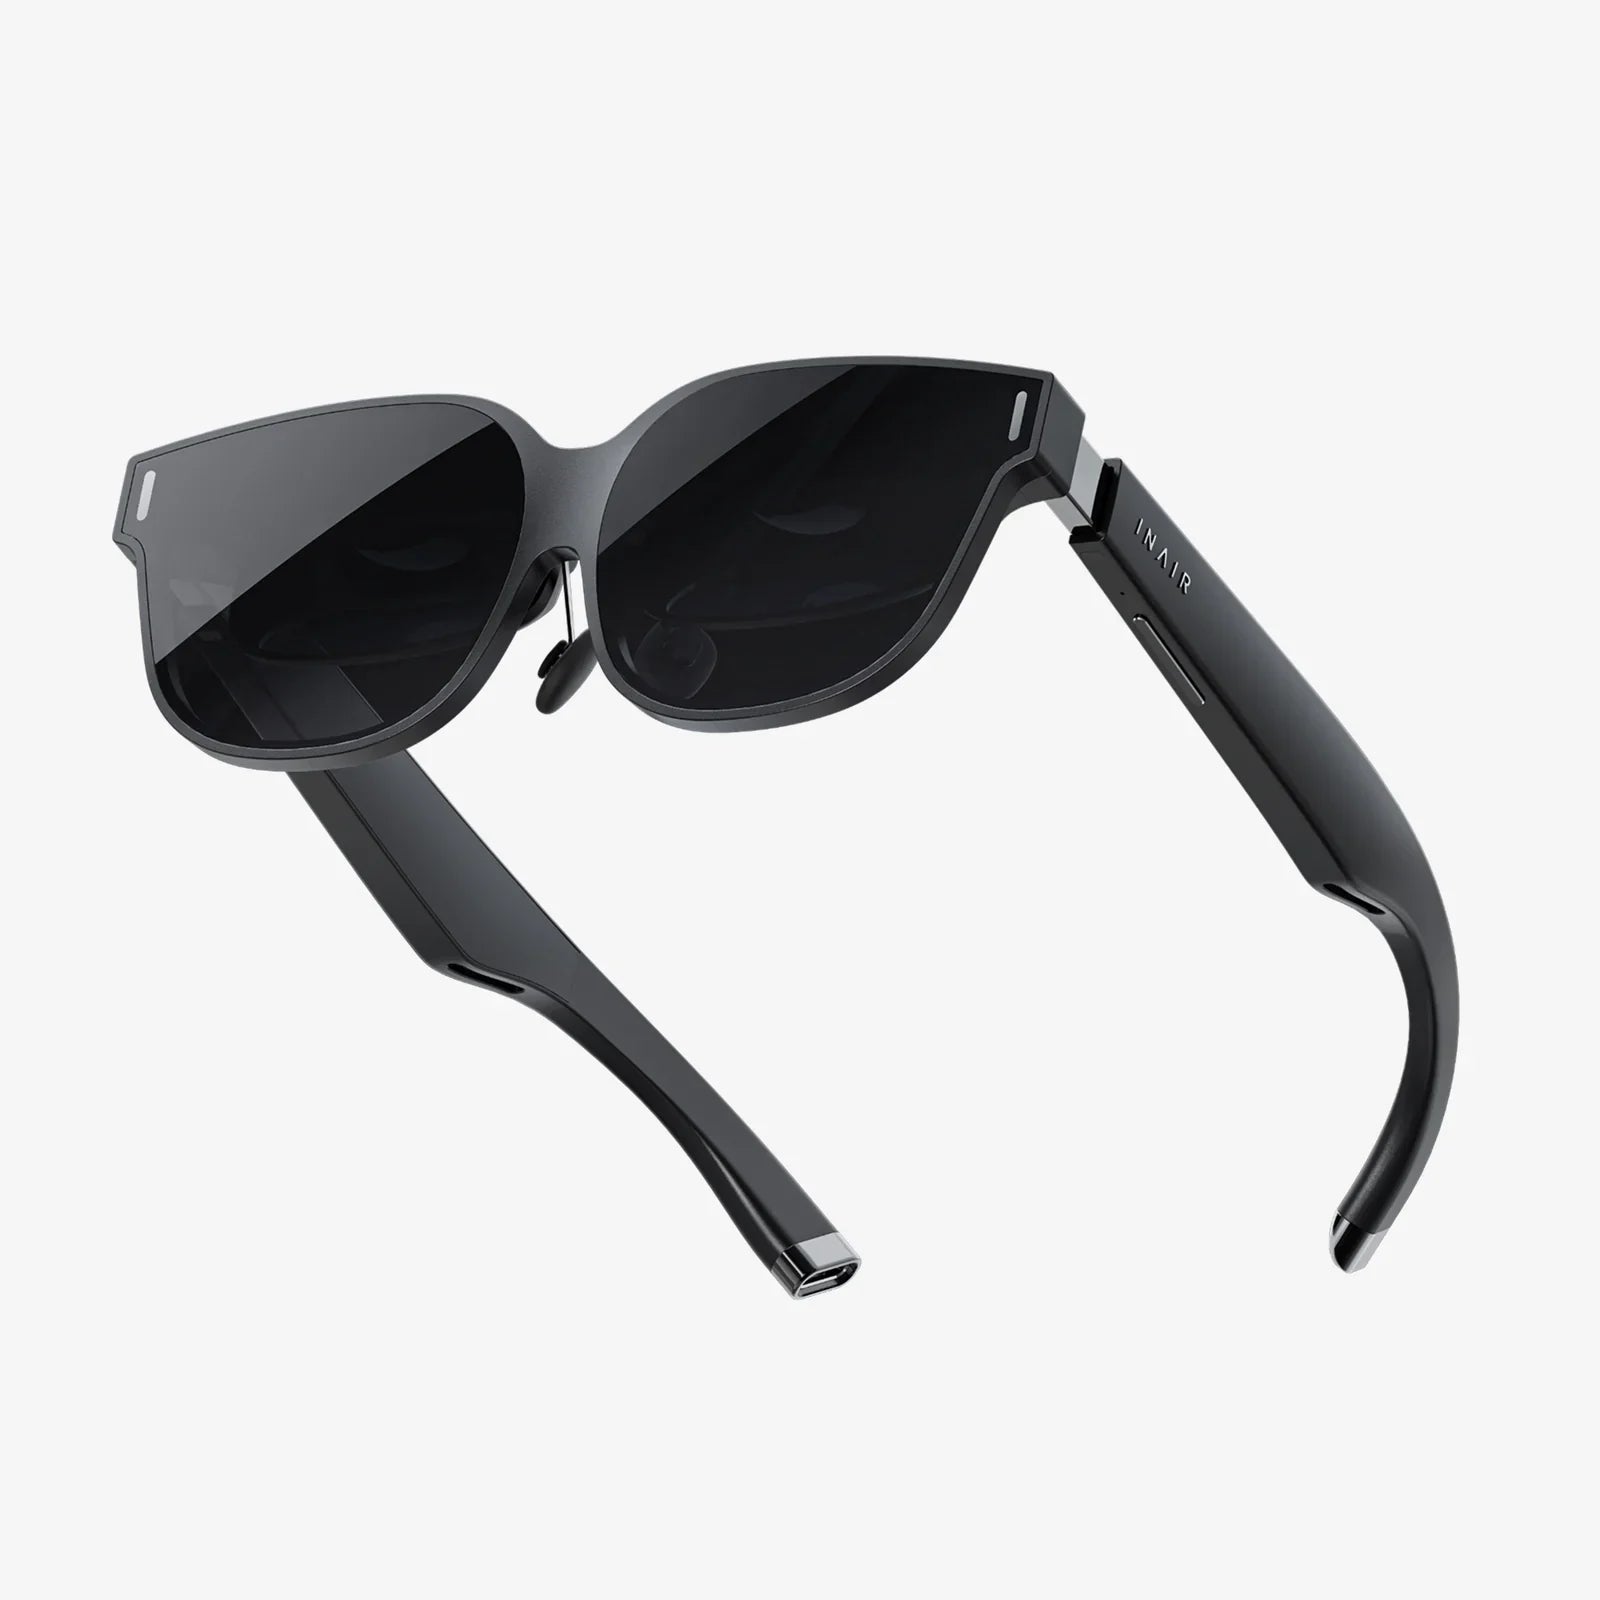
You've just unboxed your stunning new VR headset, the gateway to incredible virtual worlds, but there's one crucial step standing between you and your adventure: getting those controllers synced and ready for action. This moment of setup anxiety is familiar to every VR enthusiast, but fear not—connecting your controllers is far simpler than it seems, and mastering this skill unlocks the full potential of your immersive experiences. Whether you're a first-time user or a seasoned veteran with a new device, this definitive guide will demystify the entire process, ensuring you spend less time troubleshooting and more time exploring, gaming, and creating in the vast metaverse that awaits your command.
The Universal Foundation: Understanding Connection Protocols
Before diving into the specific steps, it's essential to grasp how VR controllers communicate with your headset. The vast majority of modern systems utilize a wireless technology, with Bluetooth being the undisputed champion of this space. This standardized protocol allows for a stable, low-latency connection that is perfect for the precise, real-time tracking required for immersive virtual interaction. Some older or specialized systems might use proprietary wireless dongles or even wired connections, but for the contemporary user, Bluetooth is the language your devices will speak.
This process isn't just about making a simple connection like a pair of headphones; it's about creating a paired relationship where the headset and controllers recognize each other uniquely. This pairing ensures that your inputs are registered accurately and exclusively to your session, preventing interference from other nearby devices. The headset acts as the central hub, receiving data on the controller's position, orientation, button presses, and joystick movements, then translating that into your actions within the virtual environment. Understanding this helps troubleshoot issues: if the connection is made but the tracking is poor, the problem likely isn't the pairing itself but perhaps environmental interference or a software calibration need.
A Step-by-Step Guide for Modern Standalone Headsets
Standalone VR headsets, which operate without a external computer, have the most streamlined controller connection process. The procedure is generally consistent across major platforms, though menu names might vary slightly.
The Standard Pairing Procedure
- Power Up: Put on your headset and navigate to the main menu. Ensure the headset is charged and fully booted up.
- Locate Settings: Open the 'Settings' or 'System' menu from the universal dashboard. This is typically represented by a gear icon.
- Find the Controllers Section: Look for a menu option labeled 'Controllers,' 'Devices,' or 'Bluetooth.'
- Initiate Pairing Mode: Select the option to 'Pair New Controller' or 'Add Controller.' The headset will now enter a listening mode, scanning for new devices.
- Wake the Controllers: Pick up the first controller. If it has a removable battery tab, pull it out. Press and hold the system button (often a circular button below the trackpad) or a dedicated pairing button until the LED light on the controller begins to blink rapidly. This blinking indicates it is in discoverable mode.
- Select and Confirm: The headset should display the controller's model name or ID number. Select it to confirm the pairing. A chime or on-screen confirmation will typically indicate success. The LED on the controller will usually turn solid.
- Repeat for the Second Controller: Follow the exact same process for the second controller. Most systems require you to pair them one at a time.
Often, new headsets will guide you through this process automatically on first setup. If your controllers were previously paired to another device, you may need to manually unpair them from that device's Bluetooth settings first to avoid conflicts.
Connecting Controllers to PC-Powered VR Headsets
Headsets that rely on a powerful computer involve an extra layer, as the controllers can sometimes connect directly to the PC itself via a dedicated wireless dongle or Bluetooth, rather than to the headset. The recommended method, however, is almost always through the headset's built-in Bluetooth for optimal tracking.
- Software First: Ensure your VR platform's software (e.g., SteamVR, Oculus PC app) is installed and running on your computer.
- Headset Connection: Connect your headset to the PC via the appropriate cable and ensure it is recognized by the software.
- Access Dashboard: Put on the headset or use the desktop client to open the VR dashboard settings.
- Device Management: Navigate to the devices section. The software will often have a clear 'Pair Controller' utility that guides you through the process, which mirrors the standalone method: find the pairing option in the software, then put the physical controller into pairing mode.
- Dongle Use (If Applicable): For certain controllers, especially older models or replacements, you might use a proprietary wireless dongle. Plug this dongle into a USB port on your computer. The software should recognize it automatically, and you can then put the controller into pairing mode to link directly to the dongle.
The key here is to let the VR software manage the connection. It provides the necessary drivers and calibration to ensure everything works in harmony.
Navigating Common Pairing Problems and Solutions
Even with a straightforward process, things can occasionally go awry. Here are the most common issues and how to solve them.
The Controller Isn't Discoverable
If your headset fails to see the controller, the issue is almost always on the controller's end.
- Check Power: This is the most common culprit. Insert fresh batteries or fully charge the controller. A low battery can prevent it from entering pairing mode.
- Hard Reset: Some controllers can become stuck. Try holding down the system button for 15-30 seconds to force a hard reset before attempting to pair again.
- Button Timing: Ensure you're holding the pairing button long enough. It often takes 5-10 seconds of holding before the LED starts to blink.
The Pairing Fails or Immediately Drops
If the headset sees the controller but can't establish or maintain a connection, interference is a likely cause.
- Reduce Interference: Move away from other wireless devices like routers, microwaves, and cordless phones. Bluetooth operates on the 2.4GHz band, which is crowded.
- Distance: Keep the controller within three feet of the headset during the pairing process.
- Unpair Old Connections: If the controller was used before, it might be trying to connect to an old device. Clear its pairing history via a button combination (consult your device's manual) or by unpairing it from the old device's Bluetooth menu.
One Controller Pairs, But the Other Doesn't
This frustrating issue usually requires isolating the problem.
- Swap Components: Swap the batteries between the two controllers. If the problem follows the battery, you've found the issue. If the previously broken controller now works, the problem was the original battery.
- Pair to a Different Device: Try pairing the problematic controller to a smartphone via Bluetooth as a test. If it fails there too, the controller itself may be faulty.
- Software Reboot: Fully exit and restart your VR software or even your entire computer and headset. This clears any software glitches that might be blocking the second connection.
Advanced Tips for a Flawless VR Experience
Once your controllers are connected, a few extra steps can elevate your VR immersion from good to great.
Calibration is Key
Pairing is just the first step. Take the time to run through any controller calibration tools offered in your system settings. This often involves holding the controllers in specific positions or tracing a pattern in the air to fine-tune the tracking accuracy and eliminate drift.
Firmware Updates
Like any tech device, controller firmware updates are released to improve performance, add features, and fix bugs. Regularly check the devices section of your VR system settings to ensure your controllers are running the latest software. This is often done automatically once they are paired.
Optimize Your Play Space
Bluetooth signals can be reflected or absorbed by large metal objects, mirrors, and even thick concrete walls. For the most stable connection, ensure your play area is clear of major obstructions between the controllers and the headset. Good lighting is also crucial for inside-out tracking systems that use cameras on the headset to see the controllers.
Battery Best Practices
To avoid sudden disconnections mid-game, use high-quality, name-brand batteries for disposable types or invest in a reliable set of rechargeables with a clear charge-level indicator. Some systems allow you to check controller battery life from the dashboard—make a habit of checking it before a long session.
Mastering the art of the connection is your first true interaction with the virtual world, a small ritual that bridges the gap between the physical and the digital. With the knowledge from this guide, that process is no longer a barrier but a simple, swift command you issue with confidence. Now, with your controllers perfectly synced and calibrated, every virtual landscape, intense game, and social space is instantly accessible, responding to your every move with pinpoint precision. Your journey is just beginning, and the only thing you need to reach for is your headset—your controllers are already waiting, perfectly paired and ready to bring your imagination to life.
Share:
Extended Reality Market Demand: The Next Digital Revolution is Here
Extended Reality XR Market Growth: A Deep Dive into the Next Digital Revolution