


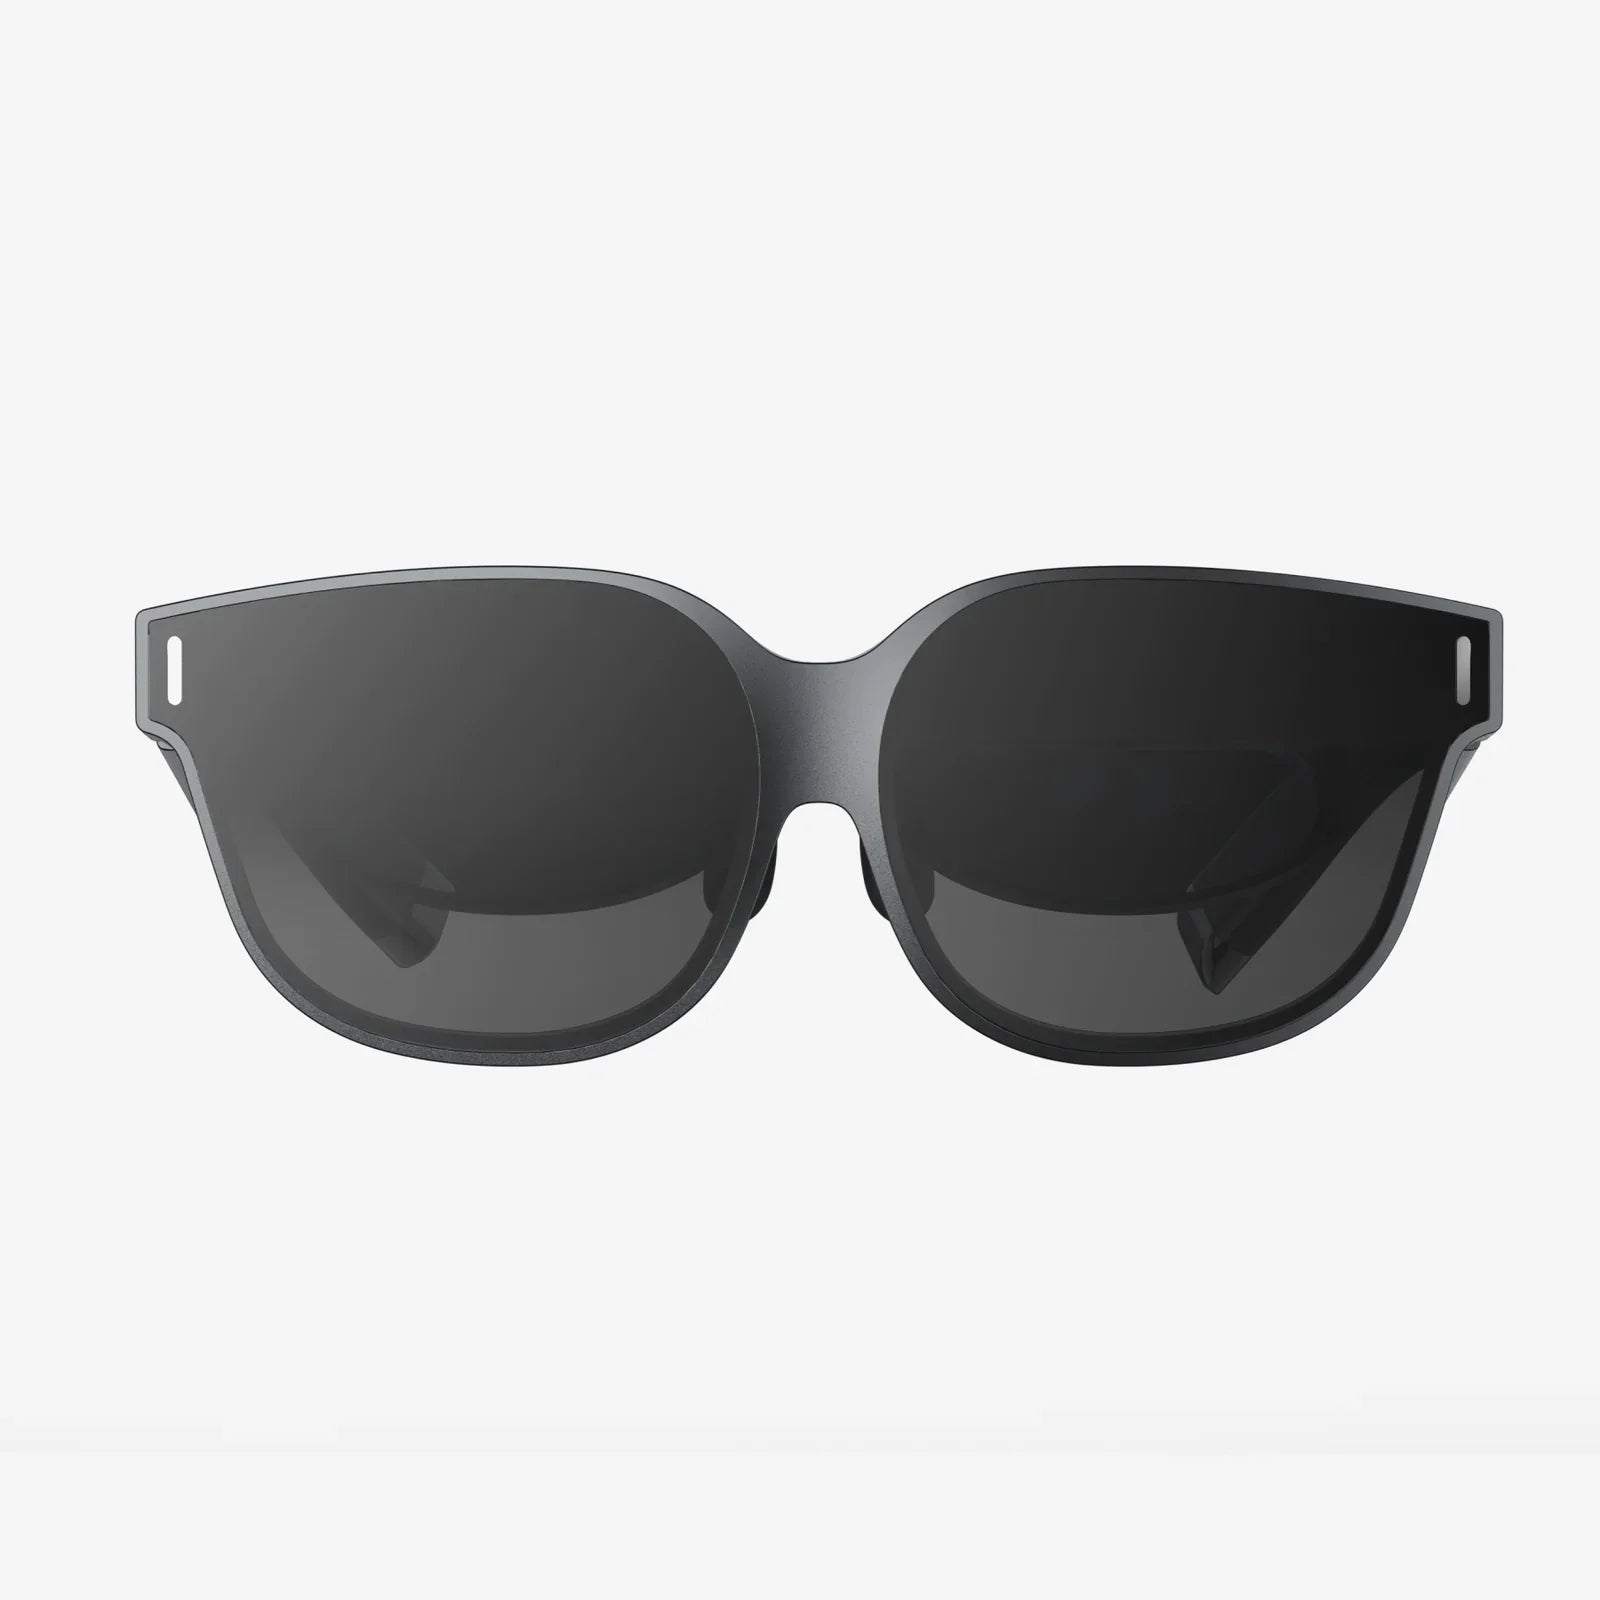
Imagine stepping through a portal into another world, one where you can climb mountains, create art on a cosmic scale, or face down dragons—all from the comfort of your living room. That incredible journey begins with a single, crucial step: successfully connecting your gateway to these experiences. While the prospect of setting up sophisticated technology can feel daunting, the process of plugging in a modern headset is more straightforward than you might think. This guide is designed to be your trusted companion, transforming what seems like a complex technical chore into a simple, step-by-step adventure. Let's demystify the process together and get you ready to dive in.
Before You Begin: The Foundation of a Great VR Experience
Before you even glance at the cables, a small amount of preparation will pay massive dividends in your comfort and enjoyment. Rushing this stage is the most common cause of setup frustration.
1. The All-Important Play Area
VR comes in two primary flavors regarding movement: seated/stationary and room-scale. Determine which your system supports and plan accordingly. For room-scale, you'll need a clear, open space. Measure your area and move furniture, rugs, and other hazards out of the way. The last thing you want is to trip over a coffee mid-swordfight. Ensure the space has consistent, soft lighting—avoid direct sunlight, which can interfere with outside-in tracking sensors and damage the headset's internal lenses.
2. System Check: Is Your Machine Ready?
This is critical for tethered headsets that connect to a computer. These devices are not running on their own internal hardware; they are essentially incredibly high-resolution monitors that demand immense processing power. Consult the minimum and recommended specifications for your specific headset model. Pay close attention to the GPU (graphics processing unit), CPU (central processing unit), RAM, and available video outputs (like HDMI or DisplayPort). Running a performance test tool, often provided for free by the headset's platform, can scan your system and tell you if you're ready to go or need to upgrade a component.
3. The Unboxing Ritual
Lay everything out on a clean, soft surface. A bed or a large table is perfect. Identify all the components: the headset itself, the motion controllers, any external sensors or base stations, and all the necessary cables and power adapters. Familiarize yourself with the parts. Locate the headset's adjustment dials for the head strap and the lens distance slider (called the IPD adjustment), which is vital for visual clarity. Read the quick-start guide—it often contains model-specific diagrams that are incredibly useful.
The Three Pathways: Connecting Different Types of Headsets
Not all headsets are created equal. The connection process diverges significantly based on the category of device you own. Identify which one you have to follow the correct path.
Pathway 1: The Tethered PCVR Headset
These headsets offer the highest fidelity experiences by tethering directly to a powerful computer.
Step 1: Install Software and Drivers
Before plugging anything in, go to the website of your headset's platform on your computer. Download and install the necessary desktop application or driver suite. This software is the essential bridge between your computer's hardware and the headset. Restart your computer if prompted.
Step 2: Set Up External Sensors (If Applicable)
For headsets that use outside-in tracking, you will have external sensors. These are typically placed high in the corners of your play area, angled downward to cover the entire space. Mount them securely on stands, shelves, or wall mounts. Plug each sensor into a available USB port on your computer. Some may also require a power connection. The setup software will guide you on optimal placement.
Step 3: Connect the Headset Itself
This is the main event. Identify the headset's cable, which is often a single thick cable that breaks out into multiple connectors.
- Video Cable: Plug the primary video connector (usually DisplayPort or HDMI) into your computer's GPU—not the motherboard's video outputs. This is a common mistake.
- USB Cable: Plug the USB connector into an appropriate USB port on your computer (USB 3.0 is often required for adequate data transfer).
- Power Adapter: Some headsets require a separate power plug; connect this to a wall outlet.
Step 4: Finalize Setup in Software
Put on the headset. The platform's software should spring to life, guiding you through the final steps: pairing your controllers by turning them on and perhaps pressing a button, defining your play area by tracing its boundaries with a controller (called "Guardian" or "Chaperone" system), and calibrating the floor height.
Pathway 2: The Standalone Headset
These all-in-one devices have the computer built directly into the headset, making the physical setup incredibly simple.
Step 1: Charge the Hardware
Out of the box, the headset and controllers will likely have some charge, but it's best to plug them in to ensure a full battery. Use the provided charging cables and power adapters.
Step 2: Power On and Pair
Put on the headset and press the power button. You will be greeted by a setup environment. The device will prompt you to connect to your Wi-Fi network. A strong, stable 5GHz Wi-Fi connection is recommended for downloading games and updates. Next, you will be guided to pair your motion controllers. This usually involves holding down a specific button on each controller to make them discoverable.
Step 3: The Guardian System
Just like with a PCVR headset, you will need to define your safe play area. Look for the setting to set up your "Guardian" or "Boundary." Using your controller, you'll point and trace the outline of your clear space on the floor. The system will remember this, and a virtual wall will appear in your game if you get too close to the edge.
Pathway 3: The Console-Based Headset
These headsets are designed to work exclusively with a specific video game console, offering a plug-and-play experience.
Step 1: Software First
On your console, ensure all system software is up to date. Then, navigate to the digital store and download any required VR application or system extension for the headset. The console may need to restart.
Step 2: The Physical Connection
The connection here is typically the simplest of all. The headset processing unit often acts as a pass-through box. You will plug your console's HDMI cable that normally goes to your TV into this processing box instead. Then, you use another HDMI cable (usually included) to connect the box to your TV. The box will also need to be plugged into a power outlet and the console via a USB cable for data. Finally, connect the headset's proprietary cable to this processing unit.
Step 3: Calibration
Power on the headset and controllers. The console's software will take over, guiding you through positioning the headset's camera for tracking and calibrating the controller lights for optimal motion detection.
Universal Tips for a Flawless Setup
Regardless of your chosen path, these principles will ensure a smoother experience.
Cable Management is King
A tangled cable is a tripping hazard and can yank violently on your computer or headset. Use retractable cable pulleys attached to your ceiling to keep the cable safely overhead and out of your way. This small investment dramatically improves immersion and safety for tethered setups.
Lens Care is Non-Negotiable
The lenses are the windows to the virtual world. Never touch them with your fingers. The oils from your skin can damage coatings and smudge the view. Use only the provided microfiber cloth to gently clean them. Keep them out of direct sunlight, as focused light can act like a magnifying glass and burn the internal screens.
Comfort is Everything
A poorly fitted headset leads to discomfort and a quick end to your session. Take the time to adjust the top, side, and rear straps. The weight should be distributed across your cheeks and the back of your skull, not balanced on the bridge of your nose. Use the IPD slider to match the distance between the lenses to the distance between your pupils; this eliminates blurriness and eye strain.
Troubleshooting Common Hurdles
Even with perfect preparation, you might hit a snag. Don't panic; most have simple fixes.
- No Display / Black Screen: Ensure all cables are fully seated at both ends. Check that your monitor is set to duplicate or extend displays in your computer's display settings. Verify you are using the correct video output on your GPU.
- Tracking Issues (Jittery Controllers): For external sensors, ensure they have a clear, unobstructed view of the play area. Cover or remove highly reflective surfaces like mirrors or glass tables that can confuse the lasers or cameras.
- Audio Not Working: VR software often has its own audio settings. Check the audio options within the VR platform's dashboard to ensure the output is set to your headset and not your regular speakers.
- Controller Won't Pair: Check the battery level. For a fresh pair, you may need to hold the pairing button for several seconds until a light begins to flash rapidly.
You've meticulously followed the steps, untangled the last cable, and calibrated your space. The controllers are charged and paired, the lenses are clean, and the headset rests comfortably on your face. You pick an experience and hit 'Launch.' The world around you dissolves, replaced by something impossible, something magnificent. The setup, the reading, the troubleshooting—it all fades into insignificance the moment you first reach out a virtual hand to touch something that isn't there, yet feels so real. This is why you went through the process. This moment of pure, unadulterated wonder is your reward. Your portal is open. Now, step through.
Share:
How to Loosen VR Headset: A Complete Guide to Ultimate Comfort and Fit
Best PC VR Headset Specs: The Ultimate Guide to High-Fidelity Immersion