

Imagine stepping through a portal into another world, feeling the awe of standing on the Martian surface, the thrill of a rollercoaster ride from your living room, or the focus of a virtual workspace that blocks out all distractions. This is the promise of virtual reality, and it all starts with a single piece of technology: the VR goggles. But for many, these futuristic devices can seem intimidating, leaving them wondering just how to unlock their incredible potential. Fear not, for this guide is your definitive key to stepping into new realities with confidence and excitement.
Unboxing and Understanding Your Hardware
Before you can embark on your journey, you need to get familiar with your equipment. While models vary, most VR systems share common components.
The Core Components
At the heart of the experience are the goggles themselves, often called a head-mounted display (HMD). This contains the high-resolution screens that are magnified by specialized lenses to fill your field of view, creating the illusion of a vast, virtual space. You'll also find adjustment mechanisms: a strap system (often a rigid halo or flexible straps) to secure the device to your head and a dial or slider to adjust the Interpupillary Distance (IPD). This crucial setting moves the lenses horizontally to match the distance between your pupils, ensuring a clear, non-blurry image and reducing eye strain.
Controllers: Your Virtual Hands
Most modern VR systems come with a pair of wireless motion controllers. These are your hands in the virtual world. They are typically equipped with buttons, triggers, thumbsticks, and touch-sensitive pads. More importantly, they feature advanced inside-out tracking technology, using cameras and sensors to precisely map their position and rotation in 3D space, allowing you to reach, grab, throw, and gesture with astonishing accuracy.
Sensors and External Hardware (If Applicable)
Some older or high-end PC-based systems may use external sensors or base stations. These devices are placed in the corners of your play area and emit lasers or infrared light to track the position of the headset and controllers with extreme precision. If your system uses them, careful placement is key to avoiding tracking dead zones.
Preparing Your Physical Space: Safety First
Virtual reality is immersive, meaning your real surroundings disappear. Preparing your space is not just a recommendation; it's a critical safety step.
Defining Your Play Area
The first step is to clear a sufficient area. Move coffee tables, chairs, and other obstacles out of the way. Ensure you have a clear, open space where you can extend your arms and move without hitting anything. Most systems will guide you through setting up a Guardian System or Play Boundary.
Setting Up the Guardian/Boundary System
This is arguably the most important step. Using your controller, you will trace the outline of your safe play area on the floor. The system will then generate a virtual wall. Whenever you get too close to the edge of this defined space, a semi-transparent grid wall will appear in your virtual view, warning you to step back. Never disable this feature. It is your primary protection against real-world collisions.
Environmental Considerations
Be mindful of your surroundings. Ensure the play area is free of pets and small children who might wander in unnoticed. Check for low-hanging light fixtures or ceiling fans if you plan on experiences that involve reaching upward. Use a soft mat or rug in the center of your play area; the change in texture under your feet provides a constant physical reminder of your position in the real world.
The Initial Software Setup and Calibration
With your space safe, it's time to power on and dive into the software.
Pairing and Updating
You will need to pair your controllers with the headset, a process typically done through the device's settings menu. The system will almost certainly require a software update. It is essential to let this complete to ensure you have the latest features, performance improvements, and security patches. Connect to a strong Wi-Fi network for this process.
The First Calibration
The software will walk you through several calibration steps. This includes setting your floor height (usually by placing the controllers on the real floor and clicking a button), adjusting your IPD for visual clarity, and fine-tuning the headstrap for a snug but comfortable fit. The goal is to have the headset feel secure without applying excessive pressure to your face. Take your time with these steps—they are fundamental to a comfortable experience.
Navigating the Virtual Environment
Once setup is complete, you'll find yourself in the home environment or dashboard. This is your virtual operating system.
Menus and Interfaces
Virtual menus are typically interacted with by using a laser pointer beam that emanates from your controller. You point at the option you want and press a trigger or button to select it. Here you can access the store to download applications and games, adjust system settings, invite friends to social spaces, and launch your experiences.
Movement Mechanics: Locomotion
How you move in VR is a key concept. Different applications use different methods, and it's important to find what works for you to avoid discomfort.
- Teleportation: The most comfortable option for beginners. You point to where you want to go and instantly blink there. This avoids the conflicting sensory input of your eyes seeing movement while your inner ear feels none, which can cause simulator sickness for some.
- Smooth Locomotion: Using the thumbstick on your controller to move forward, back, and strafe, much like a traditional video game. This feels more natural to seasoned gamers but can induce nausea in those new to VR until they develop their "VR legs."
- Armswing: Some games use a swinging motion of your arms to simulate walking or running.
Diving Into Experiences: Games, Apps, and Social Spaces
This is where the magic happens. The software library is vast and varied.
Choosing Your First Experience
For your first foray, choose something rated as "comfortable" for all users. These are often stationary or room-scale experiences that don't involve artificial stick movement. A simple puzzle game, a creative app like painting in 3D, or a visually stunning short film are perfect starting points. Avoid intense flight simulators or fast-paced shooters for your first session.
Genres to Explore
- Gaming: From rhythm games that have you slicing blocks to epic RPGs and heart-pounding horror titles.
- Fitness: A revolutionary category that turns workouts into fun, immersive games, tracking your movement and calories burned.
- Social VR: Platforms that allow you to meet friends as customizable avatars, watch movies together, play games, and attend live events in virtual venues.
- Productivity & Creativity: Virtual desktops for a multi-monitor setup in a tranquil environment, 3D sculpting tools, and architecture visualization apps.
- Media Consumption: Watching 360-degree videos or playing traditional movies on a giant virtual screen.
Advanced Tips and Best Practices
To elevate your experience from good to great, keep these pro tips in mind.
Maintaining Comfort During Long Sessions
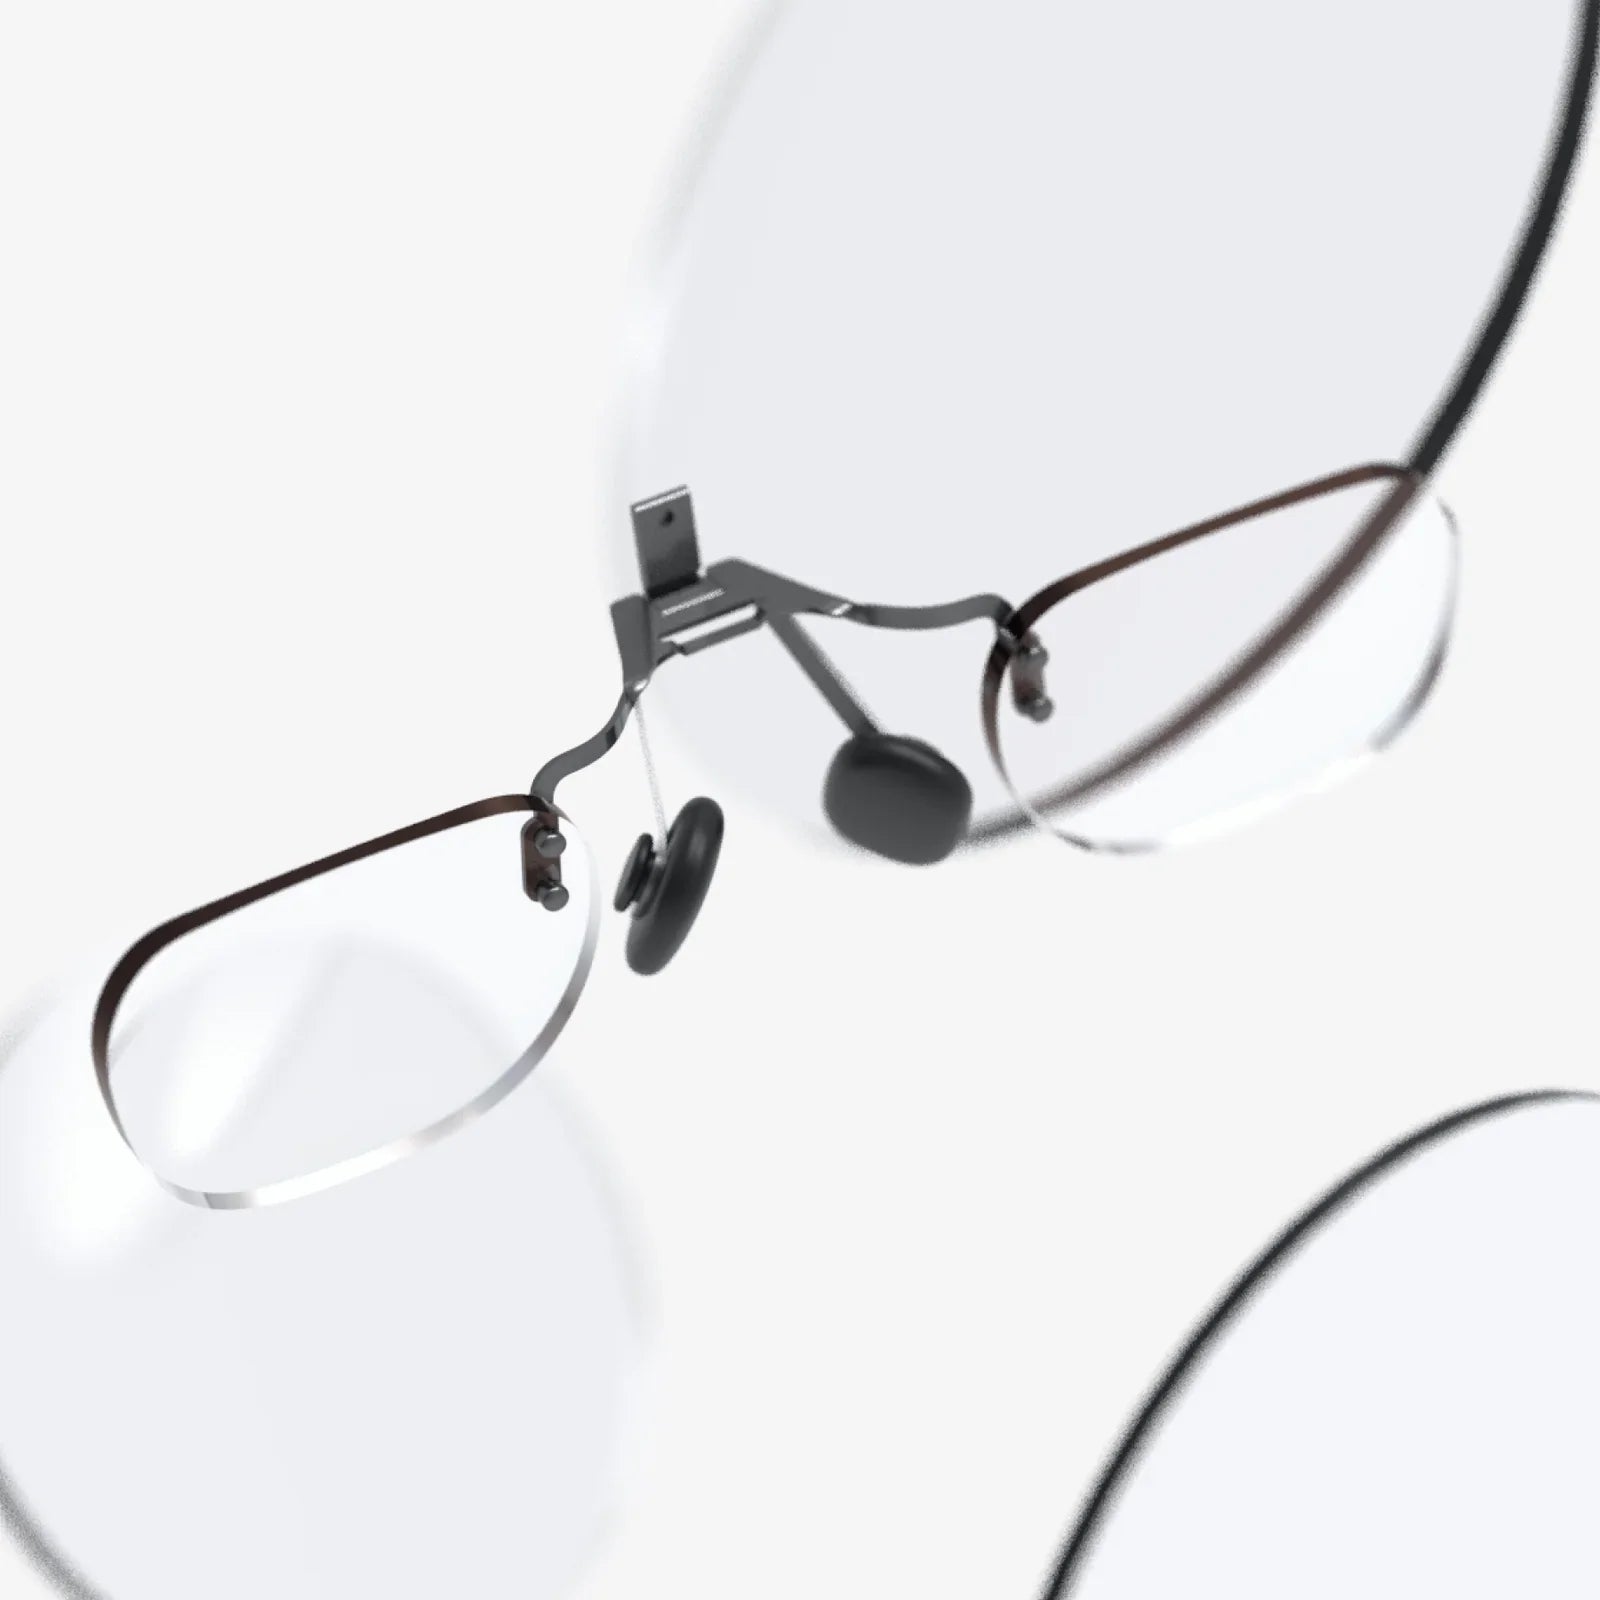
VR can be physically engaging. Take regular breaks. A good rule of thumb is a 10-15 minute break for every hour of use. Hydrate well. If you start to feel warm, use a small fan pointed at your play space; this not only keeps you cool but also provides a constant directional cue, further reducing potential nausea. If you wear glasses, consider purchasing prescription lens inserts for your headset for a clearer, more comfortable fit.
Hygiene and Care
VR is a personal experience. After use, especially active sessions, gently wipe down the facial interface foam with a lightly dampened cloth with antibacterial spray and let it air dry. Never use harsh chemicals. Keep the lenses clean using only the provided microfiber cloth. Avoid touching the lenses with your fingers, as skin oils can smudge and potentially damage coatings.
Managing VR Sickness
If you feel dizzy, nauseous, sweaty, or get a headache, stop immediately. Do not try to "power through" VR sickness; it will only make it worse. Your tolerance will build over time with short, comfortable sessions. Ginger candies or gum can help alleviate symptoms. Gradually work your way up to experiences with smooth locomotion as you feel ready.
Troubleshooting Common Issues
Even with the best preparation, you might encounter hiccups.
- Blurry Image: Re-adjust the headset on your face, ensure the IPD is set correctly, and clean the lenses.
- Tracking Problems: Ensure there is adequate lighting (avoid direct sunlight and extremely dark rooms). Check for highly reflective surfaces like mirrors or glass that can confuse the tracking cameras. Re-run the room setup calibration.
- Controller Disconnection: Check and recharge the batteries. Re-pair them in the settings menu if issues persist.
The world outside your window is just one reality. With your VR goggles properly set up, your space secured, and a universe of experiences at your fingertips, you are now ready to explore countless others. From the deepest oceans to the farthest reaches of fictional galaxies, the only limit is your curiosity. So, take a deep breath, secure the headset, and take that first step—a world of unimaginable immersion and wonder awaits your discovery.
Share:
What Is AR Coating on Glasses? The Ultimate Guide to Sharper Vision
VR Goggles Australia: The Ultimate Guide to Immersive Tech Down Under