

Imagine slipping on a pair of goggles you built with your own hands and being instantly transported to a digital universe of your own creation. The thrill of DIY virtual reality isn't just about the final product; it's about the journey of understanding and mastering the technology that is reshaping our world. For the curious maker, the student on a budget, or the pure hobbyist, building your own VR headset is the ultimate deep dive into the principles of immersion, optics, and computing. This guide will walk you through the entire process, from sourcing components to writing your first line of code for a custom VR experience. It's a challenging but profoundly rewarding project that will leave you with a deep appreciation for the magic inside every headset.
The Core Components of a VR Headset
Before you pick up a soldering iron, it's crucial to understand what you're building. A functional VR headset is a symphony of interconnected systems. At its heart, it requires a display, lenses, sensors, a processing unit, and a housing to bring it all together.
The Display System: Your Digital Window
The display is the primary interface between you and the virtual world. Most modern DIY builds utilize a single high-resolution smartphone screen or a dedicated LCD/OLED panel. The key specifications to consider are resolution, refresh rate, and persistence. A higher resolution reduces the "screen door effect" (the visible gap between pixels), while a high refresh rate (90Hz or above) is critical for smooth motion and preventing simulator sickness. Low-persistence display technology, which briefly flashes each frame instead of keeping it lit, further reduces motion blur.
The Optical Lenses: Crafting the Illusion
Perhaps the most surprising element to first-time builders is the role of the lenses. You cannot simply place a screen inches from your eyes and expect to focus on it. Specialized aspheric or Fresnel lenses are used to bend the light from the screen, creating a wide field of view (FOV) and making the image appear to be at a comfortable distance, often several meters away. The focal length and distance between the lenses (interpupillary distance or IPD) must be adjustable to match the user's eyes for a clear and comfortable image.
The Tracking System: Knowing Where You Are
Immersion shatters the moment the virtual world doesn't mirror your real-world movements. This is achieved through tracking, which comes in two main forms: rotational (3DoF - Degrees of Freedom) and positional (6DoF).
Rotational tracking is the minimum viable product. It uses a Inertial Measurement Unit (IMU)—a combination of a gyroscope, accelerometer, and magnetometer—to track the orientation of your head (pitch, yaw, and roll). This is relatively straightforward to implement with off-the-shelf sensor boards.
Positional tracking, which allows you to lean, duck, and move around in space, is more complex. DIY methods often involve external sensors. This can be done by using external cameras that track infrared LEDs placed on the headset (outside-in tracking) or by using onboard cameras that track patterns or features in the room (inside-out tracking), a process that requires significant computer vision programming.
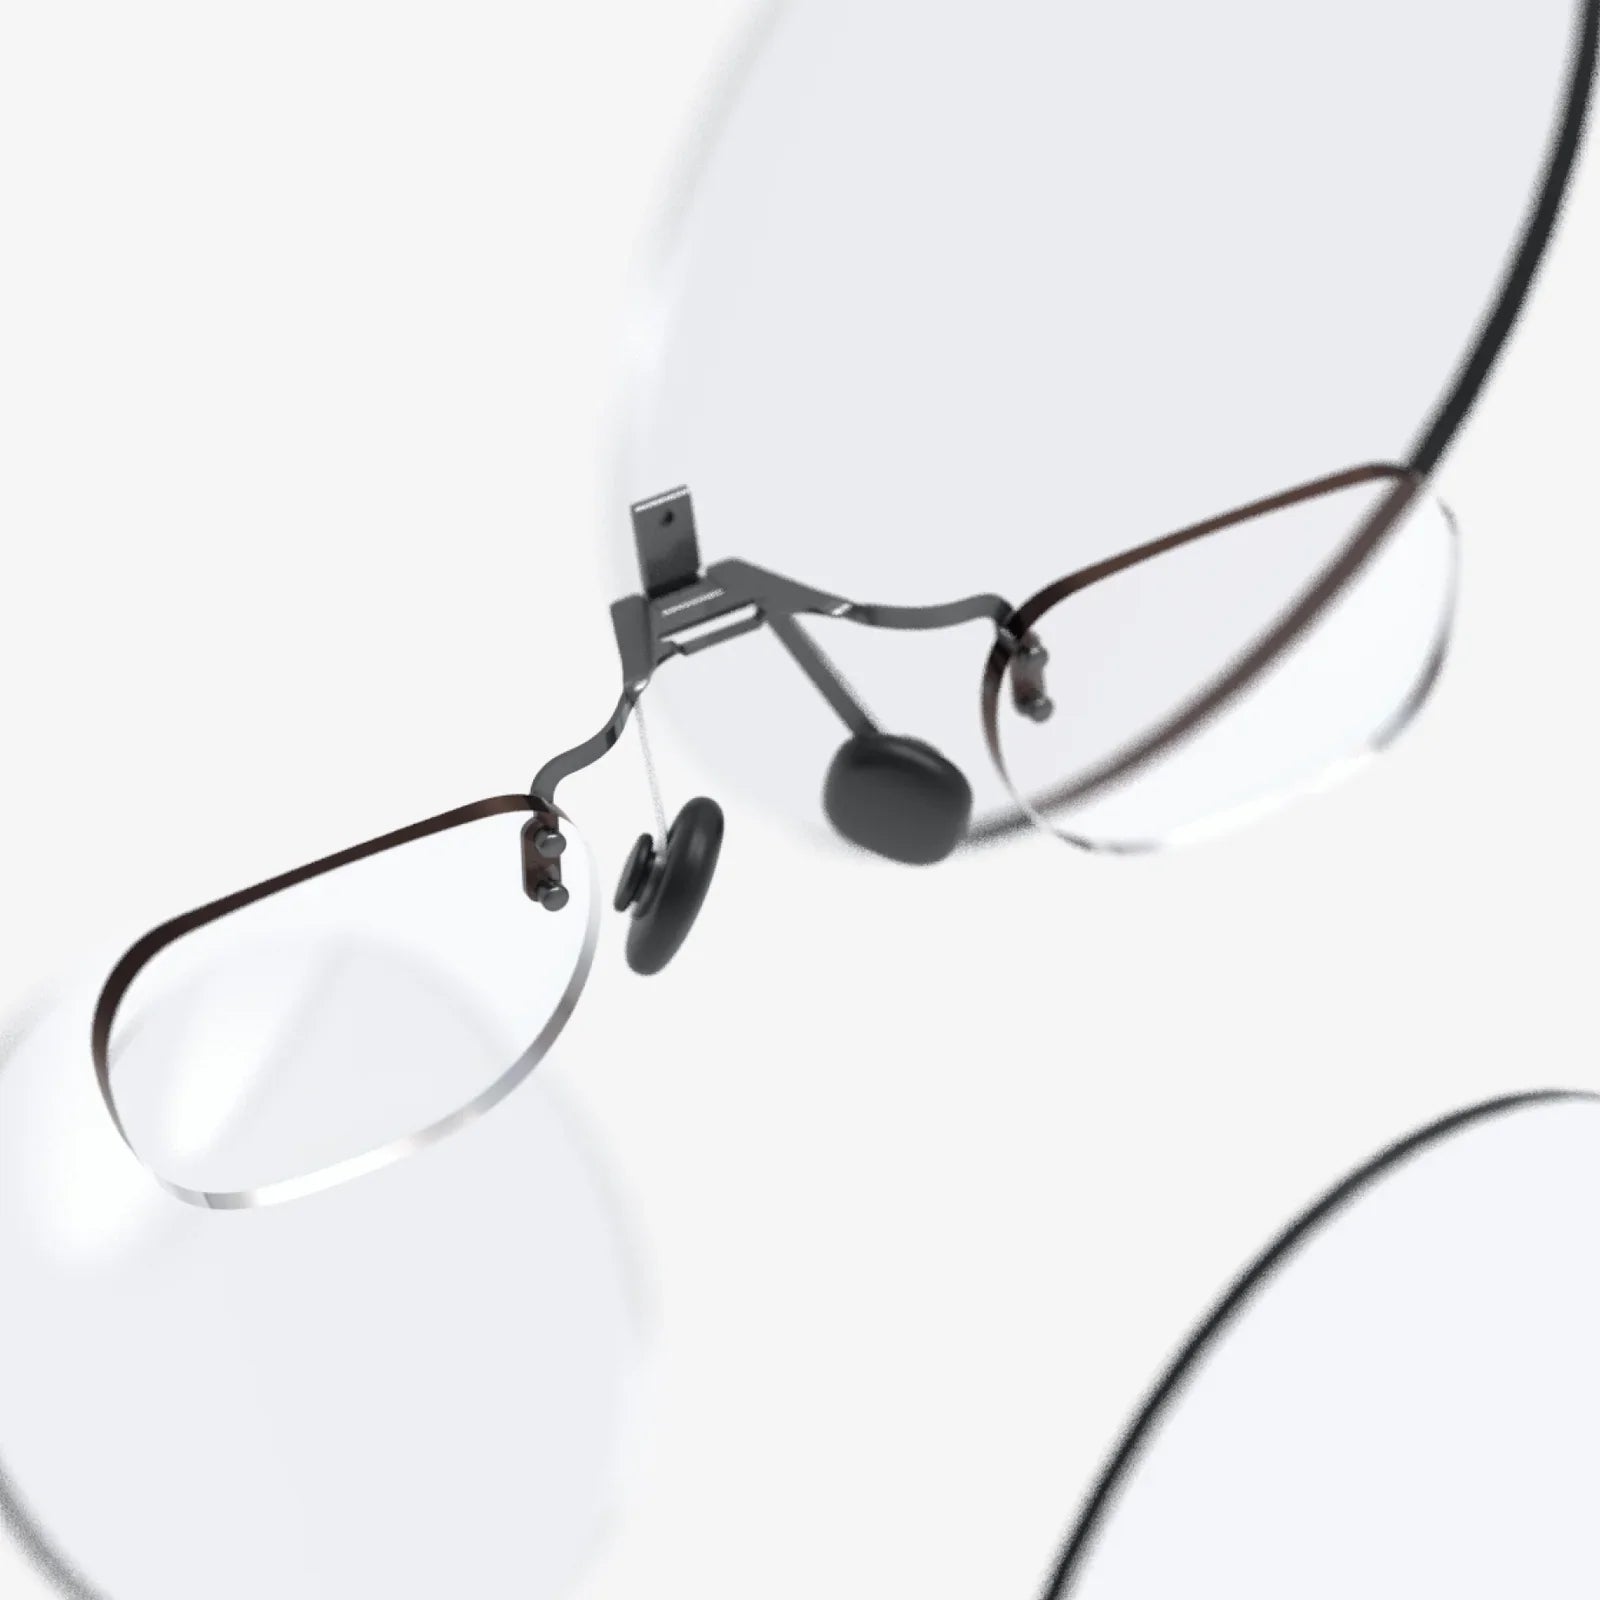
The Housing and Ergonomics: The Physical Shell
The headset's chassis, or housing, must securely hold all components in precise alignment, particularly the screen and lenses. It must also be comfortable to wear. Considerations include weight distribution, padding, a secure strap system, and ventilation to prevent the lenses from fogging. 3D printing has revolutionized this aspect of DIY VR, allowing for custom, ergonomic, and lightweight designs.
The Processing Brain: Hardware and Firmware
The sensor data must be read, processed, and communicated to the host computer or smartphone. This is typically handled by a microcontroller like an ESP32 or a single-board computer like a Raspberry Pi. This device runs firmware that polls the sensors, applies sensor fusion algorithms to clean up the data, and then transmits it via a protocol like USB HID or Bluetooth to the main application rendering the graphics.
A Step-by-Step Assembly Guide
This guide outlines a project for building a 3DoF headset using a dedicated display and a microcontroller, which offers more flexibility than a smartphone-based design.
Step 1: Sourcing the Components
You will need to acquire the following core parts. Specific model numbers are avoided, but searchable generic terms are used.
- Display: A 5 to 6 inch LCD display with a high refresh rate (at least 60Hz, ideally 75Hz or higher) and a driver board with an HDMI input.
- Lenses: A pair of aspheric or biconvex lenses with a focal length between 40mm and 50mm. A diameter of 40-50mm is standard.
- IMU Sensor: A board containing a high-fidelity IMU sensor, such as a 9-DoF (Gyro, Accelerometer, Magnetometer) module.
- Microcontroller: A development board capable of reading the IMU and communicating via USB, such as an ESP32 or an Arduino Pro Micro.
- Housing: A 3D-printed model. Many open-source designs are available on repositories. You can print it yourself or use a printing service.
- Other: Wires, a soldering iron, USB cables, a power bank for the display, hook-and-loop fasteners, and foam padding.
Step 2: Preparing the Housing
If you are using a 3D-printed model, ensure it is printed with appropriate layer height and infill for strength. Light sanding may be required for a smooth finish. Test-fit all major components—the display, the lenses, and the circuit boards—into their respective slots and mounts to ensure a snug and secure fit. The alignment between the lenses and the screen is critical; any misalignment will cause distortion.
Step 3: Wiring the Sensor System
Solder wires to connect the IMU sensor to your microcontroller. The connections are typically made via I2C or SPI protocol. Refer to the datasheets of your specific IMU and microcontroller for the correct pinouts (Power, Ground, SDA, SCL for I2C). Write and upload a basic firmware sketch to the microcontroller that initializes the IMU and begins reading the raw data. At this stage, simply printing the values to a serial monitor is sufficient for testing.
Step 4: Integrating the Display
Connect the LCD display to its driver board and provide power. Connect the driver board to a computer via HDMI. The goal is to ensure the display functions correctly before securing it inside the headset housing. Once confirmed, you can carefully mount the display and its driver board into the 3D-printed chassis.
Step 5: Final Assembly and Calibration
With all components tested, proceed with the full assembly. Secure the lenses in their tubes or mounts. Route all wires neatly to avoid pinching. Attach the straps and add foam padding around the eye cup for comfort and to block external light. The final and most crucial step is optical calibration. You will need to adjust the distance between the lenses and the screen (the lens relief) and the distance between the two lenses (IPD) to find the sweet spot where the image is sharp across the entire field of view.
The Software Dimension
A headset without software is a blind window. On the microcontroller side, you need robust firmware. This involves implementing sensor fusion algorithms, like a complementary filter or a Kalman filter, to combine the noisy data from the gyroscope, accelerometer, and magnetometer into a stable and accurate orientation quaternion or Euler angle. This clean data is then packaged and sent over USB as a virtual joystick or custom HID device.
On the computer side, you need an application to receive this data and render a stereoscopic image. The most accessible path is to use a established game engine.
- Game Engine Integration: Engines like Unity and Unreal Engine have extensive support for custom input devices. You can write a simple plugin or use existing assets to read the USB data stream from your headset and use it to control the rotation of the in-game camera.
- Rendering Stereo: The game engine must render the scene twice—once for the left eye and once for the right eye, with the camera perspectives offset by a human IPD distance. This creates the 3D effect. The engine's output is then sent to the headset's display via HDMI, warped and split for the lenses.
- Basic Demo: Start by creating a simple environment, like a cube room or a terrain, to test your headset's tracking and visuals. This validates the entire hardware and software pipeline.
Challenges and Considerations
Building a professional-grade headset in a garage is impossible due to the specialized manufacturing required for components like custom fresnel lenses and low-persistence OLEDs. The DIY path is about education and customization.
You will face challenges like motion-to-photon latency (the delay between moving your head and the image updating), which is the primary cause of VR sickness. Minimizing this requires highly optimized code on both the microcontroller and the PC. Optical distortion, or chromatic aberration, is another hurdle, though some game engines have built-in shaders to correct for this based on your lens parameters.
This project is a significant undertaking that requires skills in soldering, 3D modeling/printing, microcontroller programming, and game development. It is a marathon of problem-solving, not a weekend sprint.
The world you see through your homemade lenses will be pixelated, the tracking might occasionally jitter, and the headset itself might be a little rough around the edges. But none of that matters. What matters is that you built a portal to another dimension. You will have gained an intimate understanding of the delicate dance between hardware and software that creates presence. You haven't just assembled a device; you have demystified it. This knowledge is the real trophy, empowering you to not just consume the future of technology, but to truly understand and shape it.
Share:
Dual Screen Virtual Desktop - The Ultimate Guide to Doubling Your Digital Workspace
Future Scope of Virtual Reality: Beyond Gaming Into a New Digital Epoch