


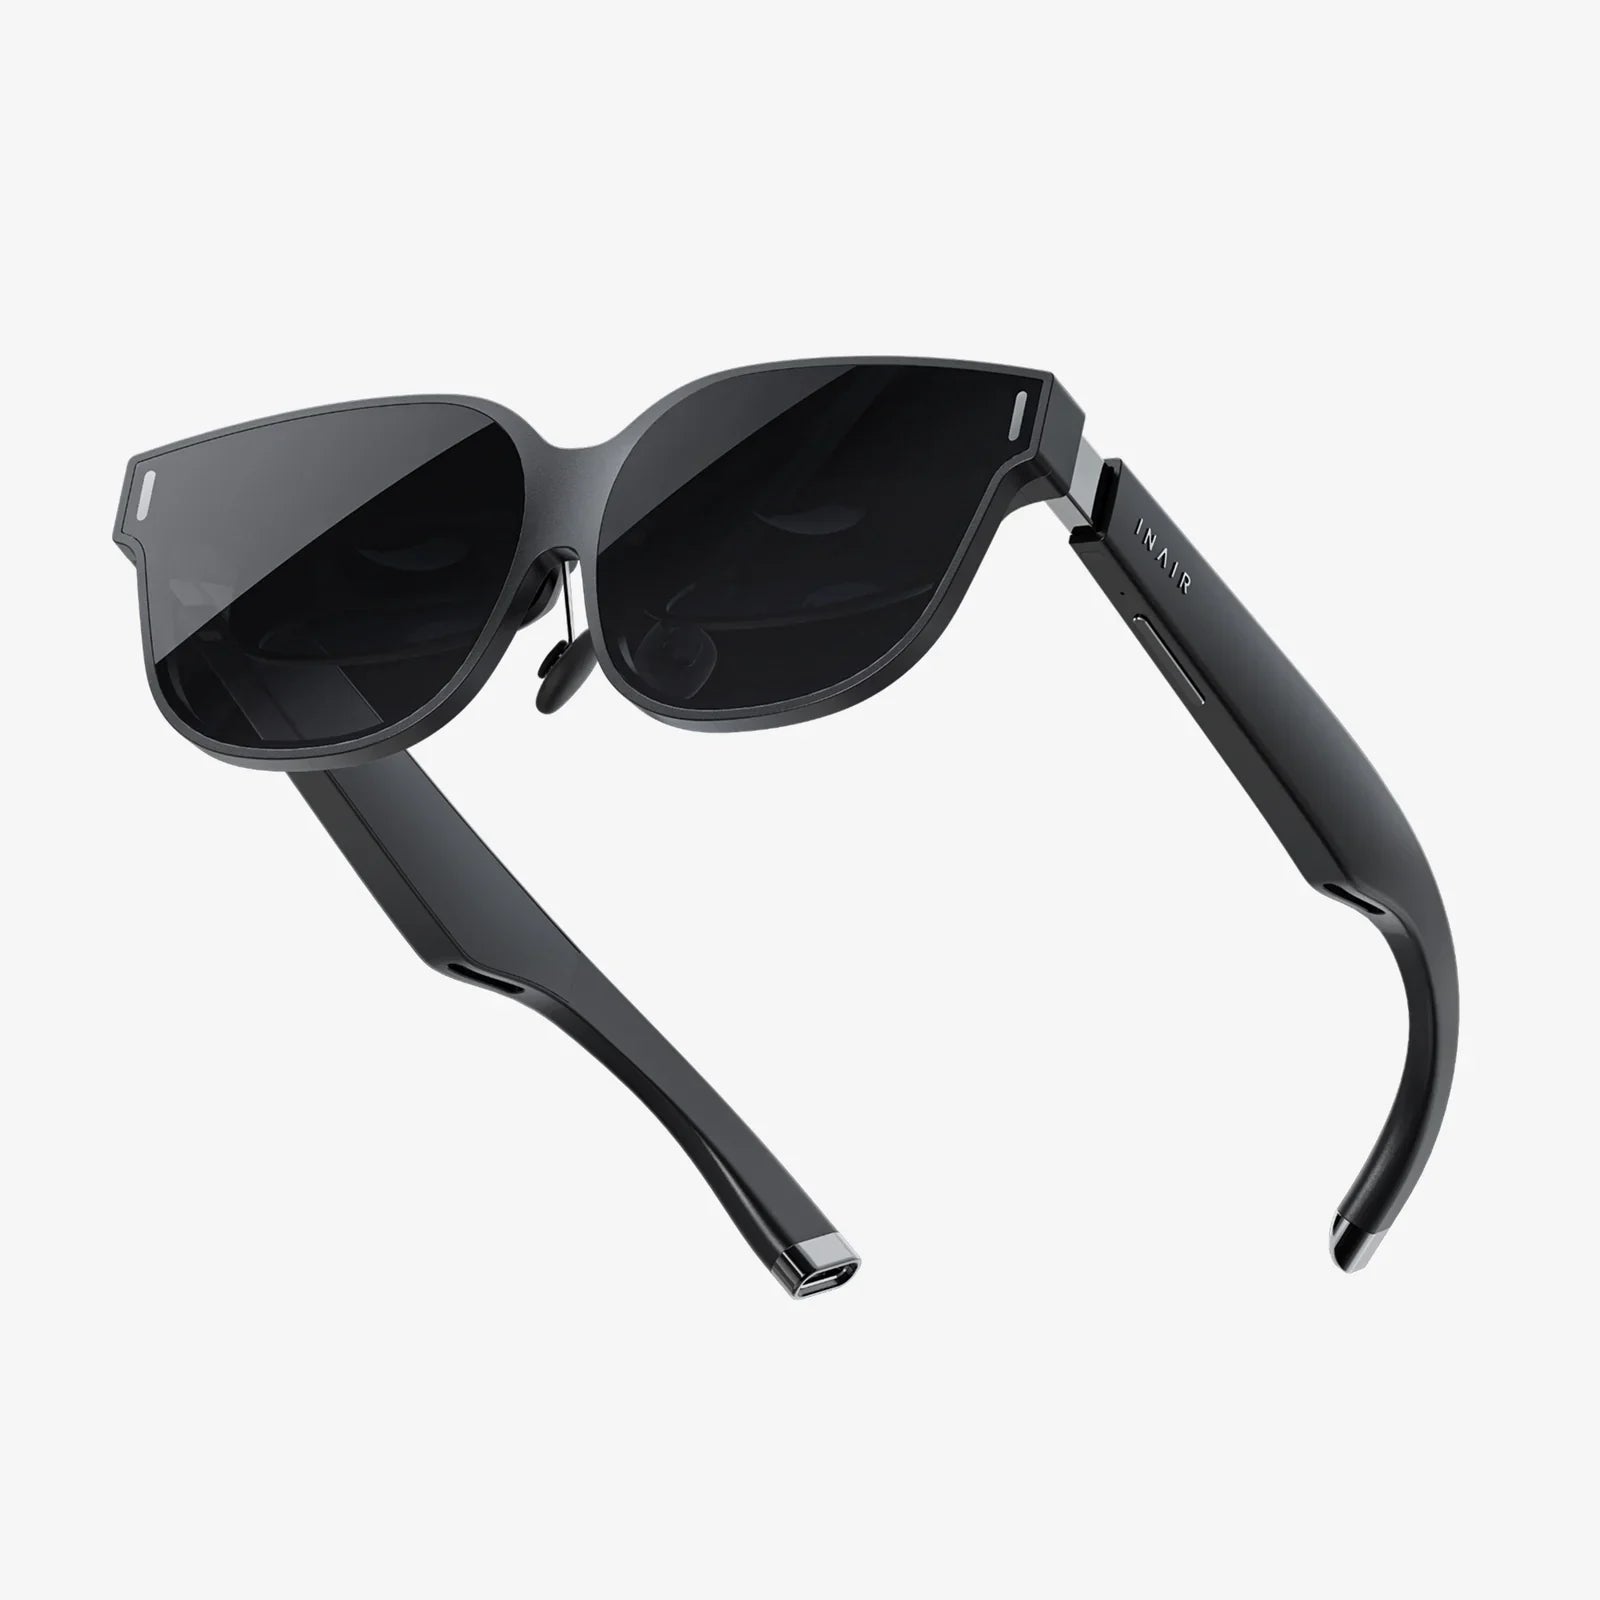
You've just unboxed your shiny new virtual reality headset, the gateway to other worlds, but there's one final barrier between you and digital immersion: getting those essential controllers synced up and ready for action. The process can seem daunting, a tangle of Bluetooth signals and button combinations, but fear not. Connecting your controllers is the final key that unlocks the full, interactive potential of your VR system, transforming you from a passive observer into an active participant within the metaverse. This definitive guide will demystify the entire procedure, ensuring your journey into virtual realms begins smoothly and without a hitch.
The Universal Principles of VR Controller Connectivity
Before we dive into the specific methods, it's crucial to understand the foundational technology that makes wireless controller pairing possible. The vast majority of modern VR headsets and their accompanying input devices communicate via Bluetooth technology. This is the same wireless standard used by headphones, mice, and smartphones, designed for short-range, low-power communication perfect for a room-scale experience.
The pairing process is essentially a digital handshake. You put the controller and headset (or its connected computer) into a discoverable mode. They find each other's unique signal, establish a secure connection, and then remember that connection for future use. This is why you typically only need to pair your controllers once; after the initial setup, they should automatically reconnect whenever they are powered on.
Another key concept is the role of the headset's processing unit. Whether it's a standalone device or a PC-powered headset, it acts as the central hub. It receives the data from the controllers—their position, button presses, and joystick movements—and translates it into actions within the virtual environment. Ensuring a stable connection to this hub is the ultimate goal.
Pre-Connection Checklist: Setting the Stage for Success
A successful pairing session starts long before you press any buttons. A little preparation can prevent countless headaches. Follow this checklist to create the ideal environment for a flawless connection.
- Charge Your Controllers: This is the most common point of failure. A battery with extremely low charge may have enough power to light up but not enough to complete the complex handshake of pairing. Ensure your controllers have been charged for at least 30 minutes, or ideally, until they indicate a full charge.
- Power Up Your Headset: Your VR headset must be on and operational. It cannot discover new devices if it's in sleep mode or powered off. For PC-connected headsets, ensure all relevant VR software is running on your computer.
- Check Your Bluetooth Environment: Excessive wireless interference can disrupt the pairing process. If possible, temporarily disable other nearby Bluetooth devices like speakers, keyboards, or mice. Ensure there are no large physical obstructions between the controllers and the headset.
- Review Official Documentation: While this guide covers universal steps, always keep your headset's manual (or quick-start guide) handy. There might be a unique button combination or a specific software step required for your model.
- Update Everything: If your headset and software are already set up, check for any available system updates. Sometimes, a firmware update is required for the headset to properly recognize the newest controller models.
Step-by-Step: The Standard Pairing Procedure
For most headsets, the pairing process follows a familiar rhythm. Here is the generalized sequence of events that will work for the majority of devices on the market.
Step 1: Entering Pairing Mode on the Controller
This is the most critical step. The controller must be placed into a special state where it broadcasts its availability to pair. This is almost always done by holding down a specific button or combination of buttons for several seconds.
Common methods include:
- Holding a dedicated 'Pairing' button, often located in a small pinhole on the controller body. You may need a paperclip to press it.
- Holding the 'Menu' and 'Y' buttons (or similar face buttons) simultaneously.
- Holding the 'Power' button on the controller for an extended period (e.g., 10 seconds) until a light begins to flash in a specific pattern.
You'll know you've succeeded when the controller's status LED starts blinking rhythmically, a universal sign for "I'm looking for a friend to connect to."
Step 2: Initiating the Pairing from the Headset's Interface
With the controller broadcasting, you now need to tell the headset to listen. This is done through the VR system's software.
- Put on your headset. Navigate to the main dashboard or home environment.
- Access the Settings menu. This is usually found on a virtual toolbar that you can pull up by pressing a button on your headset or a currently active controller.
- Navigate to the Devices, Controllers, or Bluetooth section.
- Look for an option labeled "Pair New Controller," "Add Device," or something similar. Select it.
- The software will now begin scanning for discoverable controllers. After a few moments, the identifier for your blinking controller (e.g., "Left Controller" or "Controller Serial Number") should appear in a list.
- Select the controller from the list to finalize the pairing.
Step 3: Finalizing the Connection
Once selected, the software will complete the handshake. The blinking light on your controller will turn into a solid light, indicating a successful and stable connection. The software will likely confirm this on-screen. You should now see the virtual representation of your controller appear in your headset's view, mirroring your real-world movements. Repeat the entire process for the second controller if you have a pair.
Navigating the Software: Where to Find the Tools
The virtual settings menu is your command center for managing all connected devices. Once paired, you can often return here to check battery levels, check connection status, and manage controller settings. Some platforms allow you to reassign button mappings or adjust the sensitivity of the haptic feedback for specific games, all from this central hub. Familiarizing yourself with this menu is key to long-term controller management, allowing you to quickly troubleshoot any future disconnections.
Troubleshooting Common Connection Problems
Even with perfect preparation, technology can be fickle. If you're running into issues, work through this troubleshooting list before you panic.
- The controller won't enter pairing mode: Double-check the button combination for your specific headset model. Ensure the battery is sufficiently charged. Try a different USB cable or power source for charging.
- The headset can't find the controller: Restart both the controller and the headset. Power down the headset completely and reboot it. Ensure you are within 3-5 feet of the headset during pairing to ensure a strong signal.
- The controller pairs but then doesn't track: Tracking is different from connection. Tracking relies on the headset's cameras or external sensors seeing the controller. Ensure your play area is well-lit (but avoid direct sunlight) and that there are no blinding light sources. Check for obstructions on the controller's tracking rings or LED patterns.
- Input lag or jittery movement: This is almost always caused by wireless interference. Identify and move away from potential sources like Wi-Fi routers, microwave ovens, or wireless speakers. For PC VR, ensure your Bluetooth dongle (if using one) is plugged into a USB port on the front of your PC, not the back, which can be shielded.
- One controller connects, but the other doesn't: Treat them as separate devices. Complete the pairing process for the first controller, then put the second one into pairing mode and repeat the steps exactly. The headset should be able to manage multiple connections simultaneously.
Advanced Tips for a Flawless Experience
For those seeking perfection, a few extra steps can elevate your controller connection from functional to flawless.
- Firmware Updates: After a successful pairing, check the device settings menu to see if there is a firmware update available for the controllers themselves. These updates can improve battery life, tracking accuracy, and connectivity stability.
- Forgetting and Repairing: If you experience persistent issues, the nuclear option is to "Forget" or "Unpair" the controller from the headset's Bluetooth menu and then go through the full pairing process from scratch. This clears any corrupted connection data.
- Controller Sleep Settings: To conserve battery, controllers will automatically go to sleep after a period of inactivity. Some systems allow you to adjust this timer. A shorter timer saves battery but means you'll have to wake them up more frequently, which usually involves pressing a button and waiting a second for them to reconnect.
Beyond the Basics: The Future of VR Input
The act of connecting controllers is just the beginning. As technology evolves, we are moving towards more intuitive forms of input. Inside-out tracking, where cameras on the headset itself track the controllers, has eliminated the need for external sensors and simplified setup. Hand tracking technology is becoming more sophisticated, allowing you to use your bare hands as controllers in some experiences, eliminating the need for hardware pairing altogether. Furthermore, the development of haptic feedback suits and other wearables promises a future where connecting to VR involves an entire ecosystem of devices working in concert to create true physical immersion.
Mastering the simple yet vital task of connecting your controllers is your first true act of agency in the virtual world. It’s the moment you gain your digital hands, the tools with which you will sculpt, battle, explore, and create. By following this guide, you've ensured that your first foray into VR won't be hampered by technical difficulties, leaving you free to focus on what truly matters: losing yourself in the incredible experiences that await.
Share:
VR Headset Meeting: The Immersive Future of Remote Collaboration is Here
Cheap VR iPhone: Your Ultimate Guide to Affordable Mobile Virtual Reality