

Imagine a world where digital information seamlessly blends with your physical reality, accessible with a simple glance. This isn't a distant sci-fi fantasy; it's the promise of smart glasses, and the power to build your own prototype is closer than you think. The journey from a spark of an idea to a functional wearable device is a complex but incredibly rewarding engineering adventure that blends hardware, software, and visionary design. Whether you're a curious hobbyist, a student engineer, or an aspiring entrepreneur, understanding how to create smart glasses opens a window into the future of human-computer interaction.
Laying the Foundation: Conceptualization and Design
Before soldering a single wire or writing a line of code, the most critical phase begins on paper. This foundational stage determines every subsequent decision.
Defining Your Core Purpose and Use Case
The first question to answer is: What will these glasses actually do? The capabilities of smart glasses can vary wildly, and defining a clear, focused purpose is paramount. Are you building an augmented reality (AR) system for overlaying navigation arrows onto the real world? A pair for discreet notifications and message display? A hands-free assistant for industrial technicians that displays schematics? Or perhaps a device focused on recording life-logging video? Each use case demands a different set of components, a different form factor, and a vastly different software approach. A narrow, well-defined purpose prevents feature creep and keeps the project manageable.
Navigating the Form Factor vs. Functionality Trade-Off
This is the eternal struggle of wearable tech. There is an inverse relationship between the size/weight of the device and its computational power and battery life. Do you prioritize a sleek, socially acceptable design that looks like regular eyewear but has limited functionality? Or do you opt for a more robust, head-mounted system with greater processing power and a larger battery, accepting that it will be bulkier? This decision will guide your choice of processing unit, display technology, and battery capacity. Creating user personas and sketching numerous iterations can help visualize this balance.
Selecting the Right Display Technology
The display is the soul of the smart glasses, defining how the user perceives digital information. There are several primary methods for how to create smart glasses displays:
- Optical See-Through (OST): This method uses miniature projectors and a series of waveguides or combiners to reflect light into the user's eye while allowing them to see the real world. Waveguides can be diffractive (like surface relief gratings) or reflective (like polarized mirrors). This technology aims for a more seamless blend of digital and real but can be complex and expensive.
- Video See-Through (VST): Here, cameras capture the real world, and a processor composites the digital imagery onto the video feed, which is then displayed on opaque screens in front of the eyes. This allows for richer, more controlled digital overlays but can create latency issues and a potential disconnect from the real environment.
- Retinal Projection: A nascent technology that projects images directly onto the user's retina. This can create very bright images with high contrast but presents significant engineering and safety challenges.
- Simple LED/LCD Displays: For non-AR applications, a small, monochrome display in the peripheral vision can be sufficient for showing notifications, time, or basic data. This is far simpler and more power-efficient.
The choice depends entirely on your defined use case, budget, and technical expertise.
The Hardware Heart: Sourcing and Integrating Components
With a design in hand, the next step is selecting the physical components that will bring your smart glasses to life. This is the tangible core of the project.
The Central Nervous System: Choosing a Processing Unit
The brain of your smart glasses can range from a simple microcontroller to a full-fledged system-on-a-chip (SoC).
- Microcontrollers (e.g., ARM Cortex-M series): Ideal for simple tasks like driving a basic display, handling Bluetooth connectivity for notifications, and reading sensor data. They are low-power, cheap, and easy to program but lack the power for complex graphics or computer vision.
- Application Processors (e.g., ARM Cortex-A series, Qualcomm Snapdragon XR platforms): These are essentially the processors found in smartphones. They are necessary for running full operating systems like Android, processing camera feeds, handling 3D graphics for AR, and executing complex algorithms. They offer immense power but consume significantly more energy and require sophisticated thermal management.
- Hybrid Approach: Often, the optimal solution is a combination: a low-power microcontroller handles sensor polling and stays in a "always-on" sleep mode, while a more powerful application processor is woken up only for demanding tasks to conserve battery.
Sensors: The Eyes and Ears of the Device
Sensors are what contextualize the device, allowing it to understand its environment and the user's actions.
- Inertial Measurement Unit (IMU): A combo package almost always including an accelerometer and gyroscope (and often a magnetometer). This is crucial for tracking head movement and orientation, a fundamental requirement for stabilizing AR content.
- Cameras: Depending on the purpose, you might integrate one or more cameras. They can be used for computer vision (object recognition, SLAM for spatial mapping), video recording, or enabling gesture control.
- Ambient Light Sensor: Adjusts display brightness automatically to conserve power and improve readability in different lighting conditions.
- Microphone: For voice commands and audio input.
- Proximity Sensor: Detects if the glasses are being worn, allowing the system to enter a low-power state when taken off.
Power Management: The Lifeline of Your Creation
Battery life is the single biggest hurdle in wearable technology. A meticulous power strategy is non-negotiable.
- Battery Selection: Lithium polymer (Li-Po) batteries are the standard for their high energy density and flexible form factors. The capacity (measured in mAh) must be chosen based on the power draw of all your components and your target usage time. Placement is also key, often distributed in the arms of the glasses to balance weight.
- Power Management IC (PMIC): This specialized chip is vital. It handles charging the battery, regulating voltage levels for different components, and efficiently distributing power throughout the system. It ensures stability and safety.
- Efficient Design: Every decision affects power consumption. Using a more efficient display technology, programming the processor to enter low-power states aggressively, and turning off unused sensors are all essential practices.
Connectivity and Audio
Smart glasses are rarely islands. They need to connect to other devices and often provide audio feedback.
- Bluetooth Low Energy (BLE): The essential wireless link to a smartphone for relaying notifications, leveraging its internet connection, and using it as a remote control.
- Wi-Fi: Necessary for glasses that operate independently, requiring direct internet access for cloud processing or downloading content.
- Audio Output: Bone conduction transducers are a popular choice as they leave the ears open to hear the environment. Miniature speakers that sit near the ear canal are another common option. Integrating a small audio codec chip is needed to drive them.
The Digital Mind: Software and User Interface
Hardware is useless without intelligent software to control it. This layer defines the user experience.
Operating System and Development Platform
The choice of operating system depends on the chosen processor.
- Embedded (No OS/Bare Metal or RTOS): For microcontroller-based projects, you might write code directly against the hardware or use a Real-Time Operating System (RTOS) like FreeRTOS or Zephyr to manage tasks. This offers ultimate control and minimal overhead.
- Android: The most common choice for application processor-based glasses. It provides a rich set of built-in features, a vast developer ecosystem, and access to numerous libraries for graphics, sensors, and connectivity. It can be heavily customized for a dedicated wearable experience.
- Other Platforms: Some companies develop their own proprietary lightweight OSes tailored specifically for their AR hardware.
Crafting the User Interface (UI) and Experience (UX)
Interacting with a screen millimeters from your eye is fundamentally different from using a phone. The UI must be minimalist, context-aware, and non-obtrusive.
- Information Hierarchy: Only the most critical information should be displayed. Glanceability is key.
- Interaction Modalities: How does the user interact? Voice commands are natural but not always appropriate. Touchpads on the arms of the glasses are common. Head gestures (e.g., nodding to accept) and hand-tracking via cameras are emerging as powerful alternatives. The best devices often offer a combination.
- Spatial UI: For AR, the interface isn't on a 2D plane; it's anchored in 3D space. This requires a deep understanding of spatial computing principles to place information in a way that feels intuitive and natural without causing fatigue or obscuring important real-world objects.
The Magic of SLAM and Computer Vision
For true AR glasses, Simultaneous Localization and Mapping (SLAM) is the magical ingredient. It's the algorithm that allows the glasses to understand the geometry of the environment (create a map) and simultaneously track its own position within that map (localization). This is how virtual objects can appear to stay pinned to a real-world table or floor. Implementing SLAM, often using data from the IMU and cameras, is one of the most challenging software tasks, but open-source libraries like OpenCV and ARCore can provide a starting point.
Bringing It All Together: Assembly, Testing, and Iteration
The transition from a breadboard with a tangle of wires to a polished prototype is a monumental leap.
PCB Design and Integration
You cannot have a wearable device with loose wires. Designing a custom printed circuit board (PCB) is essential. This involves using EDA (Electronic Design Automation) software to layout all your components—SoC, memory, PMIC, sensors, connectors—onto a single, rigid or flexible board that fits inside the glasses' frame. This requires careful attention to signal integrity, power distribution, and thermal design. For early prototypes, many developers use modular off-the-chip development boards but eventually must design a custom PCB to achieve the desired form factor.
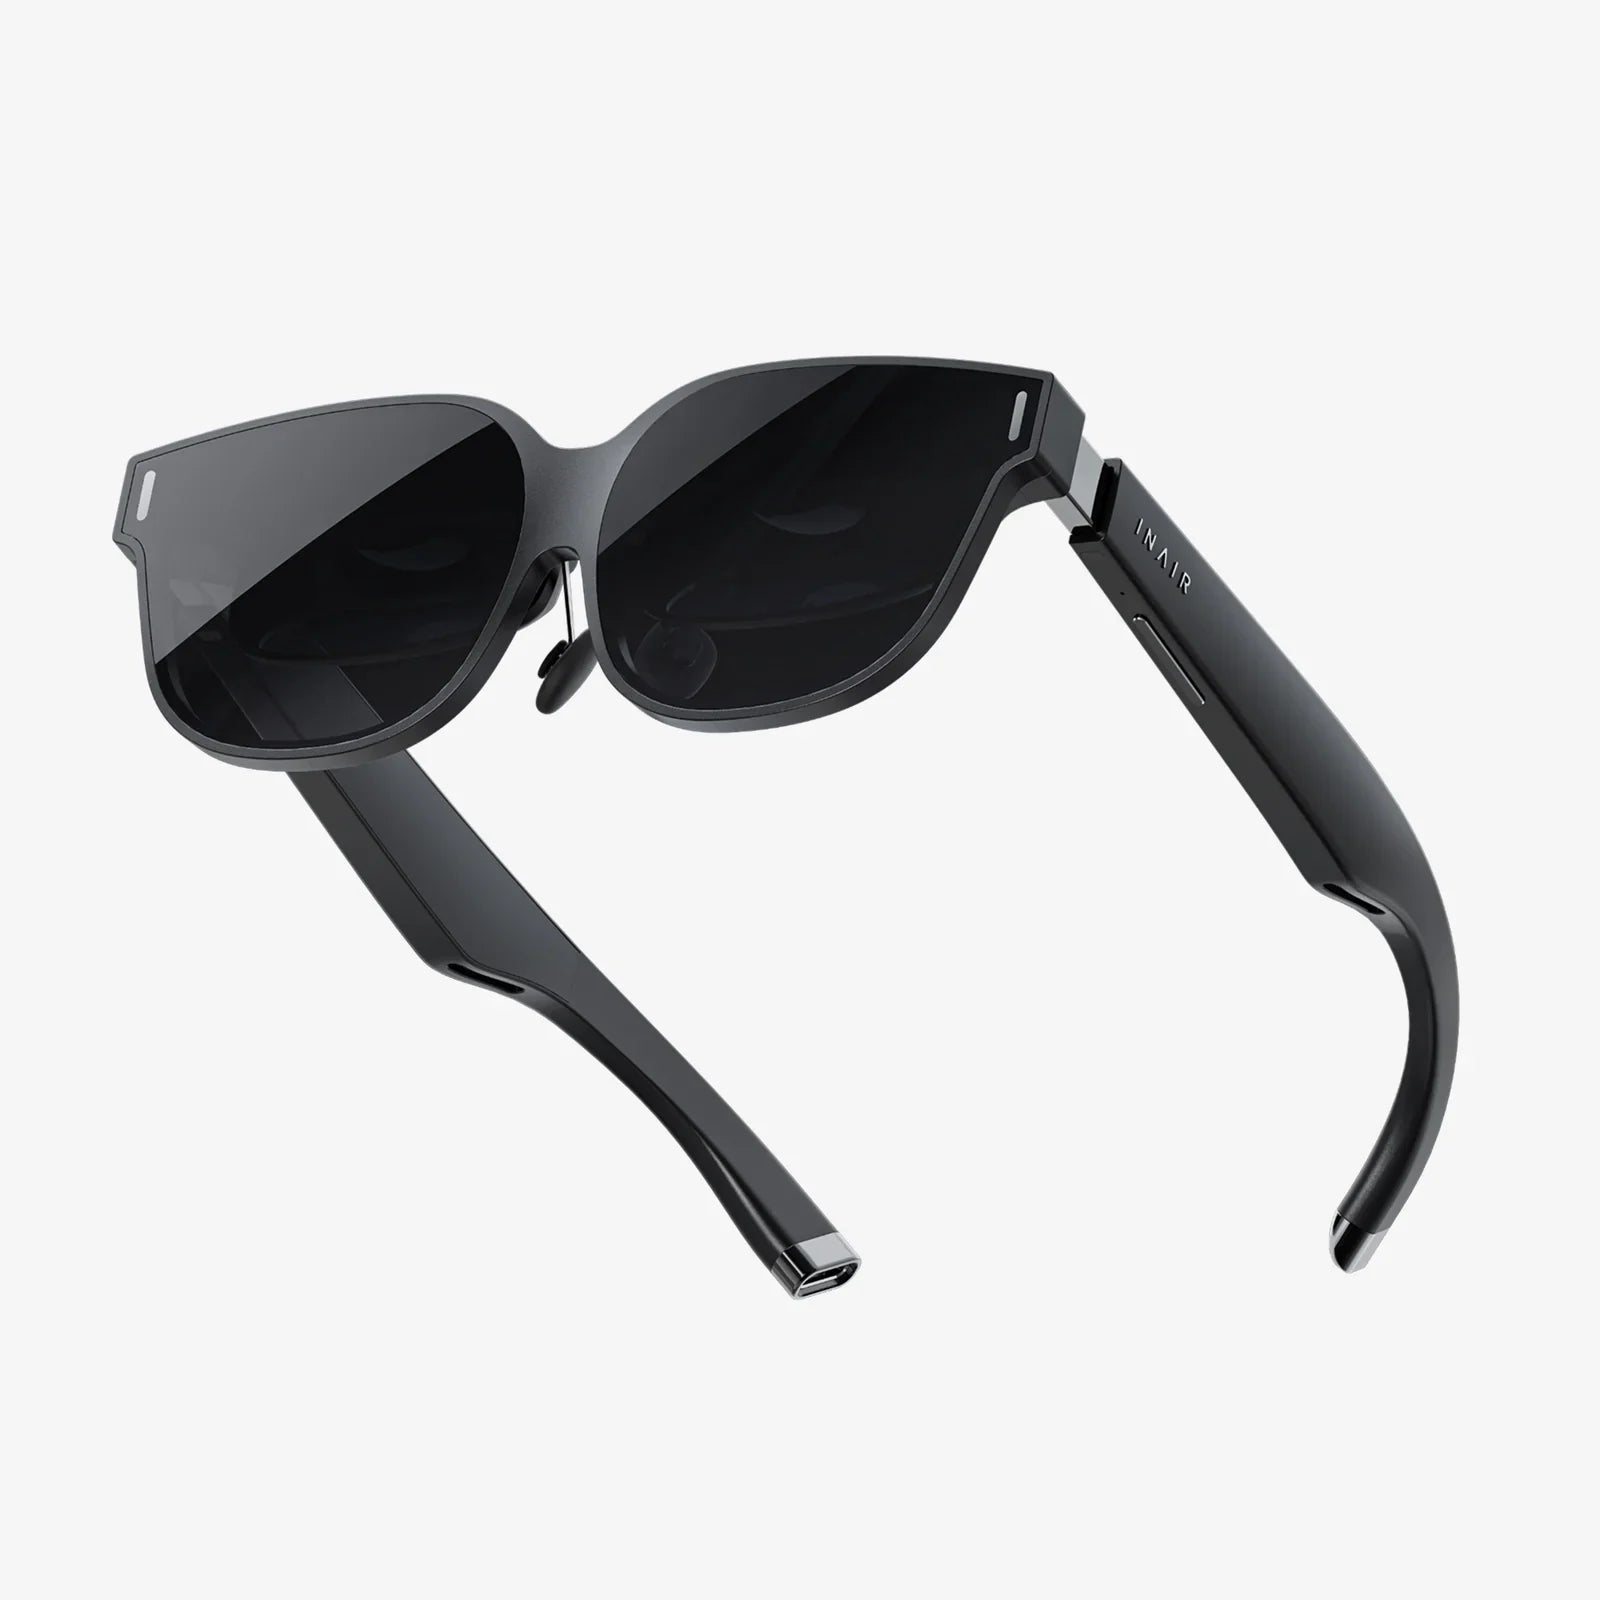
Enclosure and Ergonomics
The frame must house all the electronics comfortably and securely. 3D printing is an invaluable tool for rapid prototyping of frames and internal mounts. You can iterate on designs quickly, testing fit, weight distribution, and comfort. Materials matter; using lightweight nylon or resins can help reduce overall mass. The final product would likely involve injection molding for mass production, but for a prototype, 3D printing is perfect.
The Rigorous Testing Cycle
Testing is iterative and multifaceted.
- Functional Testing: Does every feature work as intended? Does the display turn on? Do sensors return accurate data?
- User Testing: This is crucial. Have people wear the glasses and try to complete tasks. Where do they get confused? Is the interface intuitive? Is the device comfortable after 30 minutes? An hour? This feedback is gold.
- Battery Life Testing: Under real-world usage scenarios, how long does the battery actually last?
- Thermal Testing: Does the device overheat? Does the SoC need to be throttled, impacting performance?
Each test will reveal flaws, leading you back to the design, code, or hardware for another iteration. This cycle repeats until you have a stable, functional prototype.
Beyond the Prototype: Considerations for the Future
Creating a one-off functional pair is an incredible achievement, but turning it into a product involves another layer of complexity.
- Manufacturing: Scaling from one to one thousand units requires designing for manufacturability (DFM), selecting suppliers, and establishing a reliable assembly line.
- Software Ecosystem: The true value of a platform is often in its apps. Creating an SDK (Software Development Kit) to allow third-party developers to build experiences for your glasses can drive adoption.
- Privacy and Ethics: Devices with cameras and microphones worn in public raise significant privacy concerns. Addressing these concerns transparently through design choices (like a hardware privacy shutter that physically blocks the camera) and clear data policies is critical for social acceptance.
The field of smart glasses is accelerating at a breathtaking pace. Advancements in micro-LED displays, photonic chipsets for waveguides, and AI processors are making the dream of powerful, lightweight, and affordable AR glasses increasingly tangible. The knowledge you gain from this hands-on process—from understanding the intricate dance of optics and silicon to the nuances of spatial computing—doesn't just teach you how to create smart glasses; it provides a foundational understanding for the next wave of computing that will fundamentally change how we work, play, and connect with the world around us. The blueprint for the future is being written now, not just in corporate R&D labs, but in workshops and studios by creators and visionaries who dared to build it themselves.
Share:
Even Reality Smart Glasses Features: Blurring the Lines Between the Digital and Physical Worlds
Smart Glasses iPhone Compatibility: The Ultimate Guide to a Seamless Wearable Future