


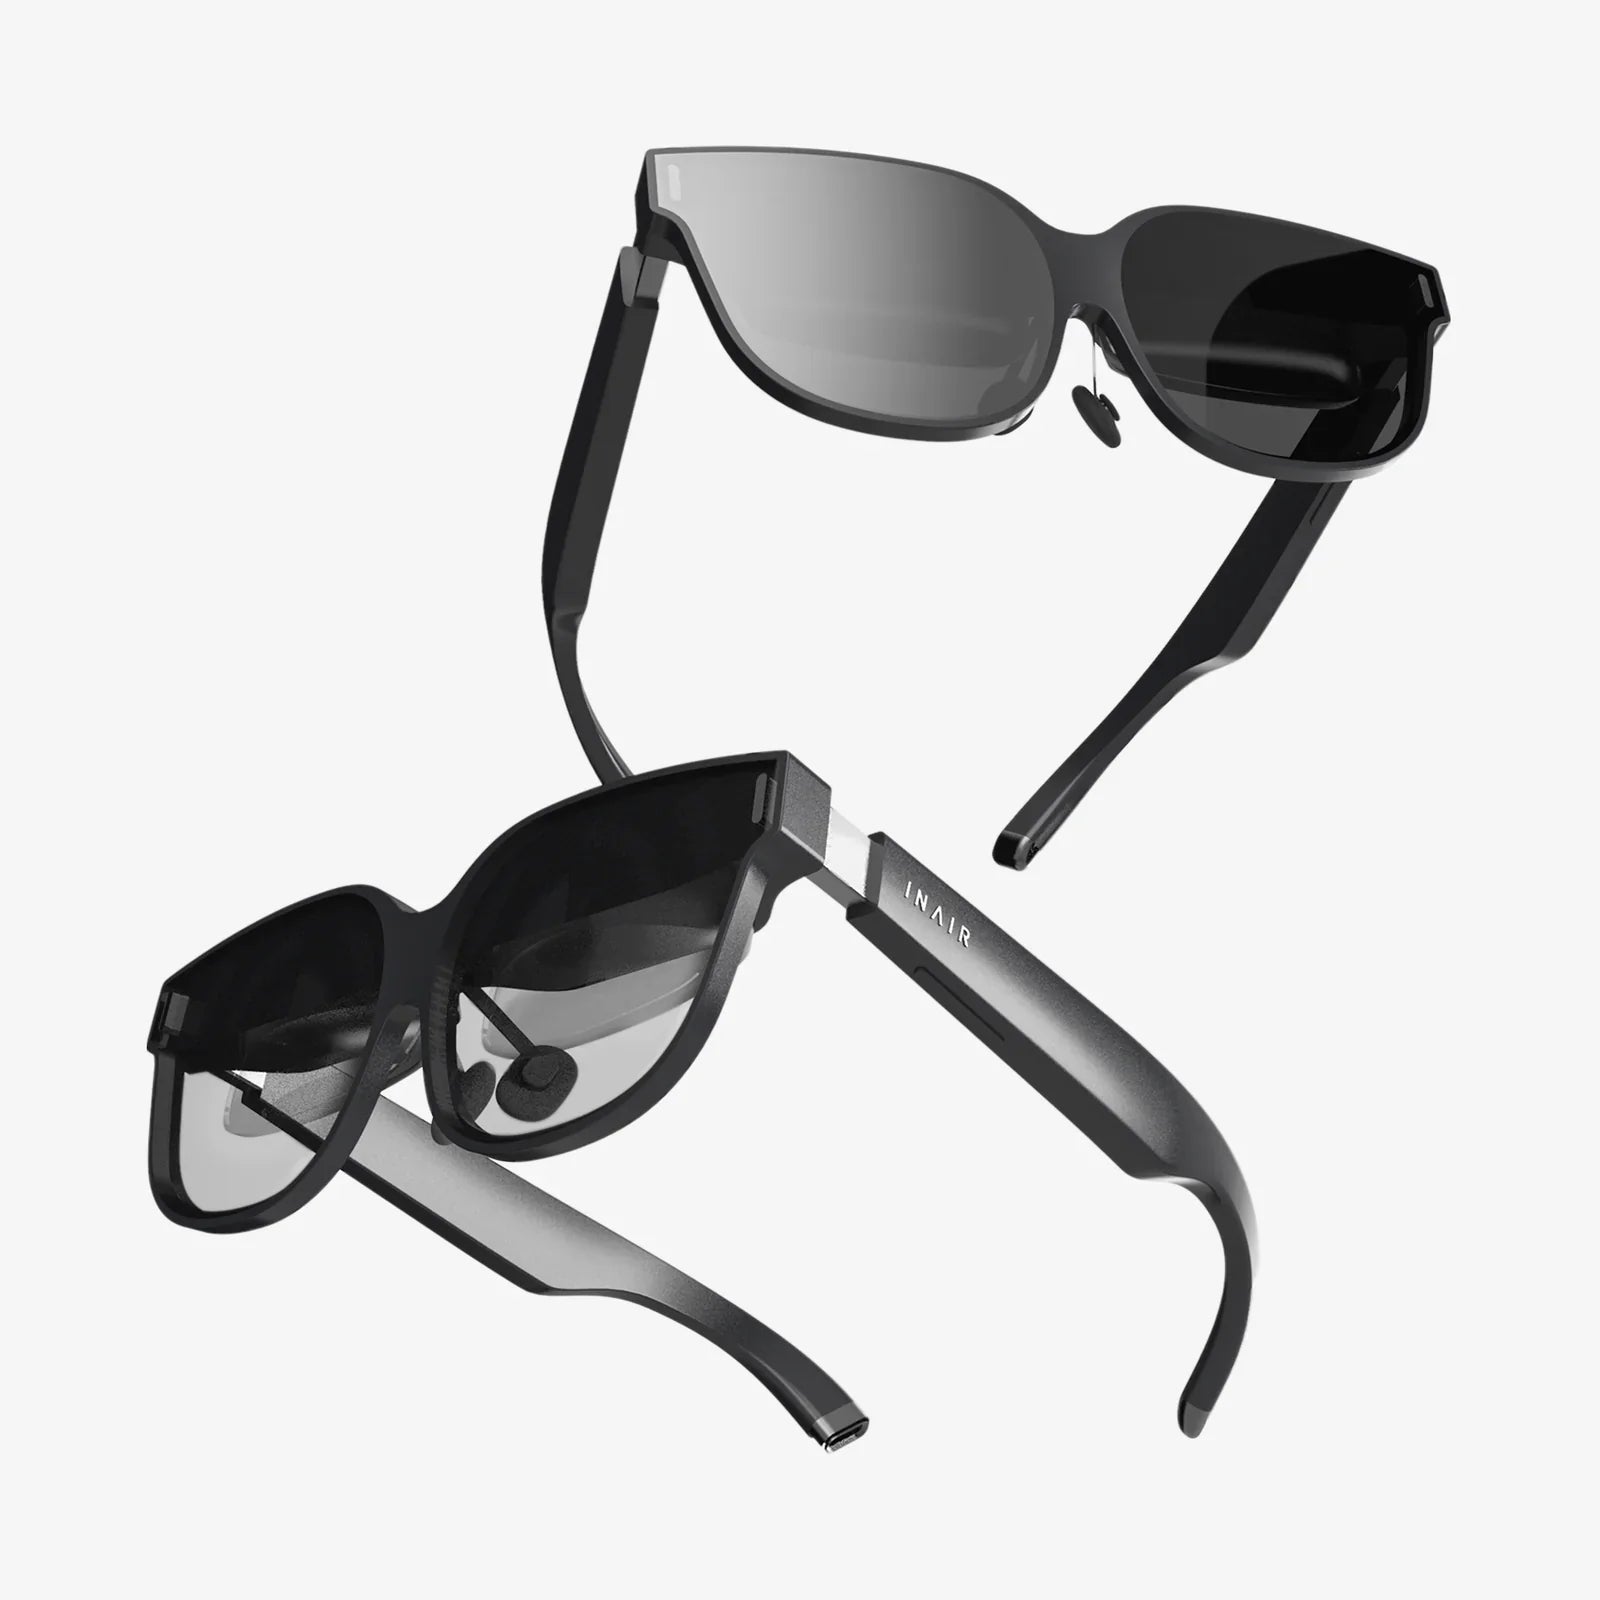
Imagine pulling your audience directly into the scene, making them feel the depth of a canyon, the scale of a skyscraper, or the intimate details of a product spinning in mid-air. This is the power of 3D video, a medium that transcends traditional viewing to create a truly immersive experience. While it may seem like a complex domain reserved for Hollywood studios, the tools and techniques for creating stereoscopic content are more accessible than ever. This comprehensive guide will walk you through the entire process, from fundamental principles to advanced creative workflows, empowering you to craft your own breathtaking three-dimensional narratives.
The Foundation: Understanding Stereoscopic Vision
Before you even pick up a camera, it's crucial to understand the core principle that makes 3D video possible: stereoscopy. Human vision is binocular, meaning we perceive the world through two eyes, set approximately 2.5 inches (63mm) apart. Each eye sees a slightly different view of the world. Our brain then fuses these two two-dimensional images into a single, coherent three-dimensional picture, complete with depth and volume.
3D video replicates this natural phenomenon. The goal is to capture two distinct images—one for the left eye and one for the right eye—and then ensure each eye sees only its designated image. The brain does the rest, interpreting the differences between these two feeds as depth information. The key measurement here is interaxial distance (the distance between the two camera lenses) and convergence (the point in space where the optical axes of the two cameras cross).
Misjudging these can lead to viewer discomfort. Too much depth (excessive parallax) can cause eye strain and headaches, while too little can make the image appear flat and uninspiring. The golden rule is to strive for a comfortable, natural-looking depth that enhances the story rather than distracts from it.
Choosing Your Path: Methods for Capturing 3D Footage
There are several practical approaches to capturing the two necessary image streams, each with its own advantages, challenges, and cost implications.
The Professional Rig Approach
The most direct method for high-quality production is using a dedicated stereoscopic rig. This involves mounting two identical cameras side-by-side on a rigid bar, with their settings perfectly synchronized. For the best results, the cameras should be matched in model, lens, and firmware to ensure color, exposure, and focus behave identically. A beam splitter rig is a more advanced option, where one camera is placed vertically and shoots through a semi-transparent mirror, while the other camera shoots the reflection. This allows the optical centers to be much closer together than the physical cameras, which is ideal for macro 3D photography and minimizing the "giantism" effect on close-up subjects.
The Single-Camera, Multi-Pass Technique
Not everyone has access to two cameras. For static shots of inanimate objects, a highly effective technique is the multi-pass method. Secure your camera on a sturdy tripod. Take your first shot, then slide the entire camera precisely sideways by roughly 2.5 inches (the average human interocular distance) and take a second, identical shot. This requires absolute stillness in the scene and is perfect for product showcases, architectural details, or still-life compositions. Any movement will break the illusion.
The Computational & Post-Production Approach
Advancements in software have opened up powerful new avenues. Some modern smartphones with multiple lenses can capture depth information, which can then be interpreted by specialized apps to create a 3D effect. Furthermore, sophisticated AI and depth-mapping software can convert standard 2D footage into 3D in post-production. These tools analyze the video frame-by-frame, estimate a depth map for the scene (assigning depth values to each pixel), and then generate a second eye's view. While the quality varies greatly and it rarely matches a natively shot 3D clip, it's a viable option for repurposing existing 2D content or for shots where a rig was impossible.
Essential Gear for Your 3D Toolkit
Your equipment list will depend on your chosen method, but a basic professional setup includes:
- Two Identical Cameras: Consistency is paramount.
- Matched Lenses: Focal length, aperture, and focus must be perfectly aligned.
- A Sturdy Stereoscopic Rig: This ensures the cameras remain fixed in relation to each other, preventing unwanted shifts that break the stereo window.
- A Sync Generator: This device sends a timecode signal to both cameras, ensuring they start and stop recording at the exact same moment. This is critical for syncing audio and preventing drift.
- A Field Monitor with 3D Capability: This allows you to view the stereoscopic image on set, using anaglyph or active-shuttering glasses, so you can monitor depth and convergence in real-time and make adjustments before you shoot.
- Neutral Density Filters: To maintain a consistent exposure when shooting outdoors with a wide aperture for shallow depth of field.
The Art of Shooting: Techniques and Best Practices
Shooting in 3D requires a different directorial mindset. You are directing depth as much as you are directing action.
- Mind Your Depth Budget: Avoid extreme foreground elements that pop out too aggressively, as this is a common source of viewer discomfort. Use depth to guide the viewer's eye, not to startle them.
- Movement is Key: Slow, smooth camera movements like gentle dollies or subtle pans work brilliantly in 3D, enhancing the sense of space. Erratic hand-held shaking, however, can be nauseating in stereoscopy.
- Composition and Convergence: Pay close attention to where you set your convergence point. It's often best to have it on your main subject. Be wary of objects that break the edge of the frame (the "stereo window"), as this can create a conflicting depth cue.
- Lighting: Good lighting is even more important in 3D, as it helps define the shape and volume of subjects, reinforcing the depth information.
The Post-Production Pipeline: Stitching It All Together
This is where your two streams of footage become a unified 3D experience. The workflow typically involves:
- Ingestion and Synchronization: Import your left-eye and right-eye clips. Use the synchronized timecode or clapperboard slate to perfectly align the two streams. Even a single frame of drift will ruin the effect.
- Color Grading and Matching: Meticulously match the color, contrast, and exposure between the two eyes. Any differences will fight against the brain's ability to fuse the image.
- Geometry Alignment: Use specialized tools within editing software to correct for any vertical misalignment, rotation, or scale differences between the two images. Vertical misalignment is particularly taxing on the eyes.
- Convergence Adjustment: This is a creative step. You can adjust the convergence point in post to shift the depth plane of your subject, essentially deciding where in the "box" they will sit (behind the screen, at the screen, or popping out in front of it).
- Mastering and Export: Finally, you must choose your delivery format. Common options include Side-by-Side (two squashed images next to each other), Over/Under (two images stacked vertically), or a dedicated 3D format for specific platforms.
Delivering the Experience: Viewing Platforms and Formats
Your masterpiece is complete, but how will people see it? The viewing experience is the final, critical piece of the puzzle.
- Virtual Reality Headsets: These are currently the premier way to consume 3D video. They use a method called frame sequencing, showing the left-eye image and then the right-eye image in rapid succession, with the lenses in the headset ensuring each eye only sees its intended feed. This provides a deeply immersive, high-quality experience.
- 3D Televisions and Projectors: Though less common now, active-shutter and polarized systems exist. Active-shutter glasses sync with the screen to alternately block each eye, while polarized systems use passive glasses with different polarizing filters for each lens, matching the filters on the screen.
- Anaglyph (The Red/Cyan Glasses): This is the oldest and most accessible format. The left-eye view is filtered red, and the right-eye view is filtered cyan (or blue). The glasses filter each image to the correct eye. While easy to distribute, it results in a significant loss of color fidelity.
- Autostereoscopic Displays: The holy grail of 3D viewing—no glasses required. These screens use a lenticular lens or parallax barrier overlay to direct different images to each eye based on the viewer's position. While the technology is improving, it still has limitations regarding viewing angles and resolution.
The Future is Deep: Beyond Stereoscopic Video
The evolution of immersive media is already moving beyond the two-camera model. Volumetric video captures a subject or space from multiple angles simultaneously, using a rig of dozens or even hundreds of cameras. The data is then processed to create a dynamic 3D model that can be viewed from any angle, not just the one it was filmed from. This represents true freedom of perspective and is a key technology for the future of mixed reality and social presence. While currently a complex and data-intensive process, the underlying principles of capturing and representing depth remain foundational.
The journey into 3D video is a fascinating blend of precise science and creative art. It demands a meticulous approach to technical details—from camera sync to alignment—while simultaneously opening up a new dimension (literally) for visual storytelling. It encourages filmmakers to think not just about the edges of the frame, but about the entire volume within it. By starting with a solid understanding of stereoscopy, choosing the right capture method for your project, and carefully navigating the post-production workflow, you can unlock the potential to create videos that don't just show a world, but invite your audience to step inside it. The barrier to entry has never been lower, and the creative possibilities have never been greater.
Share:
Small Adjustable Window Screens: The Ultimate Guide to Customized Ventilation and Pest Control
Small Adjustable Window Screens: The Ultimate Guide to Customized Ventilation and Pest Control