

Imagine slipping on a pair of glasses you built with your own hands and seeing a digital world seamlessly layered over your living room. This isn't a distant sci-fi fantasy—it's a project you can start this weekend. The dream of affordable, personalized augmented reality is closer than you think, and the journey to building it yourself is an exhilarating deep dive into the cutting edge of DIY technology. While commercial offerings are often locked behind corporate walls and premium price tags, the open-source community and a growing ecosystem of accessible components have made the once-daunting task of creating functional AR glasses an achievable goal for dedicated makers. This guide will walk you through every step, from understanding the core principles to assembling your very own prototype, unlocking a new way of interacting with the digital realm right from your workshop.
Understanding the Core Technology: What Are AR Glasses?
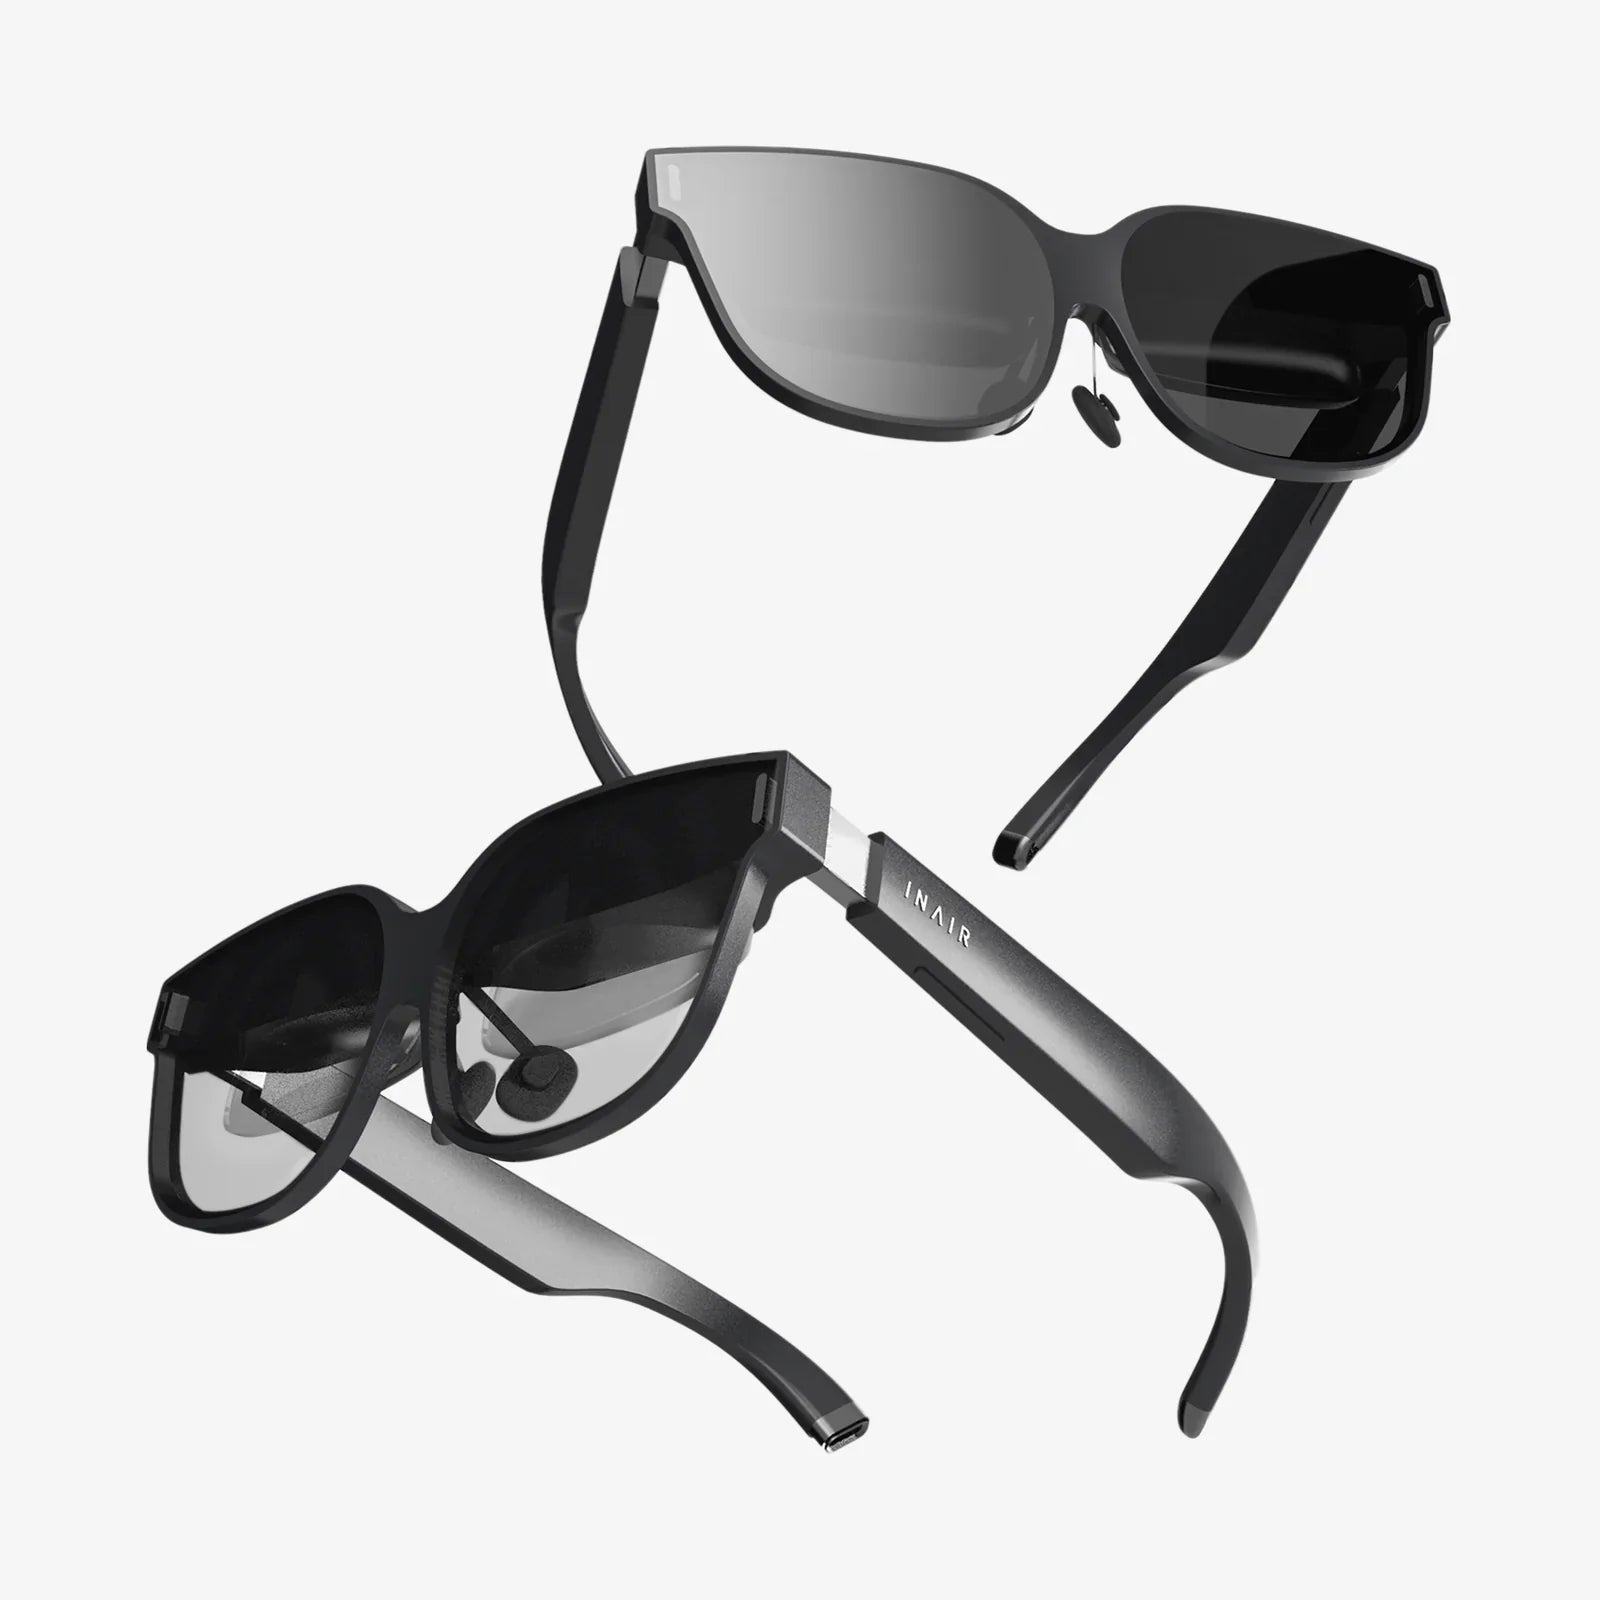
Before you pick up a soldering iron, it's crucial to grasp what you're building. At its heart, AR glasses are a wearable computer that presents graphical information onto the user's field of view. Unlike Virtual Reality (VR), which creates a completely immersive digital environment, Augmented Reality (AR) overlays digital content—like images, text, and 3D models—onto the real world. A functional pair of AR glasses requires four fundamental systems to work in harmony:
- Optical Display: This is the most critical and challenging component. It's the system that projects the image onto your retina. Common methods for DIY projects include using miniature displays like those found in smartphone viewfinders and then employing lenses or waveguides to reflect the image into your eye.
- Processing Unit: This is the brain of the operation. A small, powerful computer, often a single-board computer or a repurposed smartphone motherboard, is needed to run the software, process data from sensors, and generate the graphics for the display.
- Sensors: For the digital overlay to stay locked in place in the real world, the glasses need to understand their position and orientation. This requires an Inertial Measurement Unit (IMU) containing accelerometers and gyroscopes, and often magnetometers (compasses). More advanced setups might include cameras for computer vision and depth sensing.
- Power System: A portable, rechargeable battery pack is essential for untethered operation. Managing power consumption is a key challenge in wearable tech design.
Understanding this interplay is the first step to a successful build. You are essentially creating a miniature, head-mounted computer with a specialized display.
Essential Tools and Components for Your DIY AR Kit
You won't need a cleanroom or a million-dollar budget, but you will need a well-stocked maker bench. Here is a breakdown of the essential components and tools you'll need to gather.
Core Components
- Micro-Display: The heart of your visual system. Look for small LCD or OLED displays, often sold as replacement parts for digital cameras or as hobbyist modules. A common size is 0.5 to 1 inch, with a resolution of at least 800x600. Ensure it has a driver board compatible with inputs like HDMI or MIPI.
- Optics: You will need lenses to focus the image from the tiny display into your eye. Aspheric lenses or simple magnifying lenses can work. For a more advanced approach, you can experiment with off-the-shelf optical beam splitters or even attempt to create a simple waveguide, though this is highly complex.
- Single-Board Computer (SBC): A device like a Raspberry Pi (particularly the Compute Module versions for their smaller size) or similar alternative is perfect. It will run the operating system and your AR software. Choose one with good graphics support and a small form factor.
- IMU Sensor: A combined accelerometer, gyroscope, and magnetometer module, such as a MPU-9250 or BNO085, is non-negotiable for head tracking.
- Battery: A small lithium-polymer (LiPo) battery pack with a suitable voltage (e.g., 3.7V or 5V) and a USB charging circuit is ideal. Capacity is a trade-off between size/weight and runtime.
- Frame: You can modify an existing pair of sturdy glasses or sunglasses, or 3D print a custom frame. This is where your personal design flair comes into play.
- Wiring and Connectors: Fine-gauge wire, flexible printed circuits (if you're feeling advanced), and tiny connectors to keep everything neat.
Essential Tools
- A fine-tip soldering iron and solder.
- A multimeter for testing connections.
- Precision screwdrivers and tweezers.
- Hot glue gun and epoxy for securing components.
- 3D printer (highly recommended for creating custom enclosures and mounts).
- Basic hand tools like pliers, wire cutters, and a hobby knife.
A Step-by-Step Assembly Guide: Bringing Your Prototype to Life
This process requires patience and meticulous attention to detail. Work slowly and test each subsystem before final assembly.
Step 1: The Optical Engine
This is the most experimental part. Your goal is to mount the micro-display and the focusing lens in perfect alignment so that the virtual image appears sharp and at a comfortable viewing distance (usually several feet away).
- Disassemble any housing around your chosen micro-display to reduce bulk.
- Create a test rig. Use modeling clay or a small jig to hold the display and a lens at a fixed distance. The optimal distance between the display and the lens will need to be found experimentally.
- Look through the lens at the display. Adjust the distance until the image is in focus. This will give you the focal length for your setup.
- Once you have the correct measurements, design and 3D print a small enclosure that holds the display and the lens at this precise distance. This enclosure will later be mounted to your glasses frame.
Step 2: Integrating the Computer and Sensors
With your display working, it's time to give it a brain.
- Set up your SBC. Install a lightweight Linux distribution and ensure you can output video to your micro-display. This may require custom drivers or configuring the output resolution.
- Solder wires from the SBC's GPIO pins to your IMU sensor. Connect the power, ground, and data pins (I2C or SPI) according to the sensor's datasheet.
- Write a simple software script to read data from the IMU and confirm it's working correctly. Python with libraries like `smbus` is a good starting point.
- Securely mount the SBC and IMU sensor to your glasses frame or a small external pod that can be connected via a thin cable. Weight distribution is critical for comfort.
Step 3: Power and Final Assembly
Now, you'll wire everything together and make it portable.
- Connect your LiPo battery to a USB charging board, and then run the output to a small voltage regulator if needed to provide clean 5V power to your SBC and display.
- Carefully solder all power connections, ensuring correct polarity. Use heat shrink tubing to insulate every connection.
- Mount the battery pack. For balance, it's often best to place it on the opposite side of the frame from the optical engine or on the back of the headstrap if you're using one.
- Neatly route and secure all wiring using small zip ties or tape. Strain relief is important—wires will flex every time the glasses are put on or taken off.
- Perform a full systems test. Power on the device and verify that the display turns on, the computer boots, and the sensor data is streaming.
The Software Side: Making Your Glasses See and Think
Hardware is only half the battle. The software is what will transform your collection of components into an AR device.
Choosing a Platform
You have two main paths:
- The Minimalist Approach: Write your own applications from scratch in Python or C++ using libraries like OpenGL for graphics and OpenCV for any camera-based computer vision. This gives you ultimate control but is very complex.
- The Engine Approach: Use a game engine. Unity, combined with the open-source project MRTK, provides a robust framework for building AR experiences. You can develop your application on a powerful PC and then deploy it to run on your SBC, handling all the complex sensor fusion and rendering for you.
Core Software Tasks
- Sensor Fusion: Combining the data from the accelerometer, gyro, and magnetometer to accurately track the head's rotation and, to a lesser extent without cameras, its translation. This is used to adjust the virtual camera's view in real-time.
- Rendering: Drawing graphics (a simple HUD with time/notifications, 3D models, etc.) and warping them correctly for your specific optical setup.
- User Input: Integrating a simple input method, such as a tiny Bluetooth clicker, a capacitive touch sensor on the frame, or even voice commands.
Testing, Calibration, and Iteration: The Maker's Cycle
Your first prototype will not be perfect. Expect to go through multiple versions.
- Optical Calibration: You will need to create a software calibration routine to correct for distortion caused by your lenses and to ensure digital objects appear stable in the world.
- Comfort and Ergonomics: Test the weight and balance. Wear the glasses for extended periods. You may need to redesign mounts, add padding, or adjust the center of gravity.
- Battery Life: Measure how long the system runs on a full charge. This will inform you if you need a larger battery or must optimize your software to reduce power consumption.
Each test will reveal new challenges and opportunities for improvement. This iterative process is at the core of all hardware development.
The Limitations and Ethical Considerations of Homemade AR
It's important to be realistic. Your DIY AR glasses will not match the performance of high-end commercial products. The field of view will likely be narrow, the resolution lower, and the form factor bulkier. However, their value lies in the knowledge gained, the customization possible, and the pure joy of creation.
Furthermore, as you build a device capable of recording or overlaying information on the world, consider the ethical implications. Be mindful of privacy, especially if you incorporate cameras. Use your powerful new tool responsibly and transparently.
The knowledge you gain from sourcing components, wrestling with optics, writing calibration code, and designing for wearability is invaluable. This project is less about creating a perfect consumer product and more about embarking on a hands-on learning expedition that will leave you with a deep understanding of the technology that will shape our future. You're not just building a gadget; you're building expertise.
Your journey into building augmented reality doesn't end with a single pair of glasses; it opens a door to a world of personalized technology. The skills you develop—in optics, embedded systems, sensor integration, and 3D design—are a gateway to creating other wearable tech and interactive projects limited only by your imagination. This prototype on your workbench is a testament to the power of curiosity and the maker spirit, proving that the future isn't just something you buy—it's something you actively build, understand, and shape with your own hands. Start gathering your components, and prepare to see your world in a completely new way.
Share:
AI Perspective Tool: Revolutionizing How We See and Understand the World
Virtual Reality Safety Concerns: Navigating the Unseen Risks of Immersive Technology