


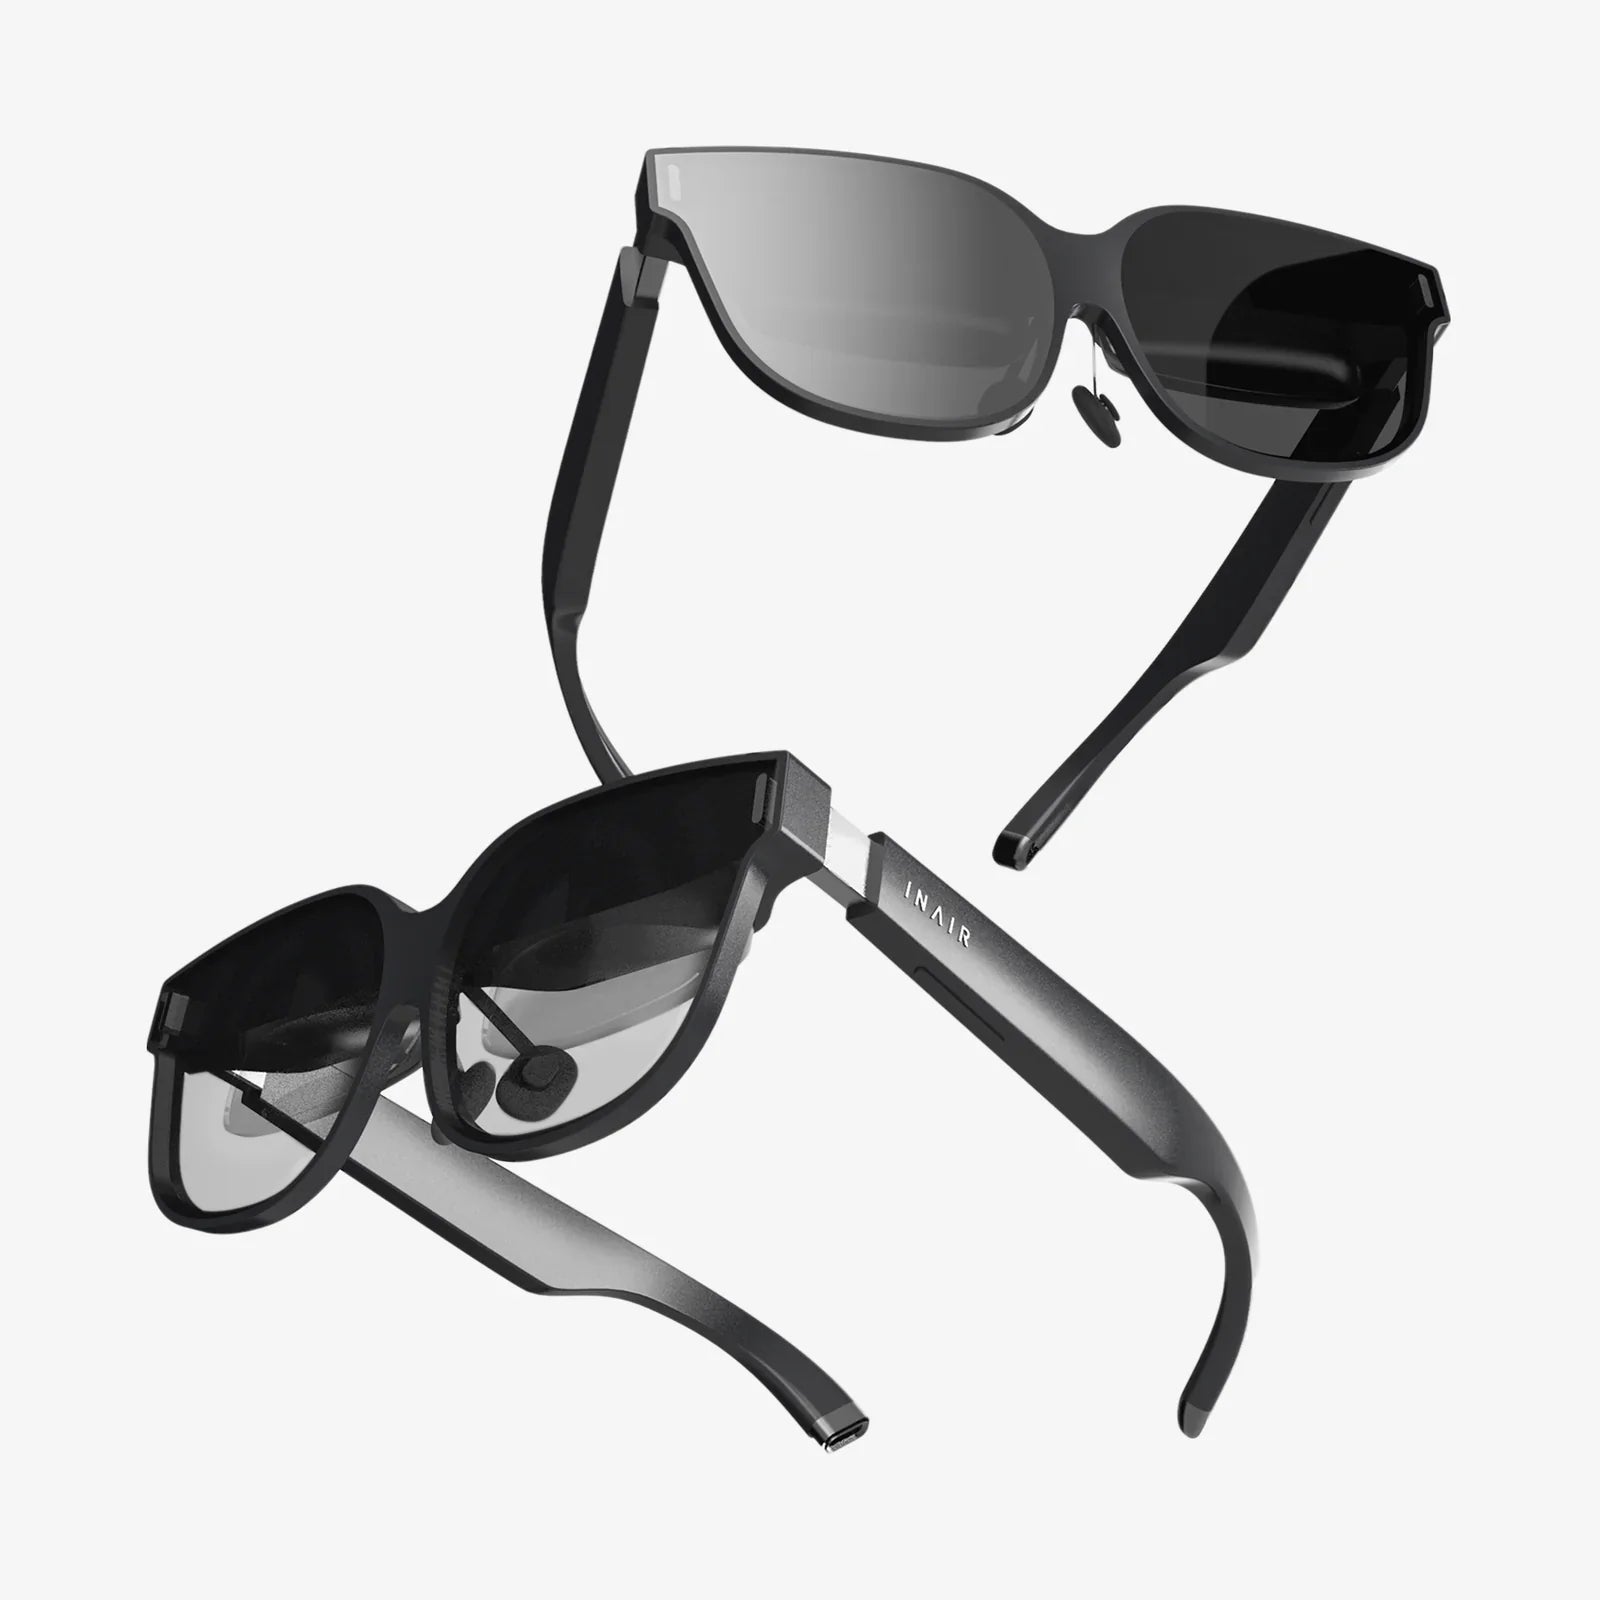
You’ve just powered on your virtual reality system, the controllers are synced, and you’re moments away from stepping onto a new planet, facing a digital dragon, or painting in three-dimensional space. But as you move, the world judders and blurs. The headset slips, sliding down your nose, breaking your immersion and reminding you that you’re just wearing a piece of hardware. A loose fit isn’t just a minor annoyance; it’s the barrier between you and a truly transformative experience. Achieving that perfect, secure, and comfortable fit is the first and most critical step in your VR journey. Let's fix that.
The Critical Importance of a Secure Fit
Before diving into the solutions, it's essential to understand why a tight, secure fit is non-negotiable for quality VR. It's not merely about comfort; it directly impacts the core functionality of the headset and your physical well-being.
Visual Clarity and Immersion
The optical system of a VR headset is designed with a specific "sweet spot" in the center of the lenses. This is the area where the image is sharpest and clearest. When the headset is loose and shifts on your face, you constantly move away from this sweet spot. The result is a blurry image, screen door effect becoming more pronounced, and a need to constantly readjust. A tight fit locks the lenses in perfect alignment with your eyes, maintaining optimal clarity throughout your session.
Preventing Simulator Sickness
A wobbly headset is a primary culprit for VR-induced nausea, often called simulator sickness. This occurs when there's a disconnect between what your eyes see (a moving virtual world) and what your vestibular system feels (a headset shifting awkwardly on your face). This sensory conflict can quickly lead to dizziness, disorientation, and nausea. A rock-solid fit eliminates this extraneous movement, significantly reducing the risk of discomfort.
Safety and Awareness
If you're ducking virtual bullets or leaning over a virtual railing, the last thing you need is your headset becoming a hazardous projectile. A secure strap system ensures the device stays on your head during vigorous activity, protecting both you and your expensive hardware from accidental drops and collisions with the real world.
Mastering the Built-In Adjustment System
Most users never fully utilize the adjustment features their headset already possesses. Before any DIY solutions, you must become an expert in your hardware's native capabilities.
The Triad of Standard Straps
Most mainstream headsets feature a three-strap design: the top strap and two side straps. Each has a distinct purpose:
- The Top Strap: This is the most important strap for support. Its primary job is to bear the majority of the headset's weight. Correct adjustment will lift the front of the headset onto your cheeks and forehead, preventing it from sagging.
- The Side Straps: These are for stability and fine-tuning. They pull the headset flush against your face, creating a light seal to block out external light and securing the lateral position.
A Step-by-Step Fitting Guide
- Loosen Everything: Start by completely loosening all straps. Place the headset on your face and hold it in the position that feels clearest and most comfortable.
- Secure the Top Strap First: While holding the headset in place, fasten the top strap so it takes on 70-80% of the device's weight. The front box should feel light in your hands.
- Fasten the Side Straps: Now, pull the side straps over the back of your head and fasten them. They should be snug but not painfully tight. Their role is stability, not primary support.
- Fine-Tune the Tension: Look left, right, up, and down. Nod your head. Does it shift? If so, slightly tighten the top strap first, then the sides. The goal is zero movement without creating pressure points.
Dialing-In the IPD
While not a tightening mechanism, the Interpupillary Distance (IPD) adjustment is crucial for comfort. This setting changes the distance between the lenses to match the space between your eyes. An incorrect IPD can force you to overtighten the headset to find a clear image, leading to rapid fatigue. Always set your IPD correctly according to your headset's instructions before judging the tightness.
Strategic DIY Upgrades and Mods
If you've maxed out the built-in adjustments and still find your headset wanting, it's time to explore simple, non-destructive upgrades. These solutions can dramatically improve comfort and security.
The Counterweight Solution
Many headsets are front-heavy, creating a lever effect that pushes the front down and forces you to overtighten the side straps to compensate. Adding a small counterweight to the back of the strap system balances this load.
- What to Use: A popular method is to use Velcro straps to attach a small power bank. This serves the dual purpose of acting as a counterweight and extending playtime for wireless headsets. Other options include specially designed counterweight kits or even a bag of rice or coins wrapped in cloth and secured tightly.
- How to Attach: Center the weight on the back of the strap, just below the cradle that holds the back of your skull. It should sit firmly and not shift. The ideal weight is often between 200-500 grams; start light and add until the headset feels neutrally buoyant on your face.
Enhancing Grip and Padding
The standard padding and strap material can sometimes be slippery, especially during active sessions or if you sweat.
- Strap Covers: Knitted or silicone strap covers can be slipped over the existing straps to provide a much grippier surface that resists sliding. They also add a layer of comfort and can wick away moisture.
- Replacement Facial Interfaces: If your headset allows it, consider a replacement facial interface made of a different material. Leather or pleather alternatives are easier to wipe clean and can provide a different grip characteristic compared to the standard foam. A slightly thicker interface can also bring your eyes closer to the lenses, potentially improving the field of view.
- Temple Grips: For glasses-wearers or those with narrow faces, small adhesive silicone grips that attach to the inside of the headset's arms can provide extra purchase on the sides of your head, preventing lateral slippage.
Tackling Specific Fit Problems
Not all fit issues are created equal. Here’s how to address common, specific problems.
Problem: The Headset Slides Down My Nose
This is the most common complaint and is almost always a top strap issue. The top strap is too loose, forcing the side straps to do all the work and ultimately failing. Solution: Loosen the side straps significantly, tighten the top strap until the weight is lifted off your cheeks, and then re-snug the side straps just enough to create the light seal.
Problem: Pressure on My Cheekbones or Forehead
You've tightened it so it doesn't move, but now it hurts. This is a sign of improper weight distribution or a poor interface shape. Solution: First, ensure the top strap is correctly adjusted to carry the weight. Second, consider redistributing pressure with a wider facial interface pad or adding a soft cover to the existing pad. Avoid over-tightening.
Problem: It Feels Loose When I Look Down
Gravity is undefeated. However, a well-fitted headset should only have minimal movement. Solution: This often indicates that the cradle on the back strap is sitting too high on your head. It should cup the bony protrusion at the base of your skull (the occipital bone). Adjust the top strap to lower the back cradle, allowing it to grip this natural ledge and prevent the headset from pivoting forward when you look down.
Problem: It Wobbles During Active Games
If you're playing rhythm or fitness games, standard adjustments might not be enough. Solution: This is where the counterweight method shines. Additionally, consider a headband or beanie. Wearing a thin, non-slip beanie can provide a grippy surface for the straps to hold onto, preventing movement far more effectively than straps on hair or skin alone.
Long-Term Maintenance for a Consistent Fit
The materials of your headset will wear over time. Maintaining them ensures your careful adjustments remain effective.
- Strap Elasticity: The elastic in the straps will naturally stretch over hundreds of hours of use. Periodically check your initial fit and be prepared to tighten them slightly as time goes on.
- Padding Compression: The foam in the facial interface will compress, changing the fit and potentially bringing your eyes too close or too far from the lenses. If you notice a change in comfort or clarity, inspect the foam for signs of permanent compression and consider replacing it.
- Cleanliness: Oils from your skin and sweat can degrade the materials and make them slippery. Regularly clean the straps and facial interface according to the manufacturer's guidelines to maintain their grip and longevity.
Imagine a headset that feels like a natural extension of your body—a portal that stays perfectly clear no matter how fast you turn, how low you duck, or how intensely you game. That level of seamless integration is within reach. By moving beyond simple cranking and embracing the nuanced art of balancing weight, maximizing grip, and personalizing your setup, you can finally stop fighting your hardware and start fully living in the virtual worlds you love to explore. The perfect fit isn't just about comfort; it's the key that unlocks the full potential of your VR experience.
Share:
Why AR is Equal to MR in Perfect Competition: The Foundation of Market Theory
Can You Watch Films on VR Headset: The Ultimate Guide to Immersive Cinema