Imagine pointing your smartphone at a dusty, ancient ruin and watching it reconstruct itself in real-time, stone by stone, until it stands glorious and whole again right before your eyes. Or picture a world where complex heart surgery is rehearsed not on static diagrams, but on a pulsating, three-dimensional hologram of the patient’s own organ, floating above the operating table. This is the transformative power of augmented reality (AR), a technology that is rapidly escaping the realm of science fiction and becoming an accessible tool for creators, educators, and businesses alike. But for many, the question remains: how do you actually harness this potential? How do you move from being a spectator of this digital magic to becoming its conductor? This guide is your first step into that new layer of reality, providing a clear, actionable roadmap on how to use augmented reality technology to enhance, educate, and innovate.
Demystifying the Magic: What Exactly is Augmented Reality?
Before we delve into the 'how,' it's crucial to understand the 'what.' Augmented reality is not the same as virtual reality (VR). Where VR seeks to replace your entire field of vision with a computer-generated environment, AR's goal is subtler and perhaps more powerful: it overlays digital information—images, video, 3D models, text—onto your view of the real world. It acts as a dynamic lens, enhancing your perception and providing context-aware data exactly when and where you need it. This seamless blending is what makes AR so compelling; it doesn't remove you from your environment but makes your environment more informative and interactive.
The Essential Toolkit: Hardware and Software Foundations
Using AR effectively starts with understanding the tools at your disposal. The barrier to entry is surprisingly low, as the most powerful AR device is likely already in your pocket.
Hardware: Your Window into an Augmented World
Smartphones and Tablets: These are the most common and accessible gateways to AR. They use their cameras to capture the real world and their screens to display the augmented overlay. For most consumer and prototyping applications, a modern smartphone with a good camera, a gyroscope, an accelerometer, and a powerful processor is all you need. This is known as marker-based or location-based AR, where the device uses visual cues or GPS data to anchor digital content.
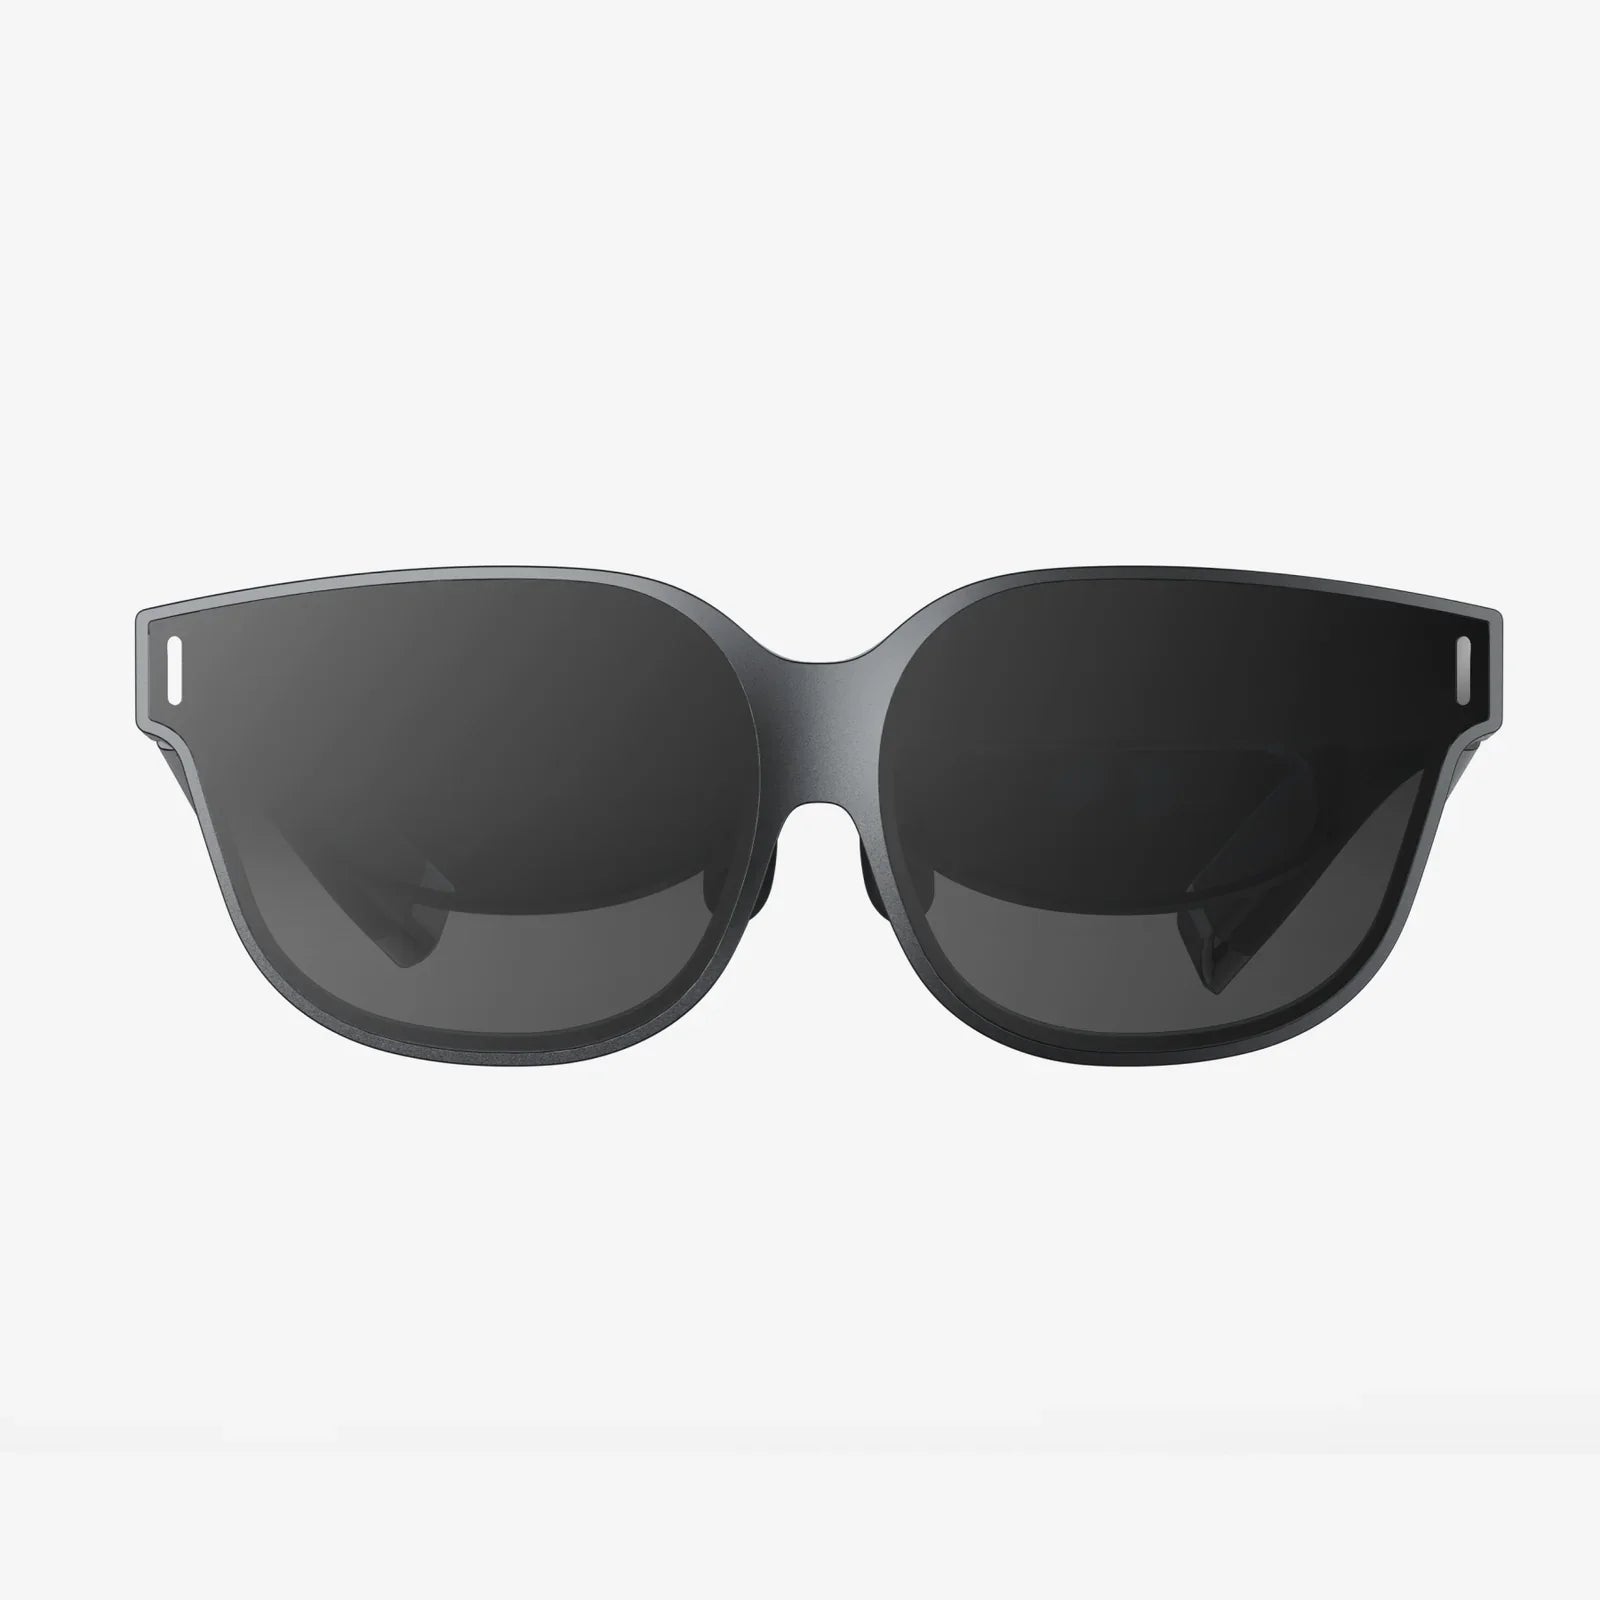
Smart Glasses and Headsets: For a truly hands-free, immersive experience, dedicated AR glasses are the next step. These wearable devices project digital imagery directly onto the lenses of the glasses, allowing you to see augmented information without holding up a phone. They range from consumer-focused models to ruggedized industrial versions designed for field technicians, warehouse workers, and surgeons, offering features like voice control and advanced spatial mapping.
Software: The Engine of Augmentation
On the software side, you don't need to be a master programmer to create AR experiences. A robust ecosystem of tools has emerged:
AR Development Platforms and SDKs: Powerful software development kits (SDKs) provide the foundational code for AR apps. They handle complex tasks like environmental understanding (simultaneous localization and mapping, or SLAM), surface detection, light estimation, and object occlusion. These platforms offer plugins for popular game engines, making them accessible to a wide range of developers.
WebAR: This is arguably the fastest and easiest way to get started. WebAR allows users to access AR experiences directly through a web browser on their smartphone without needing to download a dedicated app. You simply click a link, grant camera permissions, and you're in. This drastically reduces friction and is perfect for marketing campaigns, quick product visualizations, and simple interactive experiences.
Authoring Tools: For those without coding skills, several no-code or low-code platforms exist. These web-based services allow you to create AR experiences by uploading your 3D models, images, and videos, and then using a simple drag-and-drop interface to define behaviors and triggers. You can then publish your creation as an app or, more commonly, as a WebAR experience.
A Step-by-Step Guide to Creating Your First AR Experience
Let's break down the process of bringing a simple AR idea to life, using a common no-code platform as an example.
Step 1: Define Your Objective and Audience
Every successful project begins with a clear goal. Ask yourself: What problem am I solving? What do I want the user to feel or do? Are you trying to sell a product by letting users visualize it in their home? Are you making a museum exhibit more engaging? Are you creating an interactive manual for a complex piece of machinery? Defining this objective will guide every decision that follows.
Step 2: Choose Your Trigger
The AR experience needs a starting point, a trigger that tells the device when to display the digital content. Common triggers include:
-
Image Target: The device's camera recognizes a specific 2D image (e.g., a poster, a page in a book, a product package) and uses it as an anchor.
-
Surface Tracking: The user taps on a horizontal or vertical surface (a floor, wall, or table) to place the content.
-
Geolocation: The content appears when the user's device reaches a specific GPS coordinate (e.g., a historical marker appearing when you point your phone at a landmark).
Step 3: Create and Prepare Your Digital Assets
This is the fun part—creating the digital content that will be overlaid onto the real world. This could be:
- A 3D model of a product, character, or anatomical part.
- A video that plays on the trigger image.
- Animated text or labels providing information.
- Interactive buttons that users can tap to perform actions.
Ensure your assets are optimized for mobile devices. High-polygon 3D models with massive texture files will load slowly and cause a poor user experience. Most platforms have specific guidelines for asset preparation.
Step 4: Build the Experience
This is where you use your chosen software. You will:
- Upload your trigger image or define your trigger type.
- Upload your digital assets (3D models, videos, etc.).
- Position, rotate, and scale the assets in relation to the trigger.
- Add interactivity, such as animations that play on touch, or sounds that trigger when the image is recognized.
- Configure settings like persistence (should the content stay in place if you look away?) and sharing.
Step 5: Test, Test, and Test Again
AR is highly dependent on real-world conditions. Test your experience on multiple devices (both iOS and Android), in different lighting environments (bright sun, dim office light), and on various surfaces. What works perfectly on your desk might fail on a patterned carpet. Iterate based on your testing to ensure a robust experience for all users.
Step 6: Publish and Share
Once you're satisfied, publish your project. If you built a WebAR experience, the platform will provide you with a QR code and a short URL. You can print the QR code on packaging, display it on a poster, or share the link on social media and via email. If you built a native app, you will submit it to the Apple App Store and Google Play Store.
Practical Applications: How Industries Are Leveraging AR Today
The theory is sound, but how is AR being used in the real world? The applications are vast and growing.
Retail and E-Commerce
This is one of the most visible uses of AR. Customers can now preview products in their own space before buying. See how a new sofa fits in your living room, try on virtual watches and sunglasses, or test out different shades of paint on your walls. This "try before you buy" capability reduces purchase anxiety and significantly lowers return rates, making it a win for both businesses and consumers.
Education and Training
AR is revolutionizing learning by making abstract concepts tangible. Students can dissect a virtual frog, explore the solar system in their classroom, or watch historical events unfold on their desk. In corporate and industrial settings, AR provides on-the-job guidance. A technician wearing AR glasses can see step-by-step instructions overlaid on the machine they are repairing, complete with animated arrows showing which bolt to turn next. This improves accuracy, speeds up training, and enhances safety.
Healthcare
From medical training to surgical planning and patient education, AR is a game-changer. Surgeons can use AR to visualize a patient's anatomy in 3D during a procedure, overlaying CT scans directly onto the patient's body to guide incisions with unparalleled precision. Medical students can practice procedures on virtual patients, and individuals can use AR to better understand their own conditions and treatments.
Maintenance and Repair
Complex machinery often comes with even more complex manuals. AR simplifies this. A factory worker can point a tablet at an assembly line motor, and the AR system will highlight components that need inspection, display real-time performance data, and show an animated guide for maintenance tasks. This reduces downtime and errors while empowering workers with instant expertise.
Best Practices and Considerations for a Flawless Experience
To ensure your foray into AR is successful, keep these key principles in mind.
User Experience is Paramount
The technology should feel like magic, not a burden. The experience must be intuitive and add genuine value. If it's clunky, difficult to trigger, or provides irrelevant information, users will abandon it instantly. Design with the user's context in mind—are they in a busy store? A quiet museum? A noisy factory floor?
Prioritize Performance and Optimization
Heavy, unoptimized AR experiences drain battery life, overheat phones, and crash. Keep your 3D models lightweight, your animations efficient, and your code clean. A fast, responsive experience is a good experience.
Respect Privacy
AR apps require camera access and often collect spatial data about a user's environment. Be transparent about what data you collect, how it is used, and how it is stored. Implement robust data security measures and provide users with clear privacy controls.
Design for Accessibility
Consider users with different abilities. Can your experience be used by someone with color blindness? Are there alternatives for interactions that require precise gestures? Incorporating inclusive design principles from the start ensures your AR application can be enjoyed by the widest possible audience.
The door to an augmented world is now open, and the tools to build within it are more democratized than ever before. You no longer need a multi-million dollar R&D lab to create something meaningful; you can start with an idea, a smartphone, and a curiosity to blend the digital with the physical. Whether you're an entrepreneur looking to create the next viral marketing campaign, a teacher aiming to inspire your students, or a hobbyist eager to experiment with a new medium, the power to augment your reality is literally at your fingertips. The question is no longer if you can use this technology, but what incredible, useful, and beautiful things you will create with it.