


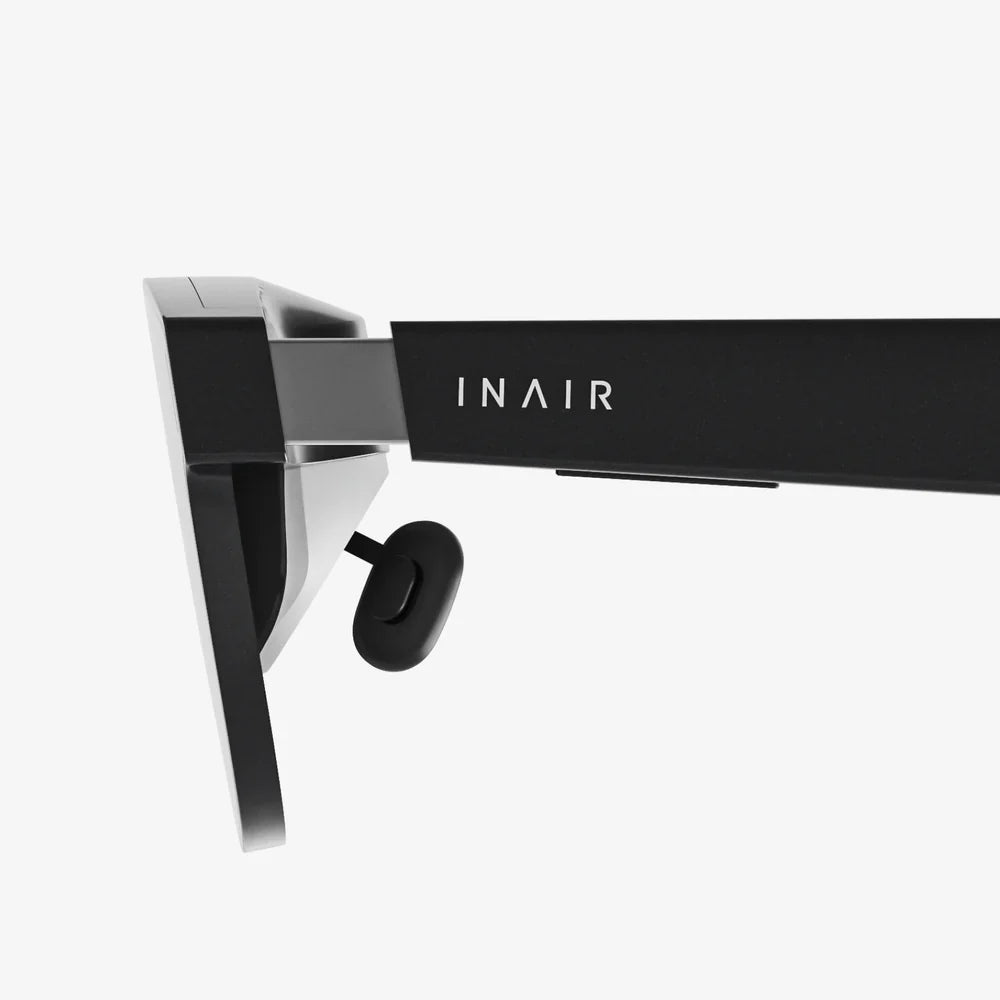
Imagine holding a portal to another dimension in your pocket. That’s the power you wield with your iPhone when paired with the right virtual reality glasses. This isn't just about watching a movie; it's about stepping inside it. It’s about transforming your living room into a concert hall, a deep-space observatory, or a interactive learning environment. The fusion of Apple's sophisticated hardware with immersive VR technology creates a gateway to experiences that were once the stuff of science fiction. This guide is your first-class ticket to that world, detailing every step from unboxing your headset to mastering the virtual realms that await.
Understanding the iPhone and VR Partnership
Before diving into the setup, it's crucial to understand why the iPhone is a formidable engine for mobile VR. Modern iPhones boast incredibly high-resolution displays, powerful processors capable of rendering complex environments, precise motion sensors, and a vast ecosystem of applications. These features are the bedrock of a high-quality, untethered virtual reality experience. When you slot your iPhone into a headset, you're essentially turning it into both the brain and the eyes of the operation.
Choosing the Right Headset for Your iPhone
Not all headsets are created equal, and compatibility is key. The market offers two primary categories:
Basic Viewers (Powered by Your iPhone)
These are the most accessible entry points into VR. They consist of a housing unit with lenses but no internal electronics. Your iPhone provides the screen and the processing power. The headset's job is to split the screen for your eyes and create the stereoscopic 3D effect. They often include a basic controller or rely on a Bluetooth gamepad.
Standalone Headsets with iPhone Compatibility
A more advanced category, these headsets have their own displays and internal processors but can connect to your iPhone to access its content library or use it for specific processing tasks. This offers a higher-end experience but at a greater cost.
When selecting a headset, ensure it has a designated tray or holder that snugly fits your specific iPhone model to avoid any movement or slipping during use.
The Step-by-Step Setup Process
Once you have your headset, the setup process is straightforward. Follow these steps to ensure a seamless and safe entry into VR.
Step 1: Prepare Your iPhone
First, ensure your iPhone's software is up to date. VR apps often require the latest version of iOS for optimal performance and security. Next, clean your iPhone's screen thoroughly. Any smudges or dust particles will be magnified by the headset's lenses and can break immersion. Finally, disable Auto-Lock in your Settings to prevent the screen from turning off during use. You can find this under Settings > Display & Brightness > Auto-Lock and set it to 'Never'. Remember to re-enable it afterward to conserve battery.
Step 2: Prepare the Headset
Unbox your headset and familiarize yourself with its components. Adjust the head straps for a comfortable but secure fit. Most importantly, locate the adjustable lenses. Many headsets allow you to change the distance between the lenses (interpupillary distance or IPD) and some offer diopter adjustments for those who wear glasses. Properly configuring these is essential for a clear image and to prevent eye strain.
Step 3: The Physical Connection
Gently place your iPhone into the headset's tray or compartment. Be careful not to force it. Ensure the home button and volume buttons are not being pressed and that the front-facing camera is aligned with any pass-through camera port on the headset, if it has one. Close the latch or secure the cover. The headset should feel balanced on your head, not front-heavy.
Step 4: The Audio Connection
For full immersion, audio is just as important as video. While you can use the iPhone's built-in speakers, headphones are highly recommended. Plug a wired pair into the headphone jack (if your model has one) or use a compatible set of wireless Bluetooth headphones. Spatial audio features on the iPhone can make the sound feel like it's coming from all around you, dramatically enhancing the experience.
Exploring the World of VR Apps and Content
With your hardware ready, it's time to explore the software. The App Store is your gateway to a universe of VR content.
Where to Find VR Apps
Open the App Store on your iPhone and use search terms like "VR," "virtual reality," "360 video," or "cardboard" (a common term for basic VR). You can also browse the dedicated "Travel" or "Entertainment" categories, which often feature VR experiences. Many headset manufacturers provide their own app store or curated list of compatible apps.
Categories of Must-Try Experiences
- 360-Degree Videos: Platforms dedicated to VR offer immersive documentaries, travelogues, and live-action stories where you can look around in every direction.
- Interactive Games: From simple roller coaster simulators to complex puzzle and adventure games built specifically for mobile VR.
- Educational and Cultural Apps: Take virtual field trips to museums, historical sites, or even the human bloodstream.
- Social VR: Apps that allow you to meet and interact with other users in virtual spaces using an avatar.
Optimizing Your Experience and Troubleshooting
To get the most out of your sessions and solve common problems, keep these tips in mind.
Maximizing Comfort and Immersion
VR can be intense. Start with shorter sessions of 10-15 minutes to acclimatize yourself. Ensure your play area is clear of obstacles to avoid bumps and trips. Use a swivel chair for experiences that require turning, or stand in the center of a room. If you feel motion sickness, focus on the horizon within the experience and take frequent breaks. Good ventilation can also help.
Preserving iPhone Battery Life
VR is a power-intensive activity. To extend your playtime, enable Low Power Mode before starting, close all other background apps, and reduce your screen brightness to a comfortable level. For longer sessions, consider connecting your iPhone to a power source with a long cable, but be mindful of tripping hazards.
Troubleshooting Common Issues
- Blurry Image: Readjust the headset on your head and fine-tune the lens focus and IPD settings. Ensure your iPhone screen is clean.
- Drifting or Misaligned Image: This can happen if the headset's magnetic sensor is interfered with. Recalibrate your sensors through the VR app you are using, often found in its settings menu.
- App Crashes: Force-quit the app and restart it. If the problem persists, check for an app update or restart your iPhone.
The Future of iPhone and VR
The integration of VR with mobile technology is rapidly evolving. With advancements in chip technology, sensor accuracy, and software development, the line between dedicated VR systems and smartphone-powered experiences continues to blur. The potential for augmented reality (AR) overlays within VR, known as mixed reality, is a particularly exciting frontier that the iPhone's advanced camera systems are well-positioned to explore.
Your journey into virtual reality is limited only by your curiosity. That sleek piece of glass and metal in your pocket is a key, waiting to unlock doors to unimaginable worlds, profound knowledge, and pure, unadulterated fun. The setup is simple, the content is vast, and the only real requirement is a willingness to look through the lens and see what's on the other side. What will you experience first?
Share:
Canada Virtual Reality Market: A Deep Dive into Innovation and Growth
Virtual Reality Price in Ethiopia: A Comprehensive Market Analysis and Future Outlook