


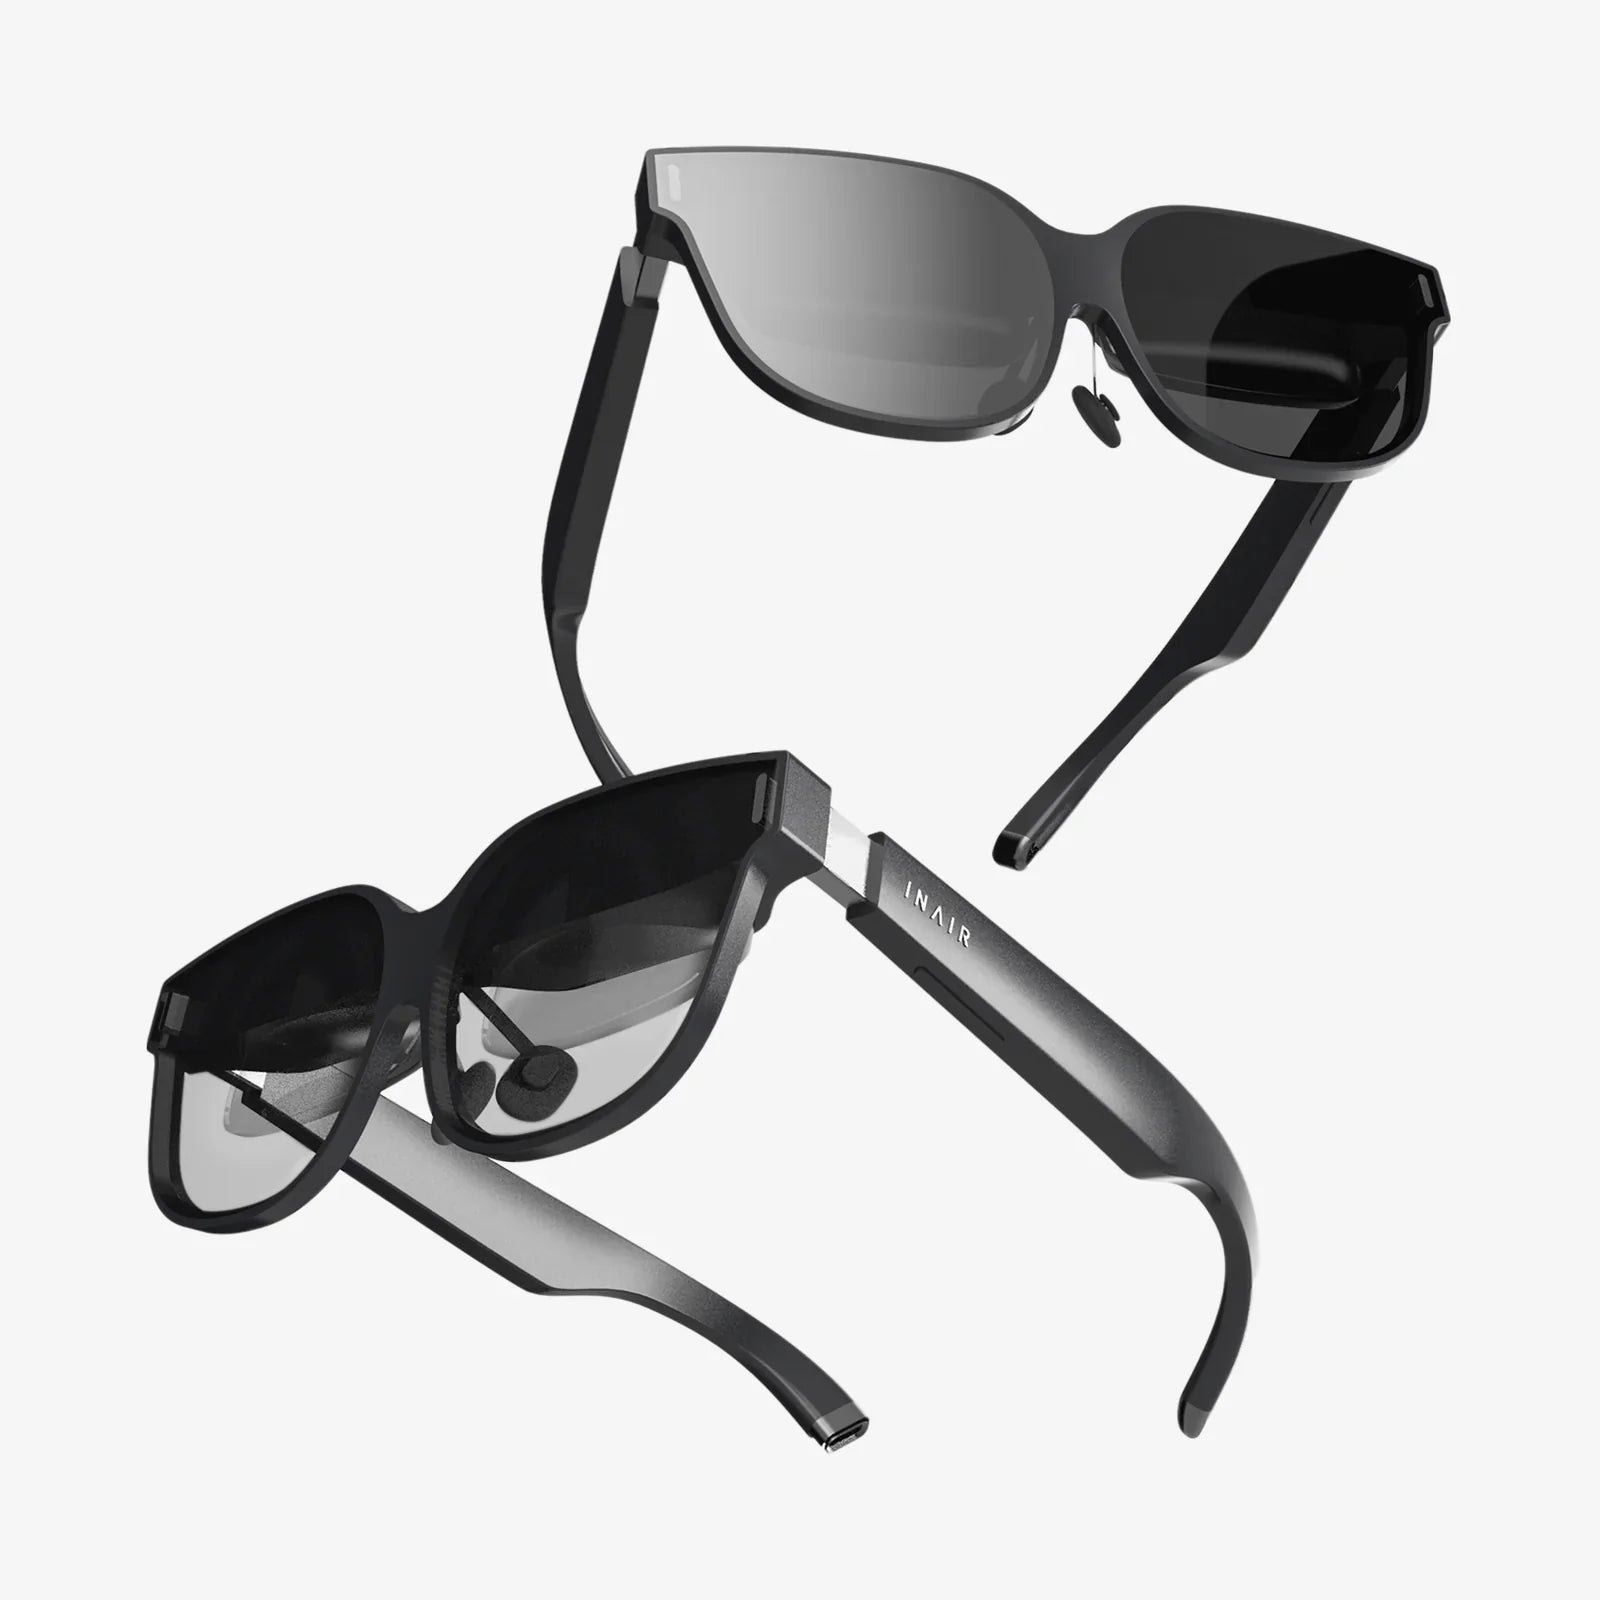
Imagine holding a portal to another world in the palm of your hand. That’s the power you wield with your iPhone and a pair of VR goggles. This isn't just about watching a screen; it's about stepping inside it. From exploring the surface of Mars to walking through ancient Roman ruins or sitting in the front row of a concert happening halfway across the globe, the fusion of iPhone technology and virtual reality headset accessibility has democratized immersive experiences in a way that was once the stuff of science fiction. This guide is your definitive manual to unlocking that potential, ensuring your journey into virtual realms is seamless, breathtaking, and utterly transformative.
The Essential Gear: What You'll Need to Get Started
Before you can dive into digital dimensions, you need to assemble your toolkit. The requirements are refreshingly simple, which is a big part of the appeal of mobile-based VR.
1. The Right Virtual Reality Headset
The most crucial component is, of course, the headset itself. When selecting a headset designed for a smartphone, ensure it is explicitly compatible with the size and model of your iPhone. These headsets typically fall into two categories:
- Basic Viewers: These are the most common and affordable options. They consist of a housing with lenses and a head strap. You physically slot your iPhone into the front compartment. Navigation within the VR environment is often handled through a single button on the headset or a simple magnetic input, but primarily relies on you turning your head to look around.
- Advanced Mobile Headsets: These offer more features, such as built-in headphones, wider field-of-view lenses, and, most importantly, dedicated handheld motion controllers. These controllers significantly enhance the experience, allowing you to interact with the virtual world—picking up objects, pointing, shooting, and navigating menus with precision.
Regardless of the type, the principle is the same: the headset uses two high-quality lenses to split your iPhone's screen into a stereoscopic 3D view, creating the illusion of depth and immersion.
2. Your iPhone
Your iPhone is the engine of this entire operation. Its high-resolution Retina display, powerful processor, and precise motion sensors are what make the VR magic possible.
- Compatibility: Most modern VR apps require an iPhone 6s or newer. For the best performance, especially with graphically intensive games and experiences, an iPhone 8 or later is highly recommended. The more recent the model, the smoother and more visually stunning your VR experience will be.
- Storage Space: VR apps and, particularly, 360-degree videos can be large. Ensure you have several gigabytes of free space to avoid constant frustrating deletions.
- Battery Life: VR is a power-intensive activity. Expect your battery to drain significantly faster than during normal use. For extended sessions, consider connecting a portable power bank or playing while plugged into a power source.
3. The Software: VR Apps and Content
The headset and phone are just the hardware; the real adventure lies in the apps. The App Store is your gateway to a vast library of VR content, which can be broadly categorized into:
- VR Videos: 360-degree videos that place you in the center of the action, from documentaries to music videos.
- VR Games: Immersive games where you are inside the game world.
- VR Experiences: Interactive tours, educational apps, and simulations that are more about exploration than gameplay.
The Step-by-Step Setup: From Box to Virtual World
Once you have your gear, it's time to put it all together. Follow these steps for a flawless first launch.
Step 1: Prepare Your iPhone
Start by ensuring your iPhone is ready for its new role.
- Update iOS: Go to Settings > General > Software Update and install any available updates. This ensures compatibility with the latest VR apps and smooth performance.
- Clean Your Screen: Any smudges, dust, or fingerprints on your screen will be magnified by the VR lenses and can ruin the immersion. Give it a thorough clean with a microfiber cloth.
- Disable Auto-Lock: Nothing is more jarring than having your screen go black in the middle of a VR session. Navigate to Settings > Display & Brightness > Auto-Lock and set it to Never while you are using the headset. Remember to set it back afterward to conserve battery.
- Enable Bluetooth: If your headset uses wireless controllers, ensure Bluetooth is turned on in your Control Center or Settings.
Step 2: Assemble the Headset
Follow the manufacturer's instructions to assemble your specific headset. This usually involves attaching the head strap and adjusting any focus or interpupillary distance (IPD) dials. The IPD adjustment is crucial for aligning the lenses with the space between your eyes, which prevents eye strain and ensures a clear image.
Step 3: Download Your First VR App
Before you insert your phone, go to the App Store and search for "VR" or "Virtual Reality." Download a few highly rated, free apps to start with. Good beginner options include apps that offer a variety of 360-degree videos or simple, stationary experiences.
Step 4: Insert Your iPhone and Launch
Carefully open the compartment on the headset and slide your iPhone into the designated slot. Ensure it is centered and securely fastened. Close the compartment, bring the headset to your eyes, and adjust the straps for a snug but comfortable fit. Use the focus wheels to make the image as sharp as possible. Now, launch your chosen app. You may need to start the app first and then place the phone in the headset, depending on the design.
Navigating the Virtual Landscape: Tips and Best Practices
Being in VR is a unique experience. These tips will help you master it safely and comfortably.
Mastering Comfort and Avoiding Motion Sickness
VR-induced motion sickness, or "cybersickness," is a common hurdle for newcomers. It occurs when your eyes perceive motion that your body doesn't feel. You can mitigate it by:
- Start Slow: Begin with short sessions of 10-15 minutes and gradually increase your time as you get your "VR legs."
- Choose Stationary Experiences First: Begin with apps where you remain in one spot and just look around. Avoid games with artificial locomotion (using a joystick to walk) until you're more accustomed.
- Use Teleportation Mechanics: Many games offer a "teleport" feature for movement instead of smooth walking. This is far less likely to cause discomfort.
- Take a Break Immediately: At the first sign of dizziness, nausea, or headache, stop immediately. Don't try to push through it.
- Ensure a Cool Environment and a Fan: Having a fan gently blowing on you can provide a spatial reference point and help reduce feelings of nausea.
Creating the Perfect Play Space
Your physical environment is just as important as the virtual one.
- Clear the Area: VR is immersive, and you might forget your surroundings. Ensure you have a clear, open space free of furniture, tripping hazards, pets, and small children.
- Mind the Cable: If you are using a wired controller or are plugged into power, be aware of the cable's position to avoid tangling or yanking it.
- Seated vs. Standing: Many experiences are designed for seated use, which is safer and more comfortable for beginners. Only stand if the app recommends it and you are in a safe space.
Exploring the Best Content: What to Do in VR
Now for the fun part. Here’s a look at the types of experiences that showcase the iPhone's VR capabilities.
Breathtaking 360-Degree Videos and Travel
This is one of VR's strongest suits. Apps dedicated to 360-video content allow you to:
- Stand on the edge of active volcanoes.
- Swim with whales in the deep ocean.
- Attend famous music festivals.
- Visit world heritage sites with expert guides.
It's the ultimate "you are there" technology for exploration and documentary storytelling.
Immersive Gaming
The gaming world is incredibly diverse. You can find:
- Puzzle Games: Where you manipulate the environment with your hands or gaze.
- Rhythm Games: A fantastic workout where you slash notes to the beat of music.
- Horror Games: For the brave—being inside a scary world is exponentially more terrifying than watching it on a TV.
- Space Shooters and Simulations: Pilot spacecraft, defend your cockpit from aliens, or explore the cosmos.
Educational and Cultural Experiences
VR is a powerful educational tool. Use your iPhone to:
- Take detailed, interactive tours of historical artifacts in world-class museums.
- Explore the human body in 3D for biology studies.
- Practice real-world skills like public speaking in a virtual auditorium.
Troubleshooting Common Issues
Even the best setups can have hiccups. Here’s how to solve them.
Blurry Image
If the image is persistently blurry:
- Adjust the IPD (Interpupillary Distance) wheel on your headset.
- Use the focus dials to compensate for your nearsightedness or farsightedness. These headsets do not correct for astigmatism.
- Ensure your iPhone's screen is perfectly clean.
- Check that the iPhone is centered correctly in the headset tray.
App Crashes or Poor Performance
- Close Background Apps: Before launching a VR app, close all other apps running in the background to free up RAM.
- Restart Your iPhone: A classic fix for a reason—it clears the memory and stops errant processes.
- Check for Updates: Ensure the VR app itself is updated to the latest version.
Overheating
Running high-end graphics can make your iPhone hot. If you get an overheating warning:
- Take a break immediately to let the phone cool down.
- Remove the phone from the headset, as the headset traps heat.
- Play in a cooler environment, away from direct sunlight.
- Consider using a low-power mode within the VR app if available.
The journey from a standard smartphone user to a virtual reality explorer is shorter than you think. With your iPhone tucked into its headset, you're not just a spectator; you're an active participant in stories, games, and worlds that respond to your every glance and movement. This technology, once a distant dream, is now an accessible adventure waiting in your pocket. The only question left is not how to use it, but where you'll go first.
Share:
Best VR for iPhone 11: The Ultimate Guide to Immersive Mobile Experiences
Cost of VR Headset Price: A Comprehensive Breakdown and Future Outlook