


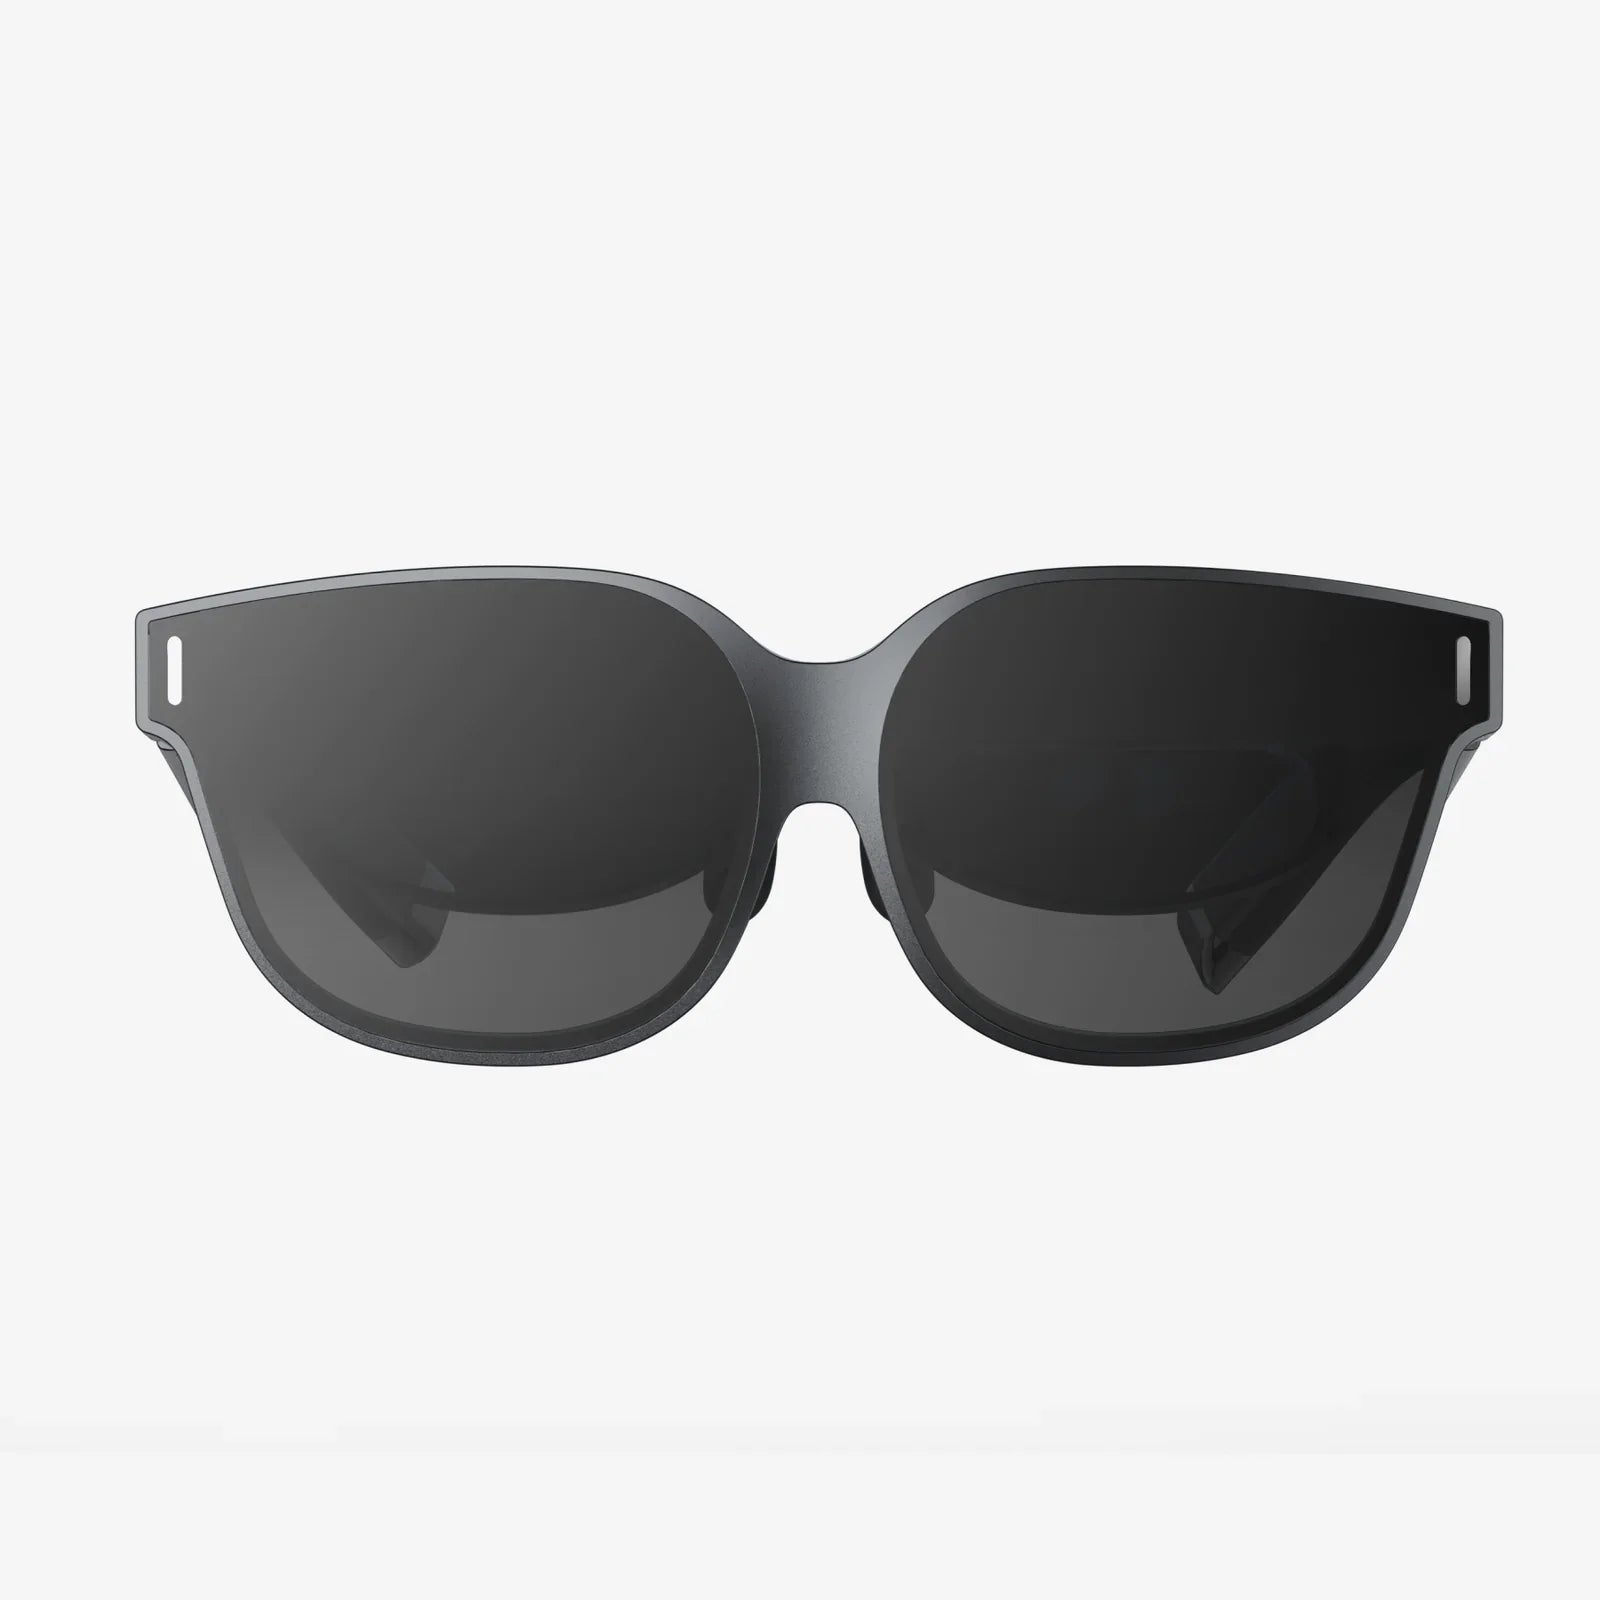
- by wangfred
Smart Glasses Setup: Your Definitive Guide to a Seamless Experience
- by wangfred
You've just unboxed a sleek new pair of smart glasses, the gateway to a world of augmented information and hands-free convenience. The future feels tantalizingly close, but first, you have to navigate the crucial first step: the setup. A flawless smart glasses setup is the difference between a device that feels like a natural extension of yourself and one that gathers dust in a drawer. This definitive guide is designed to transform that initial apprehension into confident mastery, ensuring your journey into augmented reality begins without a single hitch.
Before you even think about powering on your new device, a little preparation can prevent a multitude of headaches. Think of this as laying the groundwork for a stable digital structure.
Carefully open the packaging and lay out all the contents. Typically, you should find:
Familiarize yourself with the physical components. Locate the power button, any touch-sensitive surfaces, microphones, speakers, and the charging port. This physical inspection is your first connection with the technology.
This is the most critical pre-setup step. Fully charge your smart glasses and their charging case before the first use. Manufacturers often ship devices with a partial charge to preserve battery health, but a full charge ensures the setup process won't be interrupted by a sudden shutdown, which can sometimes cause software issues. Plug everything in and wait until you see a solid indicator light signaling a full battery.
Virtually all smart glasses require a companion application on your smartphone to manage the setup and ongoing functionality. Here’s how to prepare:
With your device charged and your phone prepared, you're ready to begin. The exact steps may vary slightly by model, but the general flow remains consistent.
Hold down the power button on your smart glasses until you see an indicator light or a display illumination. Now, open the companion app on your smartphone. The app will almost always guide you through an introductory tutorial before prompting you to pair your device.
You’ll typically see a message like “Pair New Device” or “Get Started.” The app will instruct you to ensure Bluetooth is enabled and then begin searching. Your glasses should appear in a list of available devices. Select them. You will likely be presented with a pairing code on both your phone and the glasses' display. Confirm that they match and approve the pairing request. This establishes the primary link between your glasses and your digital world.
Immediately after pairing, the companion app will almost certainly check for firmware updates. It is highly recommended to install any available updates immediately. Firmware updates contain vital performance improvements, new features, and critical security patches. This process can take several minutes. Ensure your glasses remain powered on and in close proximity to your phone throughout the update. Do not attempt to use them during this time. The device may restart automatically once the update is complete.
To access the full suite of features, especially cloud-based services like voice assistants, note-taking, or media playback, you will need to log into an account. This is often the manufacturer’s ecosystem account. If you already have one, log in. If not, the app will guide you through creating a new one. This account is key to personalization and syncing your data across devices.
Now the fun begins: making the device your own. The app will walk you through a series of initial configuration screens. Pay close attention to these:
A comfortable fit is a functional fit. If your glasses are uncomfortable, you won't wear them. Adjust the nose pads and temple arms for a secure but not tight fit. The display should be clear without you having to strain your eyes or neck.
Within the app, delve into the personalization menus. This is where you can often:
For a truly seamless experience, some models offer advanced calibration. This isn't always mandatory but is highly recommended for optimal performance.
Some higher-end models may include a display calibration tool. This might involve looking at a series of test patterns to ensure the augmented reality graphics are sharp, correctly aligned, and comfortable for your eyes. This step fine-tunes the projection to work best with your unique vision.
If your glasses use bone conduction or directional speakers, there might be an audio calibration. This tests the audio clarity and volume, sometimes using your surroundings to tailor the sound output to minimize sound leakage and maximize what you hear.
Even with the best preparation, technology can be fickle. Here’s how to overcome common setup obstacles.
If your phone can't find the glasses:
If an update seems stuck or fails:
If the companion app is behaving erratically:
If you encounter persistent, unresolvable issues, a factory reset will wipe the glasses clean and return them to their out-of-box state. The method for this is always detailed in the official documentation, usually involving holding down the power button for an extended period (e.g., 15 seconds) until a specific light pattern appears. Use this only when necessary.
The setup is complete, but your journey is just beginning. To truly integrate this technology into your life, consider these next steps.
Your smart glasses are no longer a piece of daunting, futuristic tech; they are a ready-to-use portal to a more connected and efficient way of living. By meticulously following these setup steps, you haven't just installed a gadget—you've calibrated a personal assistant, a media hub, and an information lens, all tailored precisely to you. The world is now your interface, waiting for you to take a closer look.