


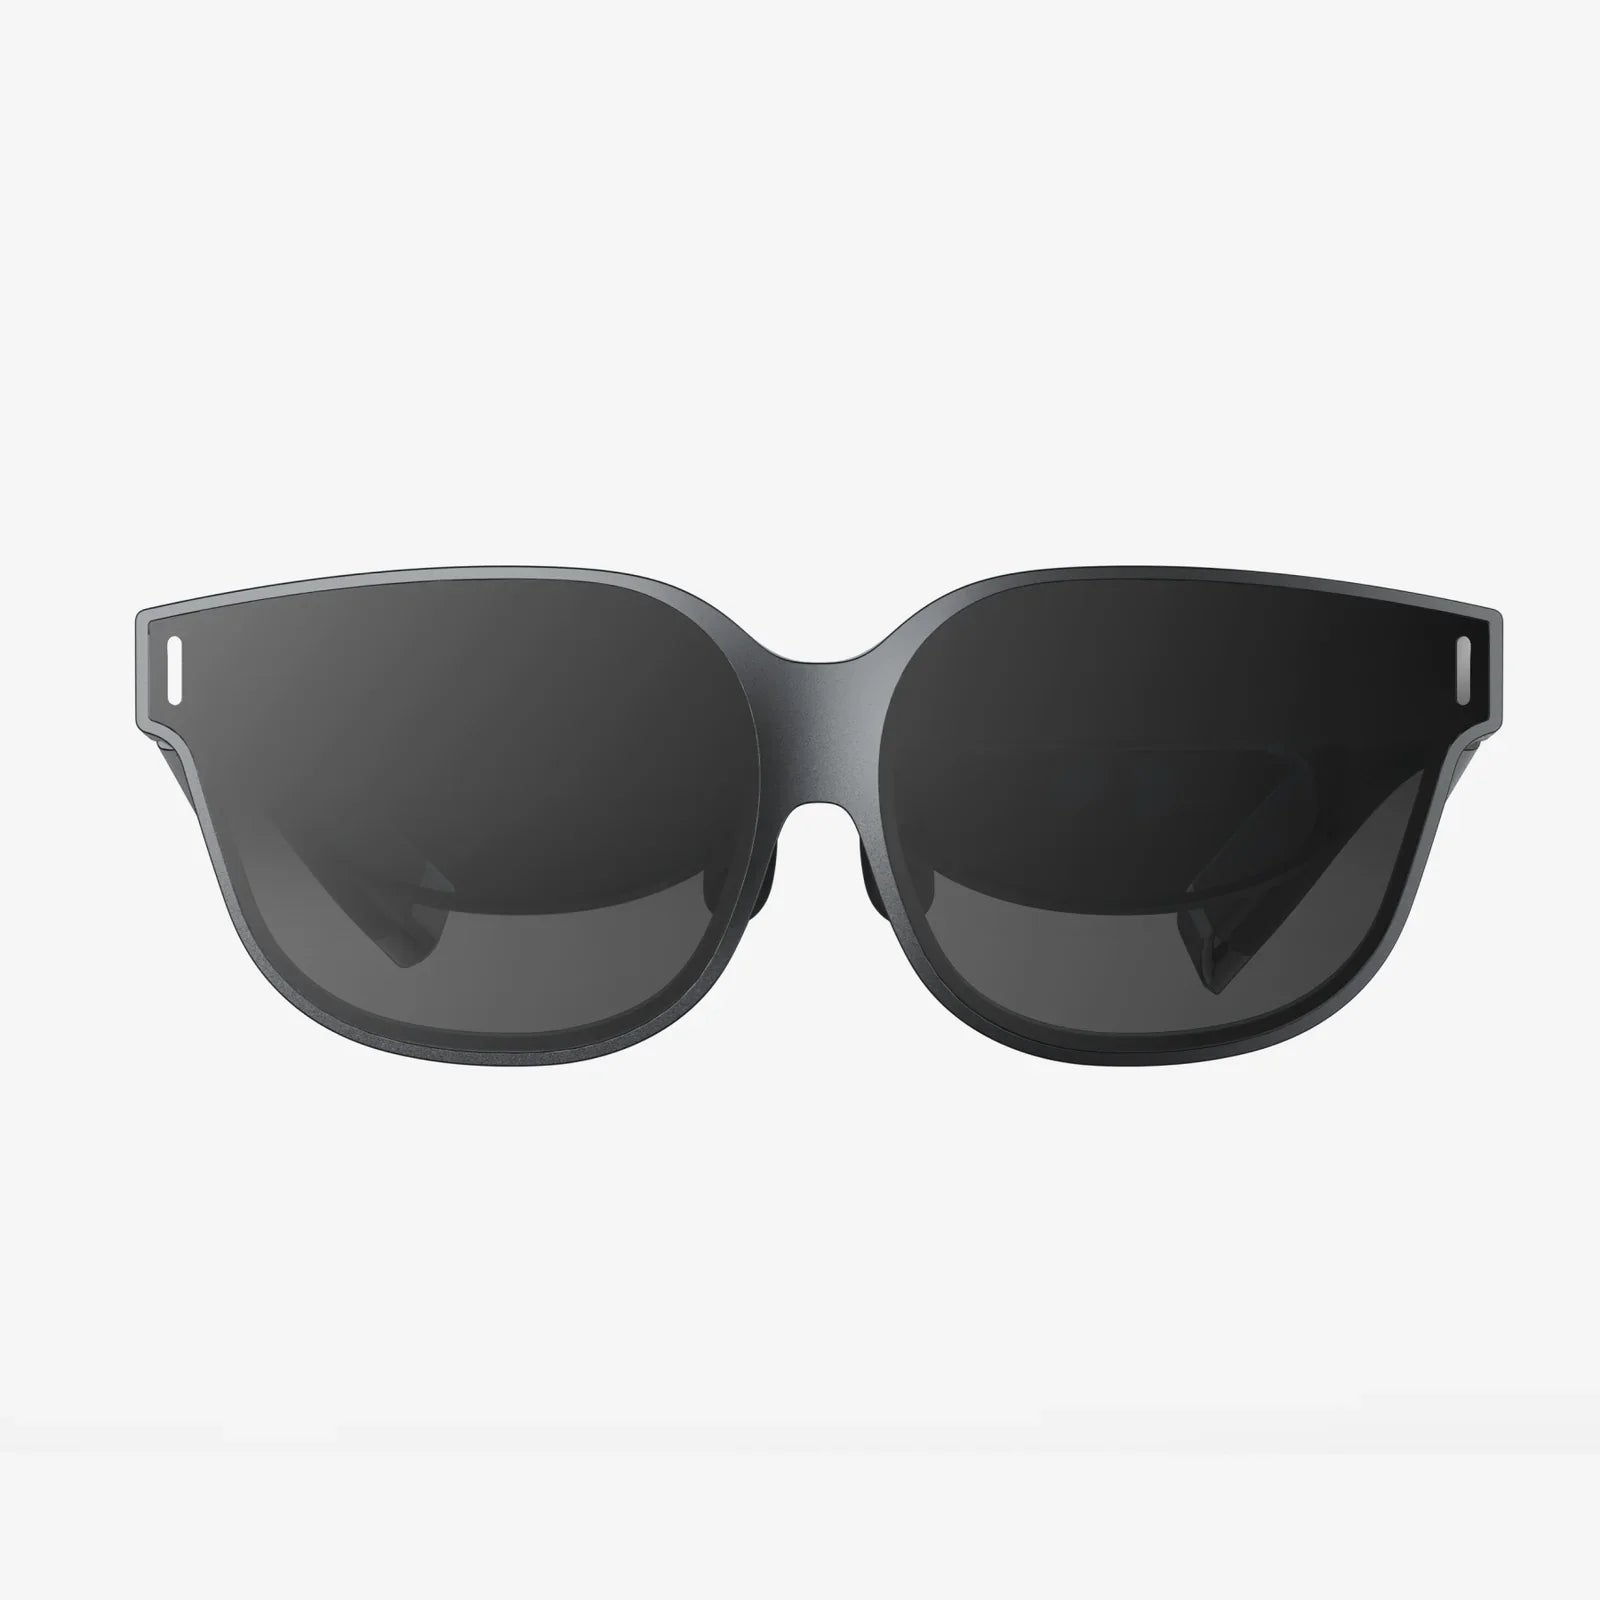
- by wangfred
VR Setup for PC: The Ultimate Guide to Building Your Virtual Reality Rig
- by wangfred
You've seen the future, and it's virtual. The promise of stepping into another world, of experiencing the impossible from the comfort of your home, is no longer science fiction—it's a reality waiting to be unlocked by your personal computer. But between that dream and your first mind-bending experience lies a crucial, and often daunting, hurdle: the PC VR setup. This isn't just plugging in a peripheral; it's building a portal. It requires careful consideration, a bit of technical know-how, and a guide to steer you clear of the common pitfalls. Forget the confusion and conflicting advice. This comprehensive guide is your blueprint, your trusted companion on the journey to constructing a VR rig that doesn't just function, but truly soars, delivering buttery-smooth, breathtakingly immersive experiences from the moment you put on the headset.
Before you spend a single dollar or unscrew a single panel, it's vital to understand the ecosystem you're entering. A PC-powered virtual reality system is a symphony of hardware, each component playing a critical role in maintaining the illusion of presence—the magical feeling of actually being inside the virtual world.
The PC is the engine of your virtual reality experience. It's responsible for rendering two high-resolution displays at incredibly high frame rates, often 90Hz or more, to prevent motion sickness and ensure immersion. Skimping here leads to a choppy, uncomfortable experience that can quickly turn excitement into nausea.
This is, without question, the most important component for a high-fidelity VR setup. The GPU does the heavy lifting of generating the complex 3D environments you'll be exploring. Modern VR applications demand a powerful, dedicated graphics card. You'll want a model from a recent generation that is explicitly marketed as VR-ready. These cards are built with the architectural muscle to handle the parallel processing demands of VR, often featuring specific drivers and technologies to reduce latency—the delay between your movement and the screen updating, which is critical for comfort.
While the GPU paints the picture, the CPU is the master coordinator. It manages the game's logic, physics calculations, audio processing, and input/output commands from all your devices (headset, controllers, sensors). A modern, multi-core processor is essential. A weak CPU will create a bottleneck, causing stutters and hitches even if your GPU is powerful enough, as the system struggles to keep everything in sync.
System Memory (RAM): Virtual reality applications and the environments they create are vast and complex, requiring quick access to large amounts of data. 16GB of DDR4 or DDR5 RAM is considered the sweet spot for a smooth experience, though 8GB is often the absolute minimum. More RAM allows for better multitasking and future-proofing.
Storage: A Solid-State Drive (SSD) is highly recommended, if not mandatory, for a modern VR setup. The speed of an SSD drastically reduces load times, getting you into the action faster. It also allows for quicker asset streaming, which is crucial for open-world VR games that need to load detailed environments on the fly without pausing or popping.
This is your window into new worlds. The choice of headset is a deeply personal one, balancing factors like display technology, comfort, tracking method, and, of course, budget.
The quality of the screens inside the headset directly impacts visual clarity. Key specifications to consider are resolution (the number of pixels, with higher being sharper), refresh rate (measured in Hz, with higher being smoother), and field of view (FOV, which determines how much of your vision is covered). The lenses are equally important, affecting edge-to-edge clarity and the size of the "sweet spot" where the image is perfectly in focus.
How does the system know where you are in the room? There are two primary methods:
Your hands in the virtual world are represented by motion-tracked controllers. These have evolved from simple wands to sophisticated devices with analog grips, joysticks, buttons, and haptic feedback. The design and ergonomics of the controllers are a major part of the immersion, allowing for intuitive interactions like grabbing, throwing, and pointing.
You've got the components. Now, it's time to build your portal. Follow these steps methodically for a frustration-free setup.
Before connecting anything, ensure your PC is ready. Update your operating system to the latest version. Then, visit the website of your graphics card manufacturer and download the very latest drivers. Using outdated GPU drivers is one of the most common causes of VR performance issues. Ensure you have enough free space on your primary SSD for the VR platform software and your first few games.
Virtual reality requires physical space. You'll need to clear an area free of obstacles, pets, and low-hanging light fixtures. There are two types of play spaces:
Choose your location wisely, considering cable length from your PC and the presence of fragile items like monitors or TVs.
If your system uses external tracking sensors, place them in the opposite corners of your play space, high up and angled downward to cover the entire area. They usually require a connection to a free USB port on your PC. Next, connect the headset itself. Most modern PC headsets use a single cable that consolidates video (DisplayPort or HDMI) and data (USB). Plug this into the appropriate ports on your graphics card and motherboard. Avoid using front-panel USB ports if possible, as they can be less reliable; use the ports directly on the motherboard.
Now, install the required software platform. The major PC VR platforms offer free downloads. The installation process will guide you through setting up your devices, pairing your controllers, and, most importantly, defining your play area boundaries. This is a crucial safety step. You'll trace the outline of your safe space, and the system will project a virtual wall (called a Chaperone or Guardian system) whenever you get too close to the edge, preventing real-world collisions.
Take the time to properly adjust the headset for your face. The goal is a clear picture and comfortable fit. Adjust the straps so the headset is snug but not painful. Use the interpupillary distance (IPD) slider, if your headset has one, to match the distance between the lenses to the distance between your pupils. This dramatically improves clarity and reduces eye strain. Finally, within the software, ensure your play space is correctly calibrated and that all sensors are seeing your controllers properly.
A working setup is good; an optimized setup is incredible. Here’s how to elevate your experience from functional to phenomenal.
Dive into the graphics settings of your VR applications. Start with the presets (Low, Medium, High) and see what runs smoothly. The key metric is maintaining a consistent, high frame rate. Dropping frames causes stuttering, which breaks immersion and can cause discomfort. A powerful card allows you to use a technique called supersampling, where the application renders the image at a higher resolution than the headset's native display and then downscales it. This acts as a form of anti-aliasing, resulting in a significantly sharper image with smoother edges, and is one of the single biggest visual upgrades you can make.
The tether cable connecting the headset to the PC is often the biggest immersion-breaker, both as a physical reminder of the real world and a potential hazard. Develop a habit of using a system to manage it, like a simple overhead pulley system that suspends the cable above you, eliminating trip hazards and reducing tugging on the headset. For the ultimate freedom, investigate certified wireless adapter kits. These systems transmit the video and data signal over a high-speed dedicated Wi-Fi connection, allowing you to move completely untethered without a noticeable drop in visual quality, provided you have a strong network signal.
Even the best setups can hiccup. If you experience tracking jitter, ensure your sensors aren't seeing reflective surfaces like mirrors or windows. Bluetooth interference from other devices can also cause controller issues. For performance problems, use the performance overlays provided by your VR platform or GPU driver to monitor your frame timings and identify if the GPU or CPU is the bottleneck. Online communities and forums are invaluable resources for solving specific, obscure issues.
Your rig is built, calibrated, and optimized. You stand at the threshold, headset in hand. The final step is mental and physical preparation. Start with shorter experiences to acclimatize your brain to the sensation of VR. If you feel any discomfort, take a break immediately; pushing through is the worst thing you can do. Stay hydrated and ensure the room is well-ventilated. Have a friend nearby as a spotter for your first room-scale adventure, both for safety and to share your amazement. The digital worlds you are about to enter are limited only by the imagination of their creators and the power of the portal you have so meticulously built. A perfect, personalized VR setup isn't just about playing games; it's about unlocking a new dimension of experience, and yours is now ready to open. Take a deep breath, and step through.
Share:
Head Mounted Display Market: Navigating the Future of Immersive Technology
What Is a Virtual Reality Headset Do: A Deep Dive Into Immersive Digital Worlds