

You've unboxed the future, a portal to infinite worlds and experiences resting in your hands. The promise of total immersion is tantalizingly close, but one simple, often overlooked step stands between you and another dimension: knowing how to put on the headset correctly. This isn't just about placing a device on your head; it's about calibrating your gateway to virtual reality for flawless comfort, crystal-clear visuals, and hours of unforgettable exploration. Get this first step wrong, and you're in for a blurry, nauseating, and uncomfortable ride. Get it right, and the digital universe unfolds before you in perfect, breathtaking detail. Let's unlock that portal.
The Critical Foundation: Pre-Flight Checks
Before the headset even touches your head, there are essential preparations that will define your entire experience. Rushing this process is the most common mistake newcomers make.
1. Preparing Your Play Space
Virtual reality is a physical experience. Start by ensuring you have a clear, safe area free of obstacles, tripping hazards, and low-hanging light fixtures or ceiling fans. Many systems require you to define a guardian or boundary zone; do this meticulously. A clean play space isn't just for safety—it provides the peace of mind to lose yourself in the virtual world without fear of bumping into a wall or coffee table.
2. Preparing the Headset Itself
Gently inspect the headset. Locate the adjustable straps, the dials or sliders for interpupillary distance (IPD)—the distance between your pupils—and the power and volume buttons. If your model has removable facial interfaces (the foam or plastic part that touches your face), ensure it's clean. For shared devices, consider using hygienic covers. Connect any necessary cables to a powered source and your computer or console, leaving enough slack for movement. There's nothing worse than being yanked out of an immersive moment by a taut cable.
3. Preparing Yourself
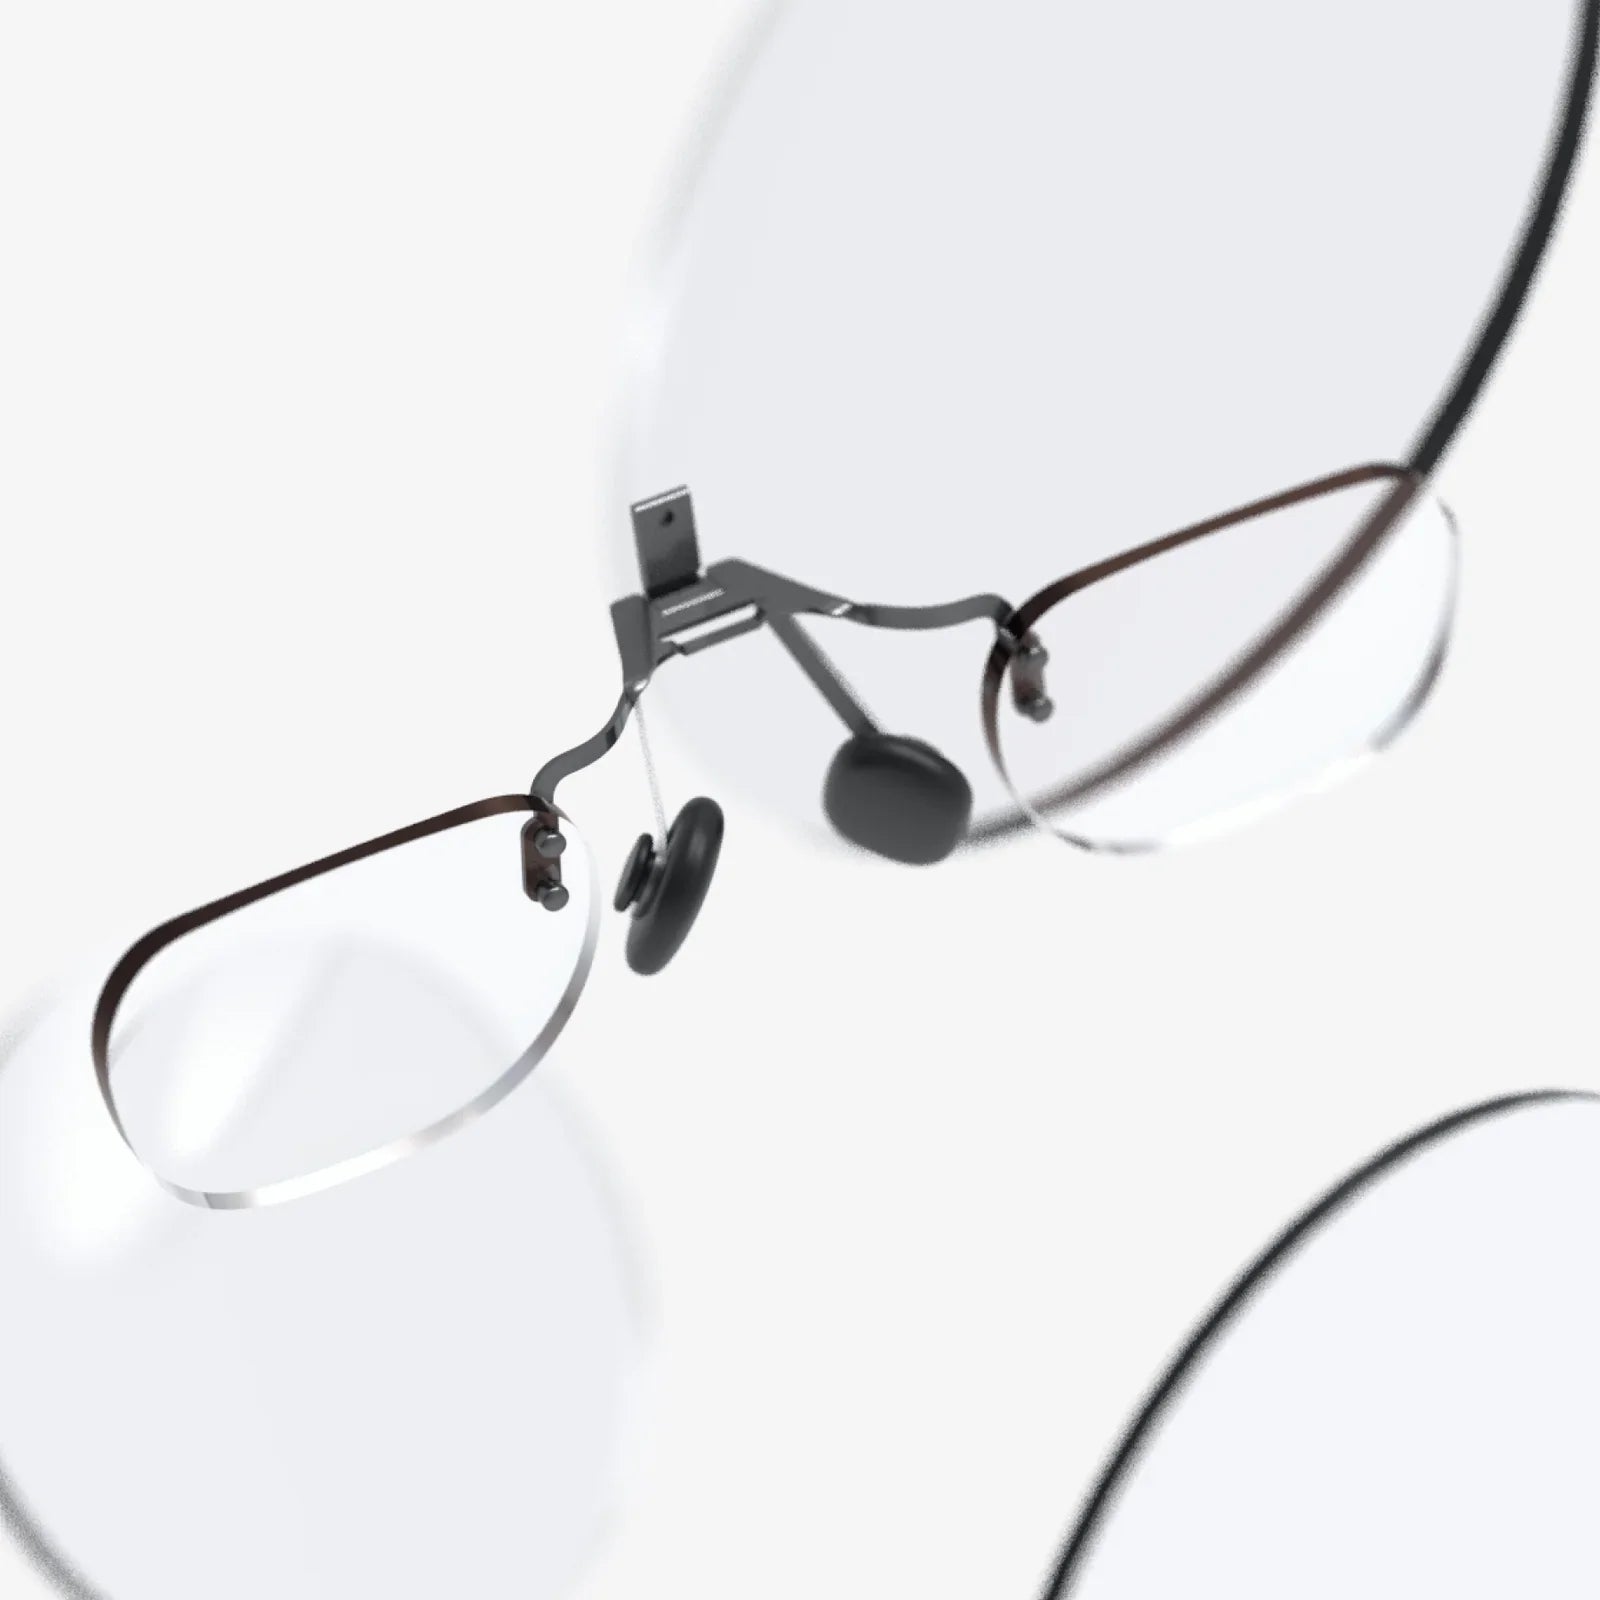
Are you wearing glasses? This is crucial. Many modern headsets are designed with space for spectacle wearers, but you must check the specifications. Using them without adequate space can scratch both your glasses' lenses and the headset's lenses—a costly error. If you have long hair, tie it up to prevent it from getting tangled in the rear straps and to ensure a secure fit. Finally, ensure your controllers are powered on and within easy reach.
The Step-by-Step Guide to a Flawless Fit
Now, with your space and gear prepared, it's time to dawn the headset. Follow these steps in order for the optimal result.
Step 1: Loosen All Straps
This is the golden rule. Before attempting to put it on, fully loosen the top strap and the side straps. Trying to force a pre-tightened headset onto your head is uncomfortable, strains the straps, and risks damaging the device. Open it up so it can easily encompass your head.
Step 2: The Two-Handed Approach
Hold the headset with both hands by the rigid arms on either side. Do not grab it by the display housing or the straps. Using two hands gives you maximum control. Tilt your head forward slightly.
Step 3: Position and Secure
Bring the headset to your face and first place the rear strap (the cradle) low on the back of your skull, at the base of your head. It should cup the occipital bone, not rest on top of your hair or the soft part of your neck. This is the anchor point. Once the back is seated correctly, gently pull the front down over your eyes. The headset should feel like it's being supported from the back, not pressing heavily on your face.
Step 4: The Order of Tightening
With the headset in place, begin tightening. Always start with the top strap. Adjust its length so that the weight of the headset is distributed evenly between your forehead and the back of your head. A properly adjusted top strap will lift the front of the headset, relieving pressure on your cheeks and nose. Next, tighten the side straps. They should be snug but not constricting. You should be able to open your mouth wide or yawn without significant discomfort.
Step 5: The Micro-Adjustments for Clarity
Now, for the visual clarity. If your headset has a physical IPD slider, usually located beneath the visor, adjust it now. You may see a software prompt guiding you. Move the slider slowly left or right until the image becomes as one and sharp. This single adjustment is arguably the most important for preventing eye strain and headaches. Next, fine-tune the angle of the headset. Many models allow you to tilt the front box slightly up or down on your face. Do this until you find the sweet spot with the largest area of clear focus, eliminating any blurriness around the edges.
Advanced Tips for the Discerning User
For those looking to elevate their experience from good to exceptional, these pro-tips make all the difference.
Countering the Front-Heavy Feel
Even with a perfect fit, the center of gravity of most headsets is forward, which can cause neck strain over long sessions. The solution is often a simple counterweight. Some enthusiasts attach a small, external battery pack to the rear strap. This serves a dual purpose: it shifts the center of gravity backwards for a more balanced, neutral feel, and it extends playtime. Ensure any added weight is secure and doesn't interfere with the adjustment mechanisms.
Mastering the Interface
The standard foam interface works for most, but aftermarket options exist, often made of materials like silicone or pleather. These can be easier to clean and, for some, more comfortable. Furthermore, if you wear glasses, investing in prescription lens inserts is a game-changer. These custom magnetic lenses slot inside the headset, eliminating the worry of scratches, improving field of view, and increasing comfort dramatically.
Audio Integration
While built-in audio is convenient, for true immersion, consider using a dedicated pair of headphones. Over-ear headphones provide superior spatial audio and block out external noise, pulling you deeper into the experience. Just ensure the headband can comfortably coexist with the VR headset's straps.
Troubleshooting Common Fit Problems
Even with the best instructions, issues can arise. Here’s how to solve them.
The "VR Face" and Pressure Points
If you take off the headset and have deep red marks on your forehead or cheeks, the fit is incorrect. The weight is being borne by your face instead of being distributed by the straps. Revisit the top strap: it is likely too loose, causing the front to sag. Tighten the top strap first to lift the weight, then re-snug the side straps.
Blurriness and Eye Strain
Persistent blurriness is almost always an IPD or positioning issue. Double-check your IPD setting. Use the IPD measurement tool in your headset's software if available. Also, ensure the headset is sitting high on your cheekbones and that you've used the tilt function to find the clearest image. Wipe the lenses with a clean, dry microfiber cloth—even a small smudge can cause significant blur.
Strap Slippage During Active Games
If the headset slips when you look down or move vigorously, the rear cradle is not low enough. It's sliding up the curved back of your skull. Loosen the straps, reseat the rear cradle as low as possible, and retighten. For especially active sessions, a slightly tighter fit may be necessary.
Beyond the Basics: Cultivating VR Hygiene
A great experience is a comfortable and sustainable one. Practice good VR hygiene to ensure you can enjoy it for years to come.
Take Regular Breaks: Every 30-60 minutes, remove the headset, hydrate, and rest your eyes. This is vital for preventing eye strain, nausea, and disorientation.
Clean Your Gear: Use antibacterial wipes on the facial interface (avoiding the lenses) and controllers after each use, especially if sharing. Use only a dry microfiber cloth on the lenses to prevent scratching their delicate coatings.
Store It Properly: Keep your headset in a cool, dry place away from direct sunlight. Sunlight focused through the lenses can act like a magnifying glass and permanently burn the internal screens.
This meticulous process—from pre-flight checks to micro-adjustments—is what separates a novice from a virtuoso in the virtual realm. It transforms the headset from a clumsy piece of hardware into a seamless extension of your perception. It's the difference between watching a world and living in it. The digital frontier is waiting, and now, you are perfectly equipped to step through.
Share:
VR Headset Learning: The Immersive Educational Revolution Reshaping Our Classrooms
8 Inch VR Headset: The Unseen Revolution in Immersive Technology