


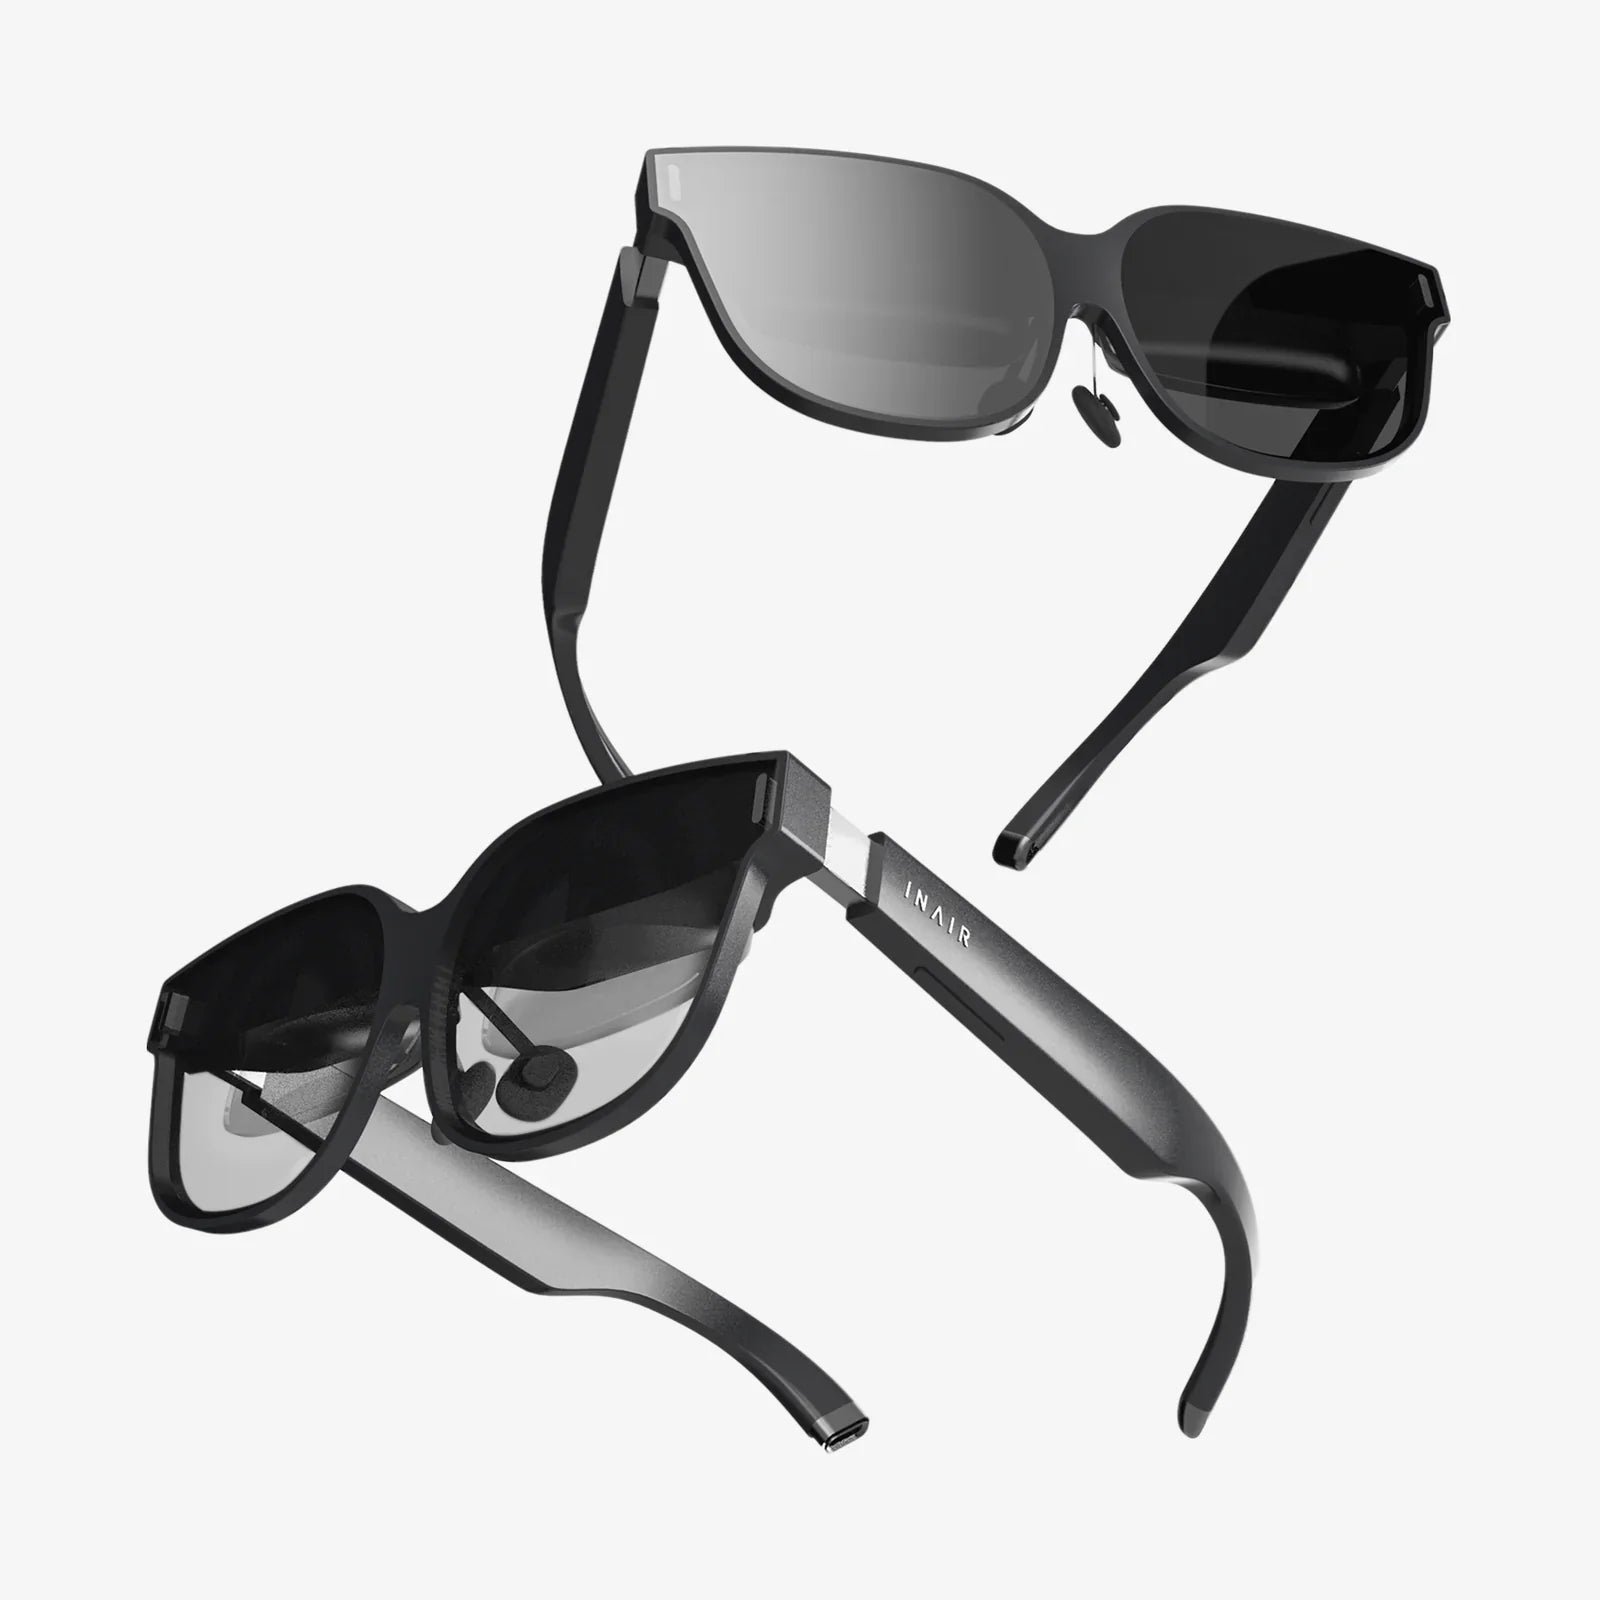
You've just acquired your portal to other dimensions, a pair of virtual reality glasses, and the anticipation is electric. The promise of breathtaking landscapes, heart-pounding adventures, and social spaces that defy geography is now sitting in a box on your desk. But before you can step through that portal, you need to build it. The setup process, while straightforward, is the critical bridge between you and those incredible experiences. A proper configuration isn't just about functionality; it's the foundation for comfort, immersion, and safety. This ultimate guide will demystify every step, transforming that initial excitement into the pure, unadulterated joy of your first perfect virtual moment.
Pre-Flight Checklist: Before You Even Open the Box
The journey begins before you unpack your new device. A little preparation can drastically smooth out the entire setup process and prevent frustrating pauses.
System Requirements and Compatibility
First, verify that your computing environment is ready. Not all hardware is created equal, and virtual reality is a demanding application.
- For PC-Connected Systems: This is the most crucial step. Visit the official website for your device's platform (often referred to as a "compatibility tool" is available). Run this tool to check your PC's specifications against the minimum and recommended requirements. Pay close attention to your graphics processing unit, central processing unit, number of available USB ports, and the version of your operating system. An underpowered computer will lead to a poor, potentially nauseating experience.
- For Standalone Systems: The process is simpler. Ensure the device is fully charged before the first use. You will also need a stable Wi-Fi connection and a smartphone with the relevant companion application installed, as it is frequently required for the initial setup.
- For Gaming Consoles: Ensure your console is updated to the latest system software and that you have ample free space for what can be very large game files.
Preparing Your Physical Space
Virtual reality is a physical medium. You'll need a clear, safe area to enjoy it.
- Clearing a Play Area: Move furniture, coffee tables, lamps, and other obstacles out of the way. The goal is to create a large, empty rectangle where you can move your arms freely and potentially take a step or two in any direction without risk of injury or damage.
- Considering Your Environment:
Be mindful of low-hanging light fixtures, ceiling fans, and fragile items on shelves. Also, consider the lighting in the room; very bright or direct sunlight can interfere with the tracking sensors of many systems.
- Flooring: A rug or mat with a distinct texture can be an excellent physical indicator that you are in the center of your play space, helping you reorient yourself without having to leave the virtual world.
Phase One: The Physical Unboxing and Assembly
Now, carefully unbox your system. Lay all the components out on a clean, static-free surface. Typical components include the headset itself, a set of controllers, base stations or sensors (for some systems), connecting cables, and power adapters. Consult the quick-start guide to identify each part.
Connecting the Hardware
The method here varies significantly by device type.
- Standalone Systems: These are the simplest. After ensuring a full charge, you simply power on the device and put it on. The initial setup will be handled inside the virtual environment.
- PC-Connected Systems: This involves more cabling. Identify the designated video cable—often a high-speed HDMI or DisplayPort cable—and connect it from the headset's link cable to a compatible port on your graphics processing unit, not the motherboard. Then, connect the USB cable to a high-speed USB port. Some systems may also require connecting external tracking sensors. These need to be placed in opposite corners of your play space, angled downwards, and plugged into power and your computer.
- Console-Based Systems: The headset typically connects directly to the console via a single, proprietary breakout box that handles the connection.
Ensure all connections are secure. A loose cable is a common source of tracking or display issues.
Phase Two: Software Installation and Configuration
With the hardware in place, it's time to bring it to life with software.
Installing the Platform Software
You will need to install a dedicated software platform on your computer or smartphone. Download this application directly from the official source. During installation, it will likely prompt you to create an account or sign in. This account is essential for purchasing games, social features, and storing your preferences.
The Guided Setup Wizard
The platform software will walk you through a step-by-step setup wizard. This is the most important part of the process. Pay close attention to:
- Pairing Controllers: The software will guide you through putting your controllers into pairing mode and syncing them with the headset.
- Firmware Updates: It will check for and install any critical updates for the headset and controllers. Do not skip this step. Updates often contain vital performance improvements and new features.
- Setting Guardian/Chaperone Boundaries: This is your virtual safety net. The system will ask you to define your play area. Using your controller, you'll trace the outline of your cleared physical space on the floor. Once activated, a glowing grid wall will appear in your virtual view whenever you get too close to the boundary, preventing you from bumping into real-world objects.
- Interpupillary Distance Adjustment: The IPD is the distance between your pupils. The headset will have a physical slider or software adjustment to match this measurement. Getting this right is paramount for visual clarity and avoiding eye strain. Adjust it until the display looks sharp from edge to edge.
Phase Three: Fine-Tuning for Comfort and Performance
A well-fitted headset makes all the difference between a short, uncomfortable session and hours of comfortable immersion.
Fitting the Headset
Don't just strap it on tightly. Loosen all straps, place the headset on your face, and then secure it.
- Top Strap: This should bear most of the weight. Adjust it so the rear cradle cups the base of your skull.
- Side Straps: Tighten these just enough to eliminate side-to-side wobble without applying uncomfortable pressure on your face.
- Eye Relief: If available, dial this in so the lenses are as close to your eyes as possible without your eyelashes brushing against them. This maximizes the field of view.
Optimizing the Software Experience
Dive into the settings menu of your platform software. Here you can:
- Set Default Preferences: Configure your default play mode (standing vs. seated).
- Adjust Audio Settings: Choose whether audio comes from your PC or the headset's headphones.
- Enable Performance Overlays: For advanced users, these can help ensure your system is maintaining a smooth frame rate.
Your First Steps in Virtual Reality
You're all set! The platform will likely direct you to a default "home" environment or a tutorial experience. Start here. These experiences are designed to gently introduce you to VR interaction, mechanics, and locomotion. They allow you to get your "VR legs" in a safe, controlled setting. Spend time here before jumping into an intense game.
Troubleshooting Common Setup Hurdles
Even with the best preparation, minor issues can arise.
- Blurry Display: This is almost always due to an incorrect IPD setting or a poorly fitted headset. Readjust both.
- Tracking Issues: Check for reflective surfaces (mirrors, glass tables) or bright light sources that can confuse the sensors. Also, ensure the tracking sensors or cameras have a clear, unobstructed view of your play area.
- Controller Not Found: Ensure they are charged and go through the pairing process again within the software.
- Audio Not Working: Check the audio output settings on your computer and within the VR software to ensure the correct device is selected.
Remember, the official support websites and user forums are invaluable resources for specific troubleshooting advice.
The final click of the controller, the last adjustment of the head strap, and the real world melts away. You are no longer just a person in a room; you are an astronaut, an artist, a hero, an explorer. The meticulous setup you just completed was the final incantation, the series of precise steps that transformed technology into magic. That first moment of pure presence, where your brain truly accepts the virtual world as your reality, is the reward. Your journey is just beginning, and an infinite library of worlds, stories, and connections now awaits your command. Go and explore.
Share:
Immersive 3D Content is Revolutionizing Our Digital Experience
Can You Convert a 2D Image to 3D? A Deep Dive into Dimension