


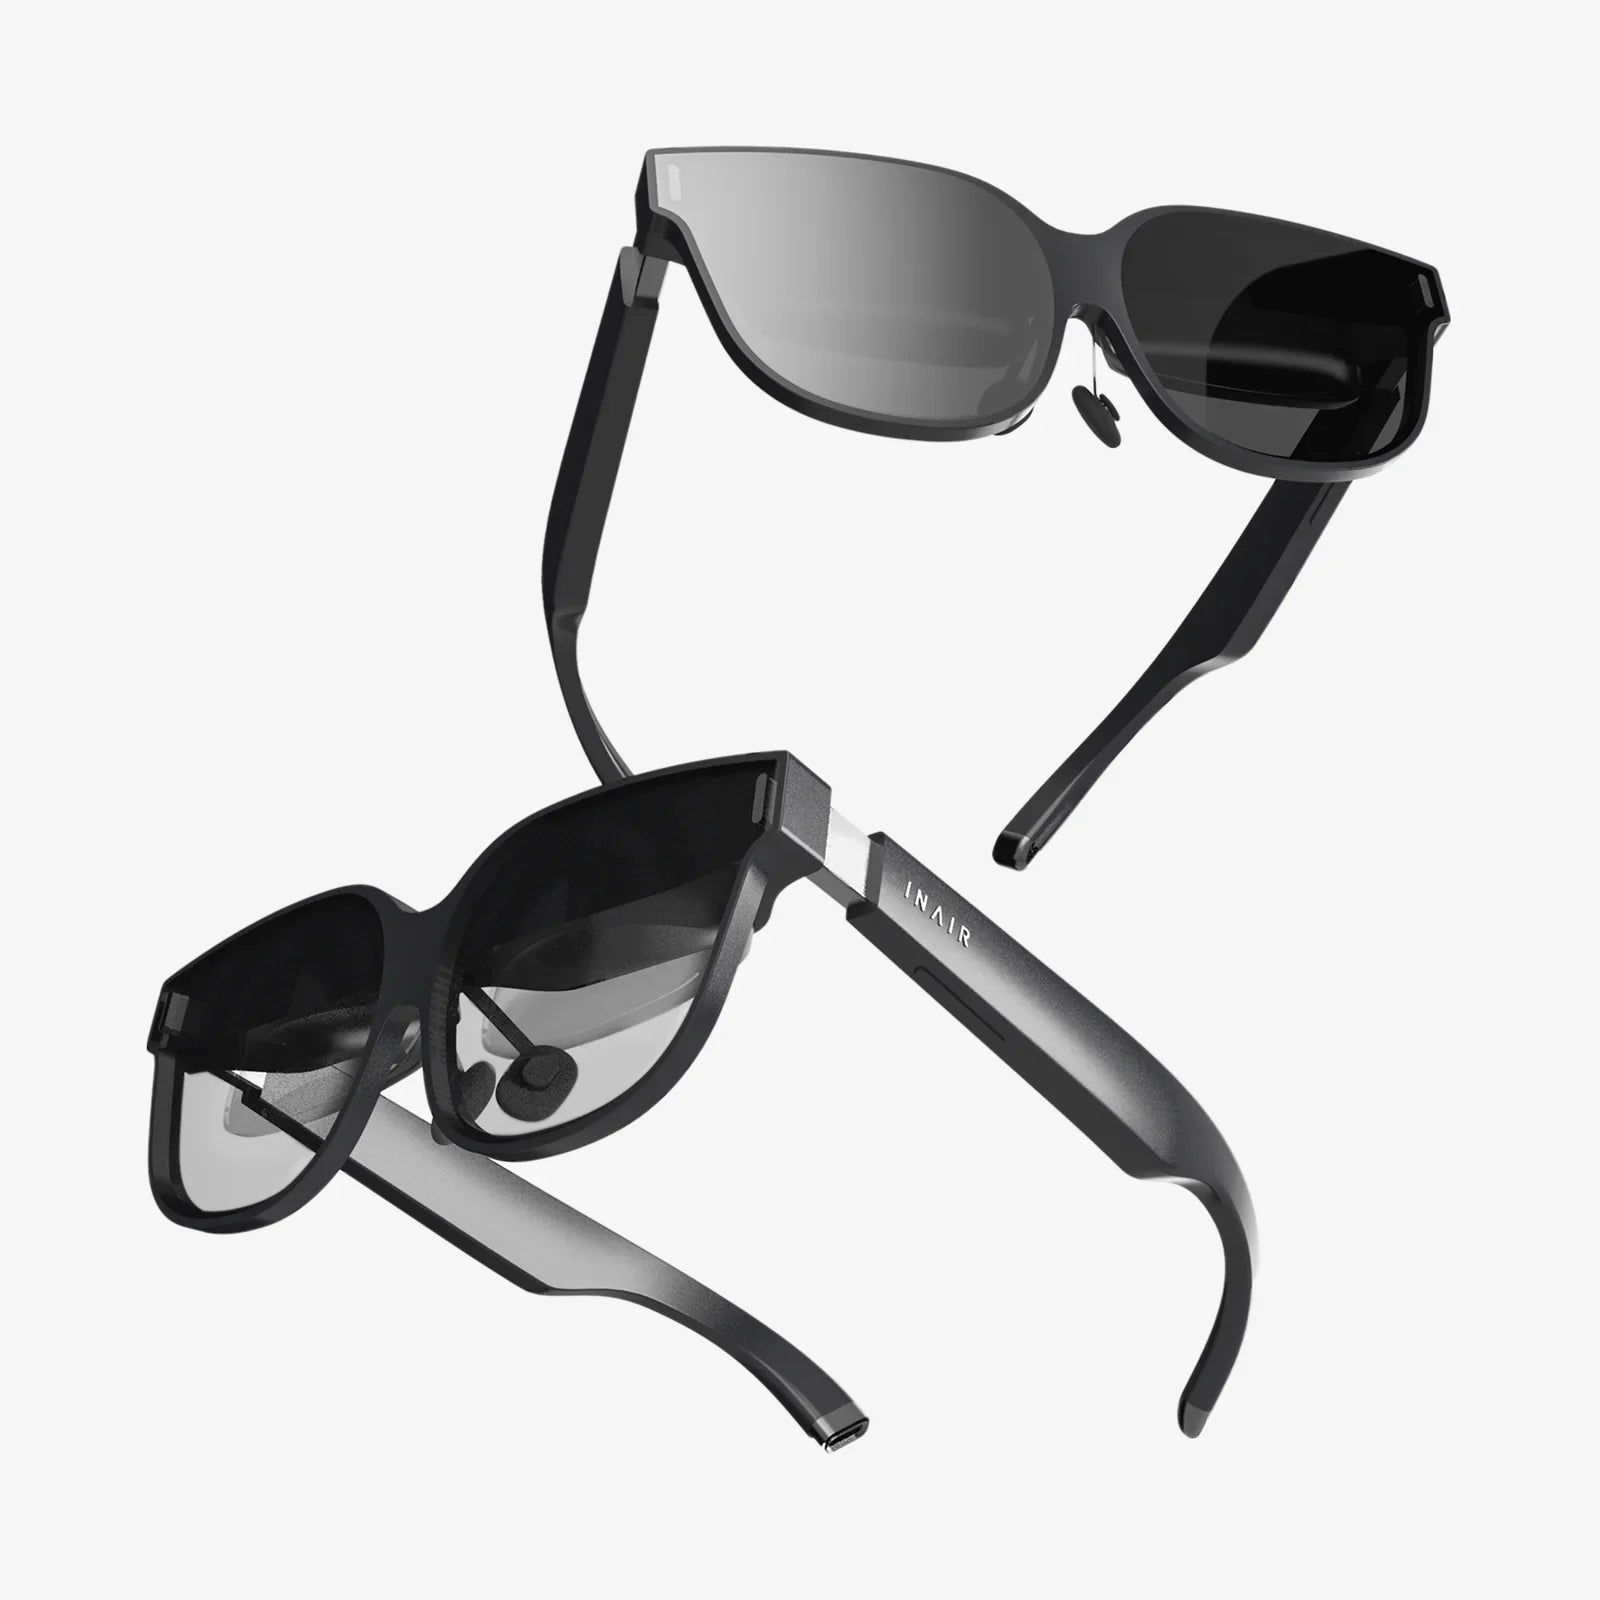
You've just strapped into your latest virtual adventure, ready to explore alien landscapes or conquer fantastical realms, only to be met with a frustrating, hazy mess. That initial excitement quickly deflates, replaced by a single, nagging question: why are my VR goggles blurry? You're not alone. This pervasive issue is the single greatest barrier to immersion for countless users, but the good news is that it's almost always solvable. Unlocking a crystal-clear virtual reality experience isn't about magic; it's about understanding the intricate interplay between hardware, software, and human physiology. This definitive guide will walk you through every potential culprit, from the simplest misadjustment to more complex technical factors, empowering you to transform your blurry goggles into a window to another world.
The Foundation of Clarity: Mastering the Fit
Before you dive into complex software settings, the first and most crucial place to look is the physical positioning of the headset on your head. An improper fit is the leading cause of blurriness for new and experienced users alike.
Finding the Sweet Spot
Every VR headset has a specific area within the lenses known as the "sweet spot." This is the central point where the image is at its sharpest and most distortion-free. If your eyes are not perfectly aligned with this spot, the image will appear blurry, and you might notice chromatic aberration (color fringing) around the edges. To find it, loosen the straps slightly, put the headset on, and then slowly move it up, down, left, and right while keeping your eyes fixed on a piece of text or a detailed object in the virtual environment. You will notice the image snap into focus. Once found, tighten the straps to secure the headset in this optimal position.
Interpupillary Distance (IPD): The Most Common Culprit
This is arguably the most important mechanical setting for visual clarity. IPD is the distance between the centers of your pupils, measured in millimeters. VR headsets have lenses that need to be aligned with your eyes' specific IPD to function correctly. If the IPD is set incorrectly, the world will seem out of focus, you may experience eye strain, headaches, and a lack of depth perception, all contributing to a blurry and uncomfortable experience.
Most modern headsets feature a physical or software-based IPD adjustment. A physical adjustment usually involves a slider or dial on the bottom of the headset that moves the lenses closer together or further apart. To set it correctly, look for an IPD measurement tool within your headset's software settings. If one isn't available, you can measure your IPD manually using a ruler and a mirror or use a dedicated smartphone app. Adjust the slider while in a well-lit, static virtual environment until the image feels the most natural and sharp. Some headsets offer a software IPD adjustment, which digitally shifts the image instead of moving the lenses. While better than no adjustment, a physical IPD adjustment is generally superior for achieving optical clarity.
The Human Element: Vision and Perception
Sometimes, the issue isn't with the technology but with our own eyes.
Do You Need Prescription Lenses?
If you wear glasses or contact lenses in your daily life to correct for nearsightedness, farsightedness, or astigmatism, you absolutely need them for VR. The headsets' lenses focus the virtual screen to appear as if it's several feet away. If you struggle to see clearly at that distance in the real world, you will struggle in VR. Trying to use VR without your prescribed correction will result in a persistently blurry image. For a more comfortable and safer experience, consider investing in custom prescription lens inserts that clip directly into your headset, eliminating the hassle and potential scratches of wearing glasses inside the goggles.
Eye Strain and Fatigue
VR is an intense experience for your eyes and brain. Prolonged use can lead to digital eye strain, which can manifest as blurred vision, dry eyes, and headaches. This is often due to the vergence-accommodation conflict—a disconnect between where your eyes converge (point) and where they focus (accommodate) in a 3D space. Taking regular breaks is essential. Follow the 20-20-20 rule: every 20 minutes, look at something 20 feet away for at least 20 seconds to give your eyes a rest.
The Technical Underpinnings: Hardware and Software
When fit and vision are ruled out, we must look deeper at the technology itself.
Resolution and Screen Door Effect
Headsets have a fixed physical resolution (e.g., 1920x2160 per eye). If you are playing a game or using an application with a render resolution set below the headset's native resolution, the image will be upscaled, resulting in a soft, blurry appearance. Furthermore, older or less powerful headsets can suffer from the "screen door effect" (SDE), where the fine lines between pixels are visible, creating a grid-like pattern that can be perceived as a lack of sharpness. While modern headsets have largely mitigated SDE through higher-resolution displays and special lens filters, it can still be a factor on older hardware.
Performance and Rendering Issues
Virtual reality is incredibly demanding on a computing system. If your hardware is struggling to maintain the high, stable frame rates required for VR (typically 72Hz, 90Hz, or even 120Hz), the system will employ techniques to compensate, often at the cost of visual fidelity.
- Reprojection/ASW (Asynchronous Spacewarp): These are fallback technologies that kick in when your system can't render frames fast enough. They generate synthetic frames based on previous frames and head movement to maintain smoothness and prevent nausea. However, this can often introduce visual artifacts, ghosting, and a general blurriness, especially during fast motion.
- Low Render Scale: As mentioned, if the software is set to render the image at a lower resolution than the display's native resolution to boost performance, the result will be a blurry image. Always check your VR application's and system's settings to ensure the render resolution is set to 100% or higher if your hardware can handle it.
Lens Quality and Maintenance
The lenses are the windows to the virtual world, and any compromise here will directly impact clarity.
- Smudges and Dust: This is the simplest fix. The oils from your skin, eyelashes, and dust particles can quickly accumulate on the lenses. Always use a microfiber cloth designed for optics to gently clean them. Never use window cleaner, alcohol, or abrasive materials, as they can permanently damage the special coatings on the lenses.
- Scratches: Deep scratches on the lenses will permanently distort light and create blurry spots. Always store your headset in its provided case or a clean, dry place away from direct sunlight.
- Lens Design: Fresnel lenses, common in VR, use a series of concentric ridges to be thin and light. However, this design can sometimes contribute to god rays (lens flare) and a smaller sweet spot compared to other lens types like pancake lenses, which are becoming more common in newer headsets.
Environmental and Content Factors
Don't overlook the environment you're in and the content you're viewing.
Lighting and Tracking
Headsets that use external inside-out tracking (cameras on the headset) rely on good lighting to understand their position in the world. In a very dim or overly bright room with repetitive patterns, the headset's tracking can become unstable. This jitter can be perceived as a blurry or shaky image. Ensure your play space is evenly and adequately lit without any direct light sources shining into the headset's cameras.
Source Material Quality
Not all VR content is created equal. A poorly optimized game or a 360-degree video that was originally shot at a low resolution will look blurry regardless of how expensive your headset is. The inherent limitations of the source material cannot be overcome by the headset itself. Before blaming your hardware, check reviews or forums to see if other users report blurriness with that specific application.
A Systematic Troubleshooting Checklist
- Clean Your Lenses: Use a dry microfiber cloth. Always start here.
- Adjust the Headset Fit: Find the visual sweet spot by moving the headset vertically and horizontally.
- Set Your IPD: Use the physical slider or software setting to match your pupil distance.
- Wear Your Corrective Lenses: If you need glasses for distance vision, you need them in VR.
- Check Render Resolution: In your VR system settings, ensure the application render resolution is set to at least 100% (native).
- Inspect for Performance Issues: Look for stuttering, ghosting, or artifacts that indicate a performance problem. Lower in-game graphics settings to maintain a stable framerate.
- Evaluate the Environment: Ensure your play space has good, non-direct lighting for optimal tracking.
- Test Different Content: Try a different game or app. If only one thing is blurry, it's likely the content, not your hardware.
That moment of breathtaking clarity, when the virtual world snaps into perfect focus and you forget you're wearing a headset at all, is what makes VR so magical. By methodically working through these steps—from the simple act of cleaning a lens to fine-tuning the complex dance between hardware and software—you hold the key to banishing the blur for good. Your journey into stunning, immersive worlds doesn't have to be seen through a foggy window; it's time to wipe the glass clean and step through.
Share:
Wearable Technology Market Forecast: A Deep Dive into the Next Decade of Personal Tech
What Is Human Computer Interaction Examples? Exploring The Digital Dialogue