


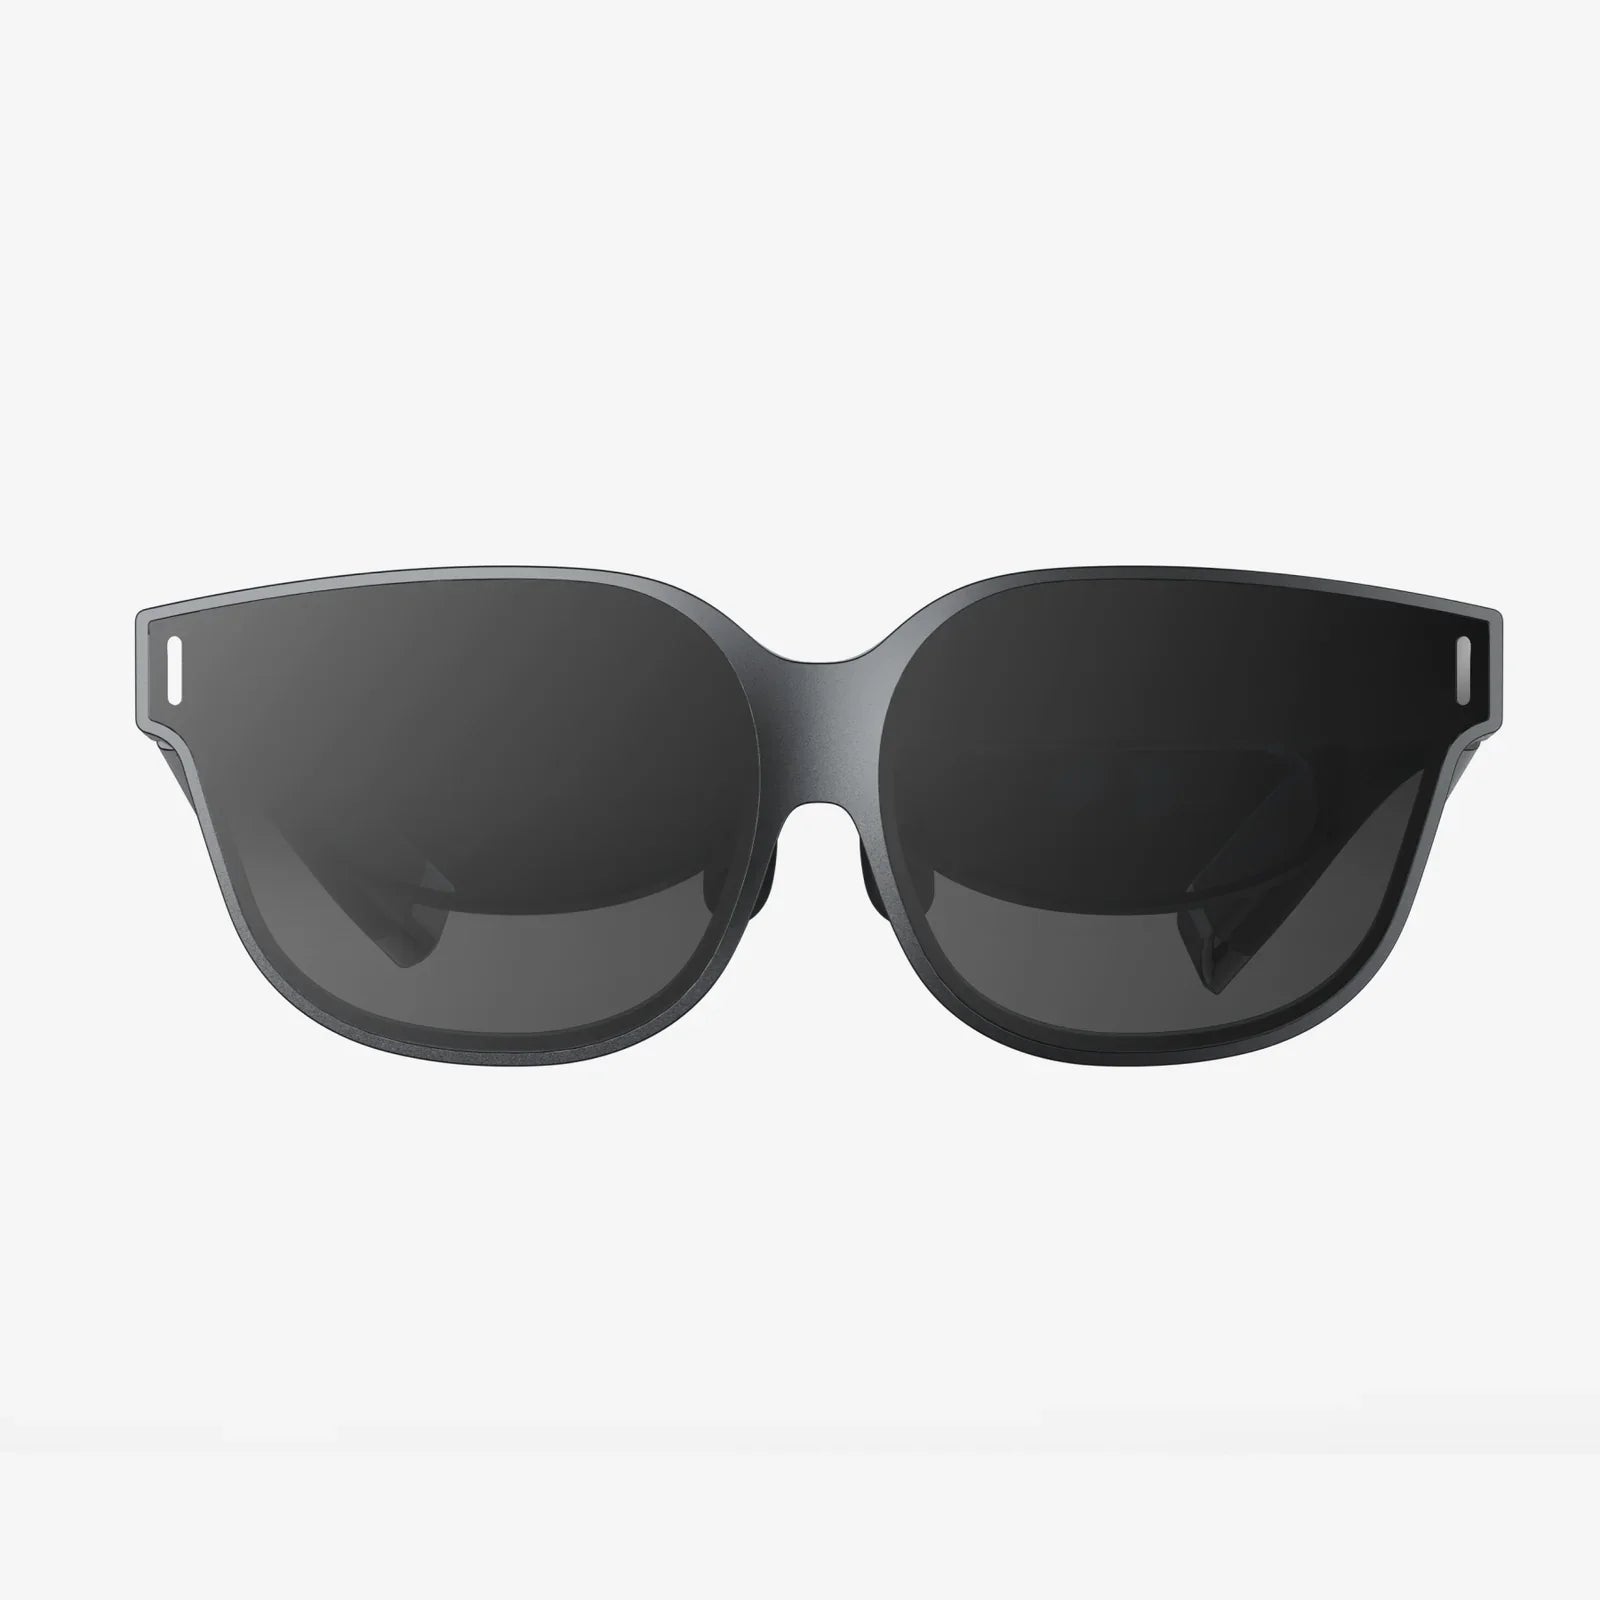
Imagine transporting someone across the globe, into a meticulously curated art gallery, or through the halls of a historic building, all from the comfort of their own home. This is the unparalleled power of a virtual reality tour, a dynamic medium that has revolutionized how we share spaces and tell stories. Whether you're a real estate agent aiming to showcase properties, an educator bringing distant ecosystems into the classroom, a museum curator expanding your audience, or simply a creative soul with a story to tell, learning how to craft a compelling VR tour is an invaluable skill for the digital age. This guide will walk you through every step of the process, transforming a complex-seeming project into an achievable and profoundly rewarding endeavor.
Laying the Foundational Blueprint: Pre-Production
Before you even pick up a camera, success is determined in the planning stage. Rushing into capture without a clear strategy is the fastest route to frustration and subpar results.
Defining Your Purpose and Audience
Every decision you make will flow from your answer to one simple question: Why are you creating this tour? Your objective dictates everything. A tour for selling a luxury home must highlight flow, space, and light to entice potential buyers. A tour for a historical site needs to emphasize educational points of interest and narrative. A corporate office tour might focus on showcasing culture and facilities for new recruits. Understanding your target audience—their technical proficiency, what they value, and what you want them to feel—is equally crucial.
Scouting and Preparing the Location
A physical walkthrough is non-negotiable. Visit the location and assess it with a critical eye.
- Lighting: Is the space dependent on natural light? If so, plan your shoot for the time of day when the light is most flattering and consistent. Avoid mixed lighting scenarios (e.g., bright sunlight and warm indoor lamps) which can create complex color balance issues.
- Clutter and Staging: The immersive nature of VR means viewers will look everywhere. Tidy up relentlessly. Remove trash cans, stray cables, and personal items. Stage the space to look its absolute best, just as you would for a high-end photo shoot.
- Movement Path: Plan your shooting positions, often called "nodes." Think about the logical flow through the space. Where would a visitor naturally stop and look around? These are your node points. Typically, you want nodes in the center of rooms and at key transition points like doorways or the top of a staircase.
- Permissions: Ensure you have the legal right to photograph and publish the space. This is especially important for private properties, businesses, and public institutions.
Choosing Your Hardware
Your equipment choice is a balance of budget, desired quality, and ease of use.
- 360-Degree Cameras: The most popular and accessible option. These range from consumer-friendly models with two lenses to professional-grade multi-lens rigs that capture incredibly high-resolution imagery. They are all-in-one solutions that significantly simplify the capture process.
- DSLR/Mirrorless Rigs: For the highest possible quality, professionals use a array of cameras mounted on a rig, pointing in different directions. This method requires extensive post-production work to "stitch" the images together but yields superior results for large-scale projects like virtual museums or high-end architectural visualizations.
- Smartphone-Based Solutions: Some accessories can turn a smartphone into a rudimentary 360-degree camera. While convenient, the quality is often limited and best suited for casual, personal projects.
- Tripod: A must-have. Your camera must remain perfectly still during capture to ensure clean stitching. A monopod can also be useful for getting overhead shots or navigating tight spaces.
- Memory Cards and Batteries: 360-degree photography, especially video, generates enormous file sizes. Bring high-capacity, fast memory cards and multiple fully charged batteries. There is no worse feeling than running out of storage or power mid-shoot.
The Art of Capture: Production Phase
With your plan in place and your gear ready, it's time to step into the space and bring it to life.
Mastering the Camera Setup
Proper camera setup is the bedrock of a clean, professional-looking tour.
- Stability: Mount your camera securely on a sturdy tripod. Extend the legs first for stability, not the center column. The goal is to eliminate any vibration or movement.
- Height Matters: Set the camera at roughly eye level (around 5.5 to 6 feet off the ground) for a natural perspective. You may adjust this for specific effects—lower for a unique viewpoint or higher to avoid capturing your own feet if you're triggering the camera manually.
- Remote Control: Use a remote control or a smartphone app to operate your camera. This allows you to get out of the shot entirely, preventing your own shadow or figure from appearing in the scene.
- Camera Settings: Shoot in RAW format if your camera supports it. This gives you maximum flexibility in post-processing to correct exposure and white balance. Use manual mode to lock in your exposure settings (ISO, aperture, shutter speed) for a consistent look across all shots. Set a timer delay (e.g., 2-5 seconds) after triggering to let any camera movement settle.
Executing the Shoot
Work methodically through your planned node points.
- Position the tripod at your first node.
- Use a level (many tripods have one built-in) to ensure the camera is perfectly straight. A crooked horizon line is incredibly disorienting in VR.
- Frame the shot, ensuring the tripod legs are not in the frame (with a 360 camera, they often are but will be automatically removed in software).
- Trigger the camera remotely and step completely out of the room or hide in a corner that will be easily edited out later. Stay quiet and still until the capture is complete.
- Move to the next node and repeat. Overlap your positions slightly; capturing the same object from two adjacent nodes helps the stitching software understand the spatial relationship between shots.
Advanced Capture Techniques
- HDR for High-Contrast Scenes: For scenes with windows (bright) and interior shadows (dark), use your camera's HDR (High Dynamic Range) mode or manually take multiple exposures at different settings. These can be blended later to create a perfectly exposed image throughout the entire sphere.
- Lighting: Don't be afraid to add light. A well-placed light can help balance a scene and reduce harsh shadows. Just be mindful of where the light stands are, as they will appear in the shot and need to be edited out.
Weaving the World Together: Post-Production
This is where your collection of spherical images becomes a cohesive experience.
The Essential Stitching Process
Stitching is the computational process of combining the multiple images from your camera's lenses into a single, seamless 360-degree equirectangular image. Many cameras come with proprietary stitching software that does a decent job automatically. For more control or for multi-camera rigs, dedicated stitching software is used. The key is to carefully check the automated stitches for errors, particularly in areas with complex patterns, straight lines, or moving objects. Most software allows for manual control points to fine-tune these problem areas.
Editing and Retouching
Once stitched, your equirectangular image can be edited in standard photo editing software, though it will look strangely distorted.
- Color Correction & White Balance: Ensure a consistent color tone and mood across all images in your tour.
- Exposure Adjustment: Balance the light levels to ensure no areas are too dark or blown out.
- Spot Removal (The "Nadir Patch"): The most common edit is fixing the nadir—the bottom of the sphere where the tripod and your feet are visible. Use a cloning or healing tool to replace the tripod with a clean patch of floor. Some advanced stitching software can automate this using data from other shots.
- Sharpening and Noise Reduction: Apply subtle sharpening to enhance details and reduce digital noise, especially if you shot with a high ISO.
Creating the Interactive Experience
With your polished 360 images ready, you now need a platform to turn them into an interactive tour. Specialized VR tour software allows you to upload your images and create "hotspots"—clickable elements that link your nodes together.
- Upload: Import your stitched and edited 360-degree images into the software.
- Connect the Dots: Place transition hotspots (often represented by arrows or circles) in the doorways or pathways between rooms. This creates the navigational flow, allowing users to move from the living room to the kitchen, for example.
- Add Information Hotspots: This is where you add value and narrative. Place informational hotspots (an "i" icon or custom graphic) on key objects. When clicked, these can open a text description, play an audio clip (e.g., a curator's commentary), show a pop-up image, or even play a video. This transforms a simple visual walkthrough into an rich, educational experience.
- Interface and Branding: Customize the tour's interface with your logo, choose colors that match your brand, and add a welcome screen or background music to set the tone.
Publishing and Sharing Your Masterpiece
The final step is to get your tour in front of your audience. Most VR tour platforms provide an embed code, allowing you to place the tour directly on your website or blog. They also generate a simple link that you can share via email, social media, or messaging apps. Viewers can experience your tour on almost any device: they can drag the screen with a mouse on a computer, move their smartphone around using its gyroscope, or fully immerse themselves using a VR headset for the most powerful experience. Promote your tour like you would any other significant project—it's a powerful piece of content that deserves attention.
The journey from an empty space to a shared virtual experience is a blend of technical skill and artistic vision. It requires patience, a meticulous eye for detail, and a passion for storytelling. While the process has its complexities, the tools are more accessible than ever, empowering creators of all levels to build windows into new worlds. By following this roadmap, you are no longer just a photographer or a content creator; you are an architect of experiences, building bridges of understanding and wonder that can transport anyone, anywhere, at any time. Your next great tour is waiting to be discovered, and the world is ready to step inside.
Share:
Tell Me About Virtual Reality: A Journey Into The Digital Frontier
Best Uses of Virtual Reality: Beyond Gaming and Into Our Future