


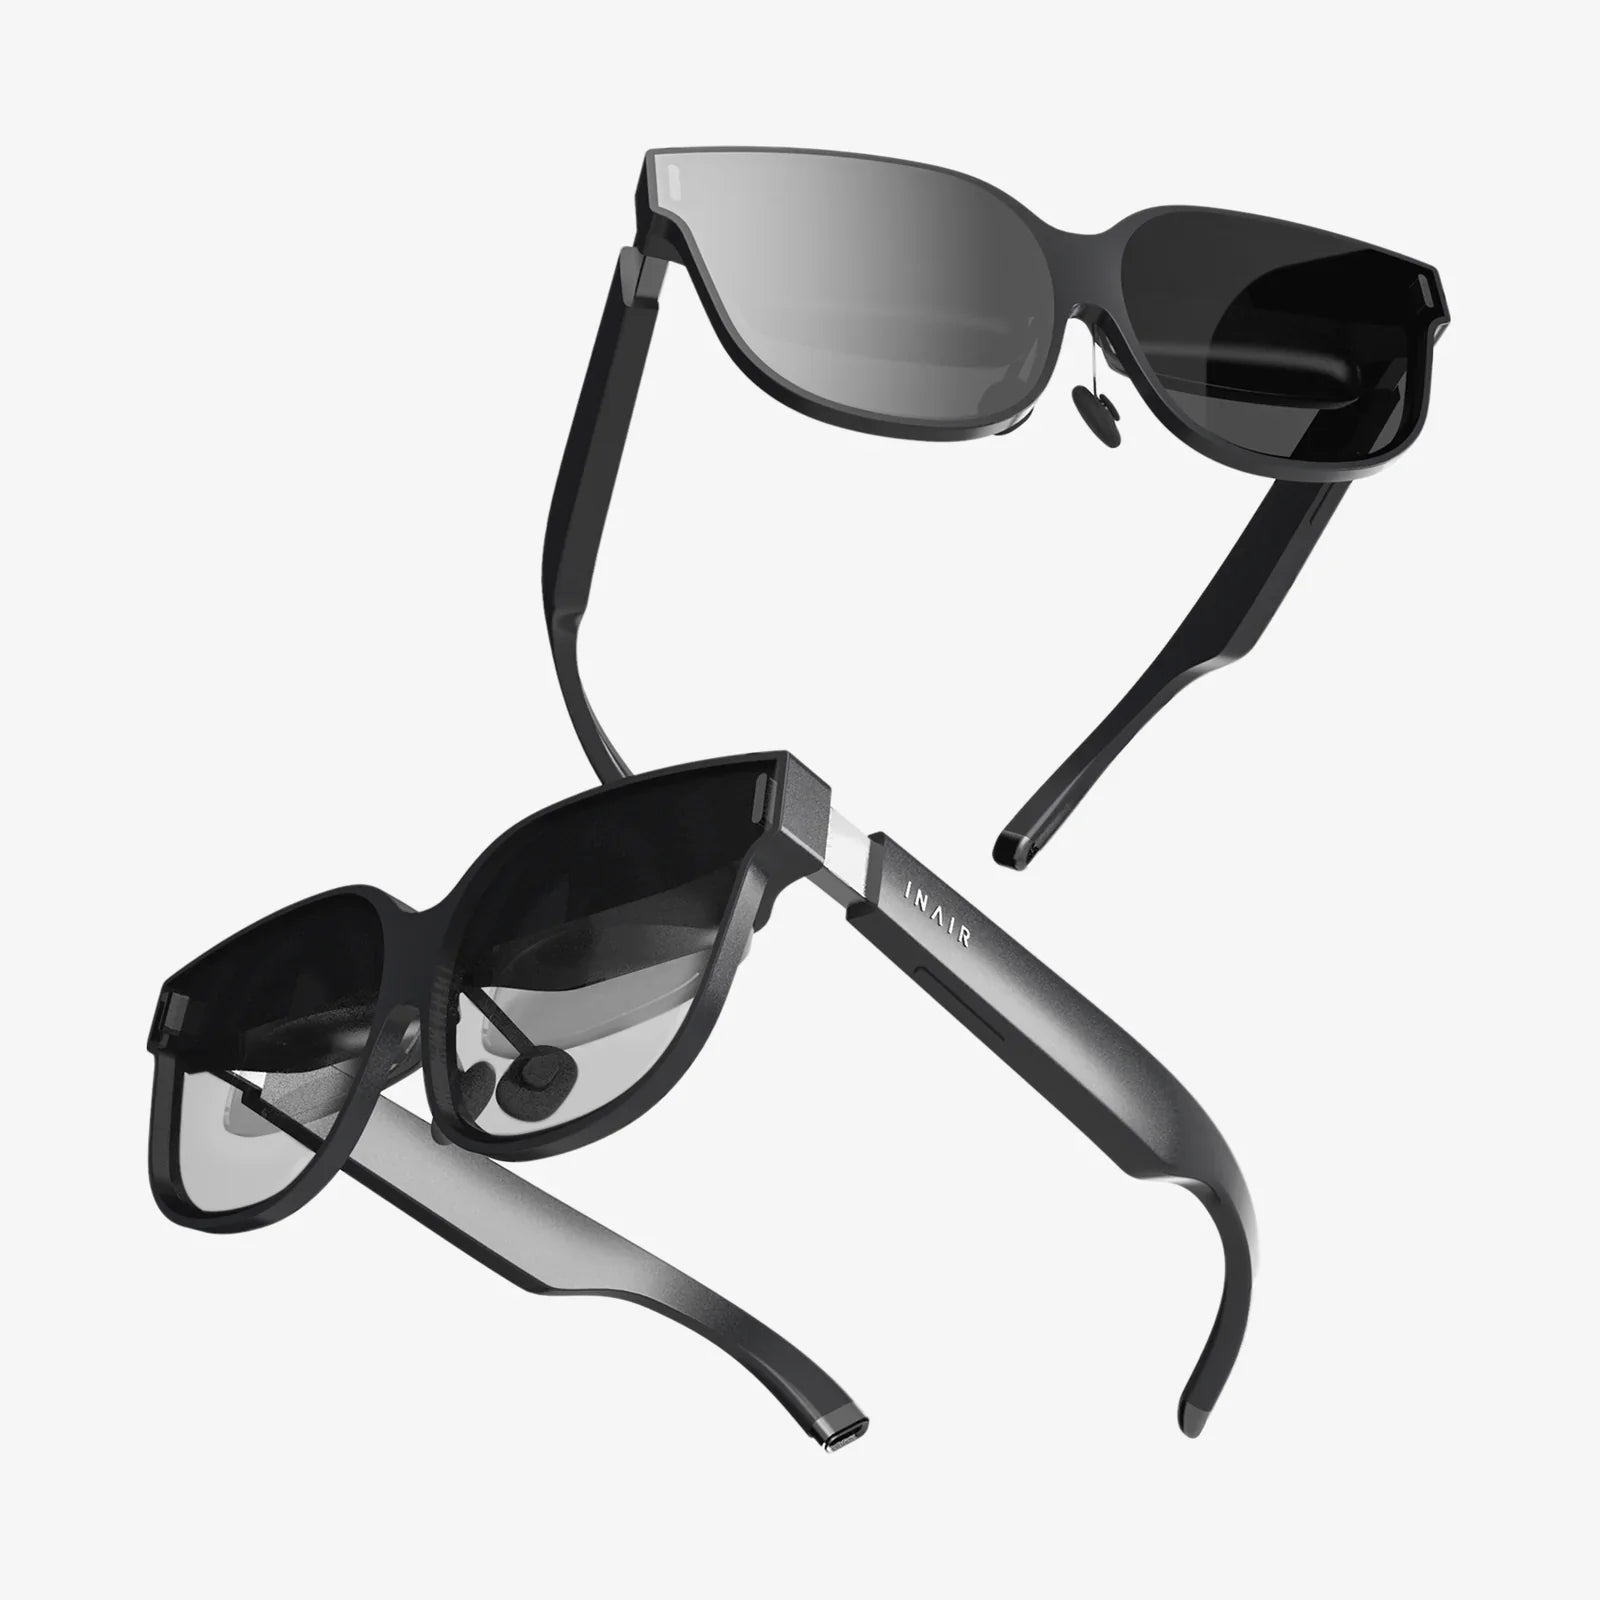
You've just unboxed that sleek new virtual reality headset, its lenses gleaming with the promise of otherworldly adventures, breathtaking simulations, and gaming experiences that defy reality itself. The anticipation is electric. But between you and those digital frontiers lies the most crucial mission: a proper setup. Fear not, for this comprehensive guide is your ultimate companion, meticulously detailing every single step on how to setup a VR headset for PC, transforming what might seem like a daunting technical chore into a smooth and exciting journey into the metaverse.
Laying the Groundwork: Pre-Setup Essentials
Before you even think about plugging in cables, a little preparation is the difference between a seamless experience and a frustrating evening of troubleshooting. This phase is about ensuring your PC and play area are ready for the immersive leap.
System Requirements: The Heart of the Experience
Virtual reality is demanding. It requires rendering two high-resolution displays (one for each eye) at a very high, stable framerate (typically 90Hz or more) to prevent motion sickness and ensure immersion. Your PC needs to be a capable beast.
- GPU (Graphics Processing Unit): This is the most critical component. You will need a dedicated, powerful modern graphics card. While minimum requirements exist, aiming for the recommended or even high-end specs will future-proof your setup and allow you to enjoy high-fidelity experiences without compromise.
- CPU (Central Processing Unit): A modern multi-core processor is essential for handling the physics, audio, and AI computations in VR environments alongside the graphical load.
- RAM (Memory): 16GB is the current sweet spot for a smooth VR experience, allowing ample room for the game and background processes.
- Ports: Check your headset's connection type. Most modern headsets use a single high-speed USB-C or DisplayPort cable, but some may require multiple USB 3.0 ports. Ensure your PC has the correct, functioning ports available.
- Operating System: Keep your Windows OS updated to the latest version to ensure compatibility with all the necessary drivers and software.
Pro Tip: Use a free online tool or software provided by the headset's manufacturer to automatically scan your PC and verify it meets the required specifications. This can save you a lot of time and potential heartache.
Crafting Your Play Space: Roomscale vs. Seated
VR experiences generally fall into two categories, and your setup will depend on which you plan to use most.
- Seated/Standing Stationary: Perfect for flight simulators, racing games, or cinematic experiences. This requires minimal space—just enough room to stand and swing your arms without hitting anything.
- Roomscale: This is where VR truly shines. It allows you to physically walk around, duck, dodge, and interact within a virtual space. For this, you need a clear, obstacle-free area. The recommended size is often at least 6.5 x 5 feet (2m x 1.5m), but more is always better.
Clear the area of tripping hazards, pets, low-hanging light fixtures, and fragile items. Consider purchasing a dedicated VR mat—a small rug with a distinct texture—to stand on. This provides a physical tactile cue that lets you know you're centered in your play space without having to peek under the headset.
The Physical Connection: Plugging Into Another World
With your PC verified and your space cleared, it's time for the physical tether to your new reality.
Understanding the Cables
Most PC VR headsets use a tether—a single, often thick, cable that branches out at the end.
- Display Connector (DisplayPort/HDMI): This carries the high-resolution, high-refresh-rate video signal. Always plug this directly into your graphics card's port, not the one on your motherboard. The motherboard port uses integrated graphics, which are not powerful enough for VR.
- USB Connector (USB-C/USB 3.0): This handles data transfer for the headset's sensors, built-in cameras, and audio, as well as providing power.
- Power (if applicable): Some headsets may have a separate power brick that needs to be plugged into a wall outlet.
Carefully manage your cable. Use Velcro straps or a retractable suspension system to keep it off the floor and reduce the chance of tripping or tangling during intense sessions.
Base Station Placement (For External Tracking)
If your headset uses external sensors or base stations for tracking, their placement is paramount for accuracy.
- Mount them high in the corners of your play area, angled downward towards the center of the room.
- They must have a clear, unobstructed view of each other and the entire play space. Any solid object between a controller and a sensor will break tracking.
- Ensure they are firmly mounted on stable camera tripods or securely screwed into wall mounts to prevent vibration, which can cause jittery tracking.
The Software Realm: Installing the Digital Bridge
The hardware is useless without the software to drive it. This is where you'll download the platform that acts as your gateway to VR content.
Installing the VR Platform Software
You will need to download and install the proprietary software suite for your headset. This platform is your VR home, library, and settings hub all in one. Create an account and follow the on-screen instructions for installation. It will typically handle the installation of all necessary drivers automatically.
Driver Installation and Updates
Once the software is installed, it will likely prompt you to update your headset's firmware and any related drivers. Do not skip this step. Firmware updates often contain critical performance improvements, bug fixes, and new features. Similarly, ensure your graphics card drivers are updated to the latest version directly from the GPU manufacturer's website for optimal performance and compatibility.
The First Steps Inside: Calibration and Configuration
Now for the magic moment—putting on the headset for the first time. The software will guide you through a first-time setup wizard. Pay close attention.
Setting Up Guardian / Chaperone Boundaries
This is arguably the most important step for your safety and your furniture's safety. The boundary system creates a virtual wall that appears when you get too close to the edge of your designated play space.
- When prompted, hold a controller and point its laser at the floor.
- Physically walk the perimeter of your safe play area, clicking the trigger to trace the boundary line.
- Ensure you leave a comfortable buffer zone between your virtual walls and any real-world obstacles.
- Double-check the height and ensure the system correctly recognizes the floor level.
This system is highly effective at preventing accidents and should always be enabled.
Interpupillary Distance (IPD) Adjustment
IPD is the distance between the centers of your pupils, measured in millimeters. If the headset's lenses are not aligned with your eyes, the world can look blurry or cause eye strain. Most headsets have a physical slider or software adjustment to change the distance between the two lenses.
Adjust the slider while looking at text or a detailed object in the headset's home environment. Move it slowly left and right until the image is at its sharpest and clearest. Some software may include a measurement tool using the headset's cameras for a more precise number.
Audio and Microphone Settings
Most headsets have built-in headphones and a microphone. Check your VR software's audio settings to ensure the correct devices are selected for both input and output. Test the microphone to ensure it's working clearly, as this is key for social VR applications.
Fine-Tuning for a Flawless Experience
With the basics running, it's time to optimize for comfort and performance.
Headset Ergonomics and Comfort
A comfortable headset is a headset you can wear for hours. Take time to adjust the straps.
- Top Strap: This should bear most of the headset's weight. Adjust it so the back cradle sits snugly against the base of your skull.
- Side Straps: Tighten these just enough to eliminate slippage without creating uncomfortable pressure on your face.
- Facial Interface: Ensure the foam or padding sits comfortably against your face, blocking out external light without pressing too hard.
Proper balance is key to avoiding front-heaviness, which is a common source of neck strain.
Performance Optimization and Super Sampling
If you have a powerful GPU, you can enhance visual fidelity beyond the default settings through a process called Super Sampling or Render Resolution. This renders the image at a higher resolution than the headset's native display and then downscales it, resulting in a dramatically sharper image with reduced "screen door effect" (the visible lines between pixels).
This setting is incredibly demanding. Adjust it gradually within your VR software's settings and test it in a demanding game. Find the sweet spot where the visual improvement is noticeable without introducing performance stutters, as consistent framerates are paramount for comfort.
Troubleshooting Common Hurdles
Even with a perfect setup, issues can arise. Here’s how to tackle the most common ones.
- Blurry Image: First, check your IPD adjustment. Second, ensure the headset is sitting correctly on your face. Third, clean the lenses with a microfiber cloth—never use chemicals or abrasive materials.
- Tracking Jitters or Loss: For inside-out tracking, ensure your room is well-lit (but avoid direct sunlight on the sensors) and that there are enough distinct visual features for the cameras to track. For external sensors, check for reflective surfaces (mirrors, windows, glossy TV screens) that can confuse the lasers and cover them up.
- Black Screen/No Display: Double-check that all cables are firmly seated at both the PC and headset ends. Try using different USB ports on your PC, preferably those directly on the motherboard.
- Poor Performance/Stuttering: Close any unnecessary background applications on your PC. Update your GPU drivers. Lower the in-game graphical settings or reduce the super sampling value.
Exploring Your New Virtual Reality
The setup is complete. The boundaries are drawn. The image is clear. Now, what? Your VR platform has a built-in store filled with experiences. Start with free demos and applications to get your "VR legs." Acclimate yourself gradually. Begin with stationary experiences before jumping into full roomscale games with artificial locomotion. Take breaks often, especially in the beginning. Stay hydrated.
You are now standing on the threshold, not of a game, but of a new medium. The meticulous process of learning how to setup a VR headset for PC was the final key turning in the lock. Behind that door await experiences that will make you gasp, laugh, and lean into worlds that were, until this moment, pure imagination. Your journey is just beginning—step forward and explore.
Share:
Most Immersive VR Headset 2025: A Glimpse Into The Future Of Virtual Reality
Black How Much Is a VR Headset - The Ultimate Price and Value Breakdown